


EN
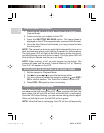
The camera's battery can be charged in a variety of ways:
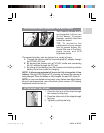
A. Through the camera itself by connecting the AC adaptor through
the PV100's DC jack.
B. By docking the camera into a PV100D cradle and connecting
the AC adaptor through the DC jack.
C. By taking out the battery from the camera and inserting into the
battery slot of the cradle for charging.
NOTE: It takes approximately 6 hours to fully charge the Li-Ion
battery. The right LED (Refer to P.2) showing red means the camera is
being charged. When the battery is fully charged, the right LED turns off.
NOTE: In a non-controlled environment, many factors can affect battery
life such as temperature, use of the flash, photo review, LCD display
brightness levels and so on.
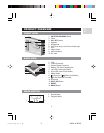
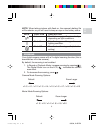
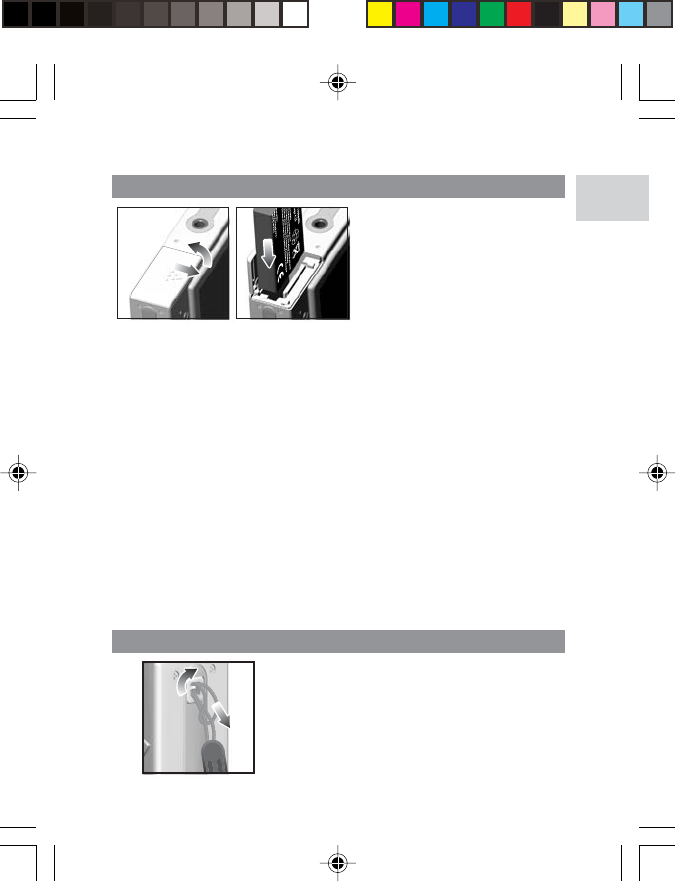
1. Pass the thin loop of the strap through
the camera's strap ring.
2. Pass the other end of the strap through
the loop.
3. Tighten by pulling the loop.
ATTACHING THE STRAP
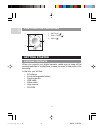
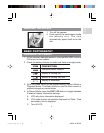
Your camera comes with a
rechargeable Lithium-Ion
(Li-Ion) battery. To prevent
damage, correctly insert the
battery as shown.
TIP: To maximize the
performance of your camera
and for greater battery life,
control the use of the flash,
photo review, and LCD
brightness levels.
INSTALLING AND CHARGING THE BATTERIES
4
PV100 Eng R7 a OP 9/9/04, 2:45 PM5