


E-30
ESPAÑOL ENGLISH
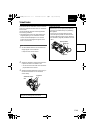
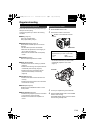
Regular shooting
Ensure that the unit is working properly before you
attempt to shoot anything.
Check the equipment you need for the shooting
conditions.
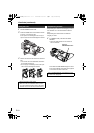
g Battery (Page 20)
Use a fully charged battery.
Keep a spare battery with you.
g Cassette tape (Pages 9 and 14)
Check that the cassette tape can be used for
recording.
• Set the erasure prevention tab to SAVE.
• Make sure the tape doesn’t have images you
want to keep recorded on it.
• Make sure the cassette holder is completely
closed.
g Viewfinder (Page 22)
See if the diopter adjustment is suitable.
g Zoom, focus, and iris
• Check that motor-driven zooming is possible.
(Page 31)
• Check that the focusing can be performed both
automatically and manually. (Page 37)
• Check that the lens iris operations can be
performed automatically and manually.
(Page 42)
g Time data (Page 25)
• Check that the date and time have been set
correctly.
• Check that the time code and user information
have been set correctly.
g Audio input (Page 43)
Check that CH1/CH2 SELECT switch is in the
correct position.
g Other equipment (Page 52)
• Check that any equipment you have connected
to the camera is working correctly.
• Check that connections are complete and
correct.
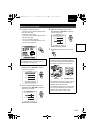
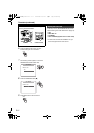
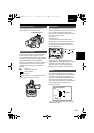
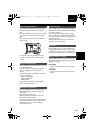
1 Set the POWER switch to ON.
2 Press AUTO to switch to auto mode.
• appears on the viewfinder and LCD
screens.
• In the setup menus, AUTO SW screen, you
can choose which items you want to have
automatically adjusted in auto mode.
(Page 71)
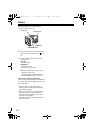
3 Look at your subject through the viewfinder.
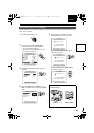
4 Press the START/STOP button on the POWER
switch to start shooting.
Press START/STOP again to return the camera
to the shooting standby mode.
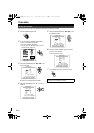
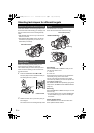
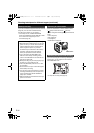
Preparation and inspections Shooting in auto mode
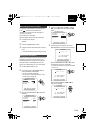
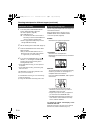
The camera makes the following
adjustments for you when in auto mode.
• Focus • Gain
• Iris • White balance
AUTO button
P
O
W
E
R
O
N
O
F
F
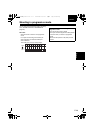
Viewfinder
Shooting
AG-DVX100B_EN.book 30 ページ 2005年10月5日 水曜日 午前10時52分