


E-55
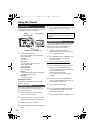
Audio dubbing
Background music or narration can be added to the images you have recorded on the tape.
1 Set the POWER switch to ON.
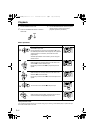
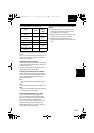
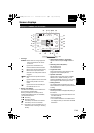
2 In the setup menus, select an audio recording
system in RECORDING SETUP screen,
AUDIO REC.
• For menu operation (Page 65)
• You can also use the menu buttons on the
remote control. (Page 18)
32K(12bit):
The sound is recorded using the 12-bit/32kHz
(4-channel) system.
Use this mode when you want keep the
sound that recorded while you were shooting
even after audio dubbing has been
performed.
48K(16bit):
The sound is recorded using the 16-bit/48kHz
(high-quality stereo) system.
When audio dubbing is performed, the sound
that was recorded while you are shooting will
be erased.
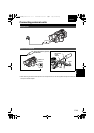
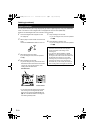
3 Start shooting.
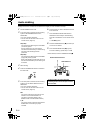
4 Press the CAMERA/VCR button and switch to
the VCR mode.
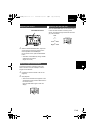
5 In the setup menus, select an audio recording
system in the AV IN/OUT SETUP screen, A.
DUB INPUT.
• For menu operation (Page 65)
• You can also use the menu buttons on the
remote control. (Page 18)
MIC:
The sound of the built-in microphone or the
external unit connected to INPUT 1/2
connector is recorded. (Select by CH1
SELECT switch and CH2 SELECT switch.)
A_IN:
The sound of audio component connected to
AUDIO IN/OUT connector (pin jack) is
recorded.
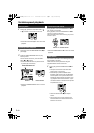
6 Find the scene you want to add and set the unit
to the still mode.
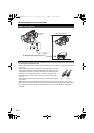
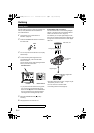
7 Press the DISPLAY/AUDIO DUB button to
establish the status ready for audio dubbing.
Press the A. DUB button on the remote control
unit.
• “A.DUBh” appears.
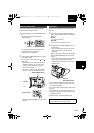
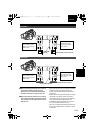
8 Press the OPERATION lever [h] and start input
of sound to be dubbed.
9 Press the OPERATION lever [h] to pause.
To continue dubbing, repeat steps
7 and 8.
• When finished, move the OPERATION lever [g].
CAMERA
VCR
In the LP mode, you cannot dub after
recording as the track on the tape is thinner
than the head.
DISPLAY/AUDIO DUB button
OPERATION lever
AG-DVX100B_EN.book 55 ページ 2005年10月5日 水曜日 午前10時52分