


7
VQT2Z87
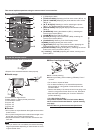
Getting started
About the internal memory and SDs / Preparation for power source / Setting the clock
Setting the clock
This unit is equipped with the clock/calendar and timer
functions. Set the time fi rst.
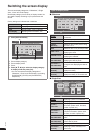
1. Press [^].
You can also press [POWER 8] on the main unit.•
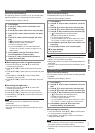
2. Press [MENU].
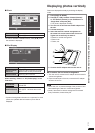
Menu
Select Item
OK
Slideshow
Single View
Select Photos
Clock
Photo Menu
iPod Play/Pause
iPod Display
iPod Play Menu
3. Press [e, r, w, q] to select “Settings Menu” and
press [OK].
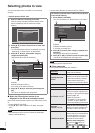
Select Item
Menu
OK
Audio Menu
Settings Menu
4. Press [e, r, w, q] to select “Clock/Calendar
Settings” and press [OK].
5. Press [e, r] to select “Set Clock” and press [OK].
6. Press [w, q] to select the items (Month, Day, Year,
Hour, Minute and AM/PM
¼
), and press [e, r] to set.
7. Press [OK].
The clock starts from 00 second.•
When the introduction screen for the time
setting appears
If you attempt to operate a function that requires time setting
while the time is not set, the introduction screen for the time
setting appears.
1. Press [e, r] to select “Set time” and press [OK].
2. Press [w, q] to select the items (Month, Day, Year, Hour,
Minute and AM/PM
¼
), and press [e, r] to set.
3. Press [OK].
¼
Only for the 12-hour display (¼P20)
To display the clock
1. Press [MENU].
2. Press [e, r, w, q] to select “Clock” and press [OK].
Note
Period that can be set: January 2000 to December 2099.
There is a small precision error of the clock. Periodical time
correction is recommended.
•
•
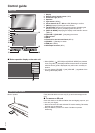
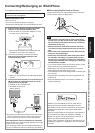
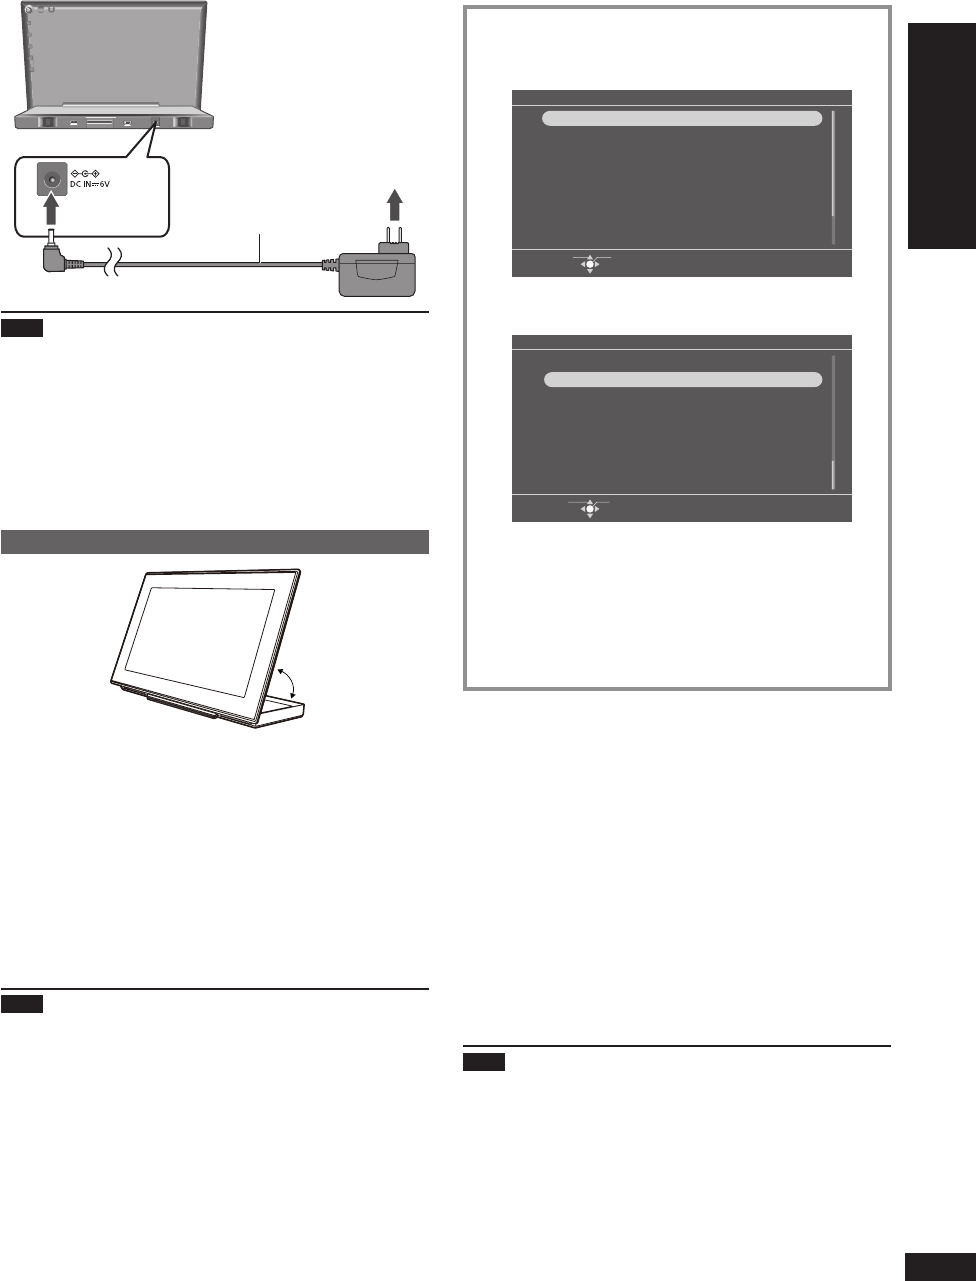
Preparation for power source
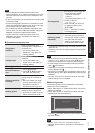
C AC adaptor terminal
D AC adaptor
E To household AC outlet
Back of product
C
2
1
E
D
Note
While using this unit, the AC adaptor may become a little
hot. This is not a malfunction.
The included AC adaptor is for use with this unit only.
Do not use it with other equipment. Also, do not use AC
adaptor from other equipment with this unit.
Do not use any other AC adaptors except the supplied
one.
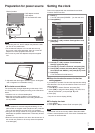
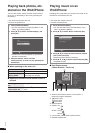
Installation of this unit
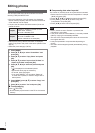
F
F Adjustable with the angle of between approx. 50 degrees
and 75 degrees for comfortable viewing.
For better sound effects
The sound quality changes depending on the setup of this
unit. Enjoy better sound quality according to the instructions
below.
Install the unit on a fl at and stable place.
Make the surrounding conditions of the speakers as
balanced as possible. Make the surrounding refl ection as
low as possible.
Note
These speakers do not have magnetic shielding. Do not
place a clock or magnetic cards (credit card, etc.) near this
unit, or do not place this unit near a TV or a computer.
Using this unit at high volume for a long period of time may
deteriorate the speaker characteristic or extremely shorten
speaker life.
When the sound is distorted, turn down the volume even in
the normal use. (Failure to do so may cause the speakers
to be damaged.)
•
•
•
•
•
•
•
•