56
Shooting
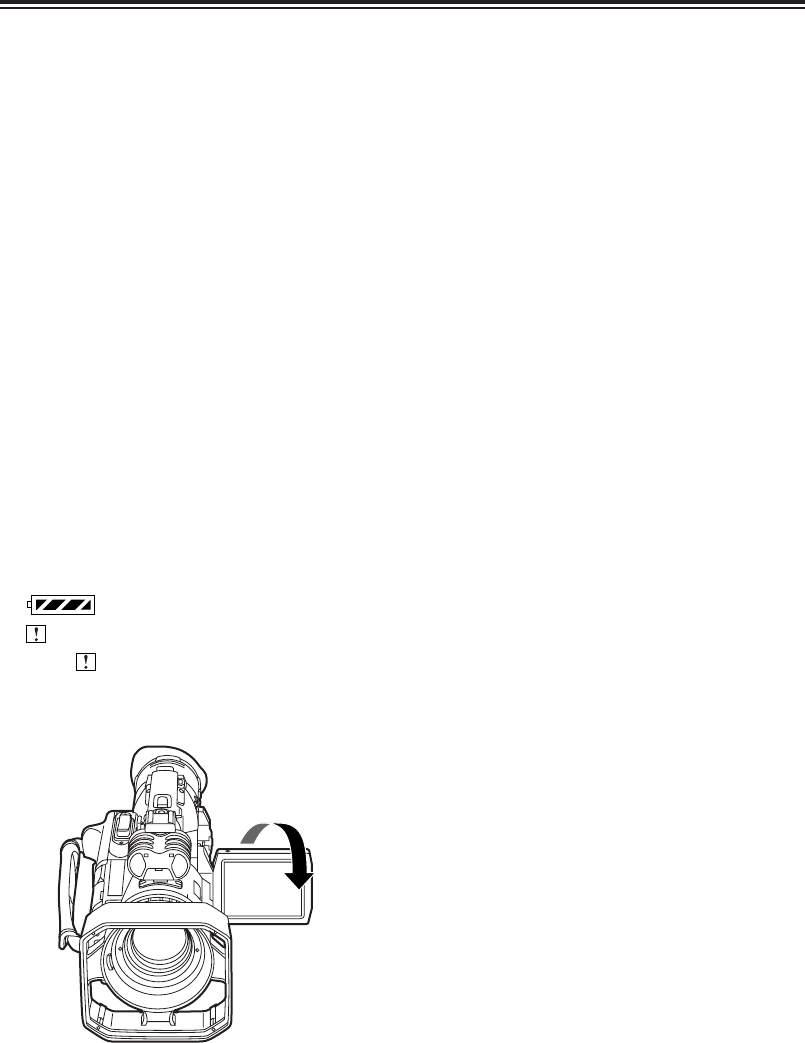
Face-to-face shooting
When the LCD monitor is opened and rotated
180 degrees toward the lens, and the person
operating the camera recorder records images
of himself or herself, the impression of the shot
images may appear to be different from usual.
If MIRROR is selected as the setting for the
SELFSHOOT item on the setting menu
DISPLAY SETUP screen, a left-right reversed
image appears on the LCD monitor, and the
person operating the camera recorder can shoot
images of himself or herself that appear as if he
or she is looking at himself or herself in the
mirror.
However, even when shooting images in the
mirror mode, the recorded images will be the
same as ones which have been shot regularly
as the images are not recorded as a mirror
reflection.
When shooting in the mirror mode, the
information which appears in the viewfinder and
on the LCD monitor is limited to the following
items:
O : Shooting
O
;
: Shooting pause
: Remaining battery charge display
: Warning display
When appears, return the LCD monitor to
its original position, and check the message
of the warning display.
Index recording
When the INDEX button is pressed during
shooting or recording, the index signal is
recorded on the tape.
When it is pressed while shooting or recording
is temporarily stopped, the index signal is set to
the recording standby status. When the
shooting or recording is then resumed, the index
signal is recorded on the tape at that time.
Searches (index searches) can be performed
during playback once the index signals have
been recorded.
Using the USER buttons
One of nine functions can be allocated to the
USER1 button and one can be allocated to the
USER2 button.
In accordance with the subject concerned, the
shooting conditions can be instantly selected or
fade effects can be added to the images.
For details, refer to the USER1 and USER2
items (page 41) on the setting menu SW MODE
screen.
Intermittent recording
There are two intermittent recording modes: the
mode in which images are shot at fixed
intervals, and the frame-by-frame shooting
mode.
1 Set the shooting mode for intermittent
recording using the INTERVAL REC item on
the setting menu RECORDING SETUP
screen. (See page 44)
OIf the progressive 24P mode or 24P (ADV)
mode has been established, the
INTERVAL REC item cannot be set.
2 Set the recording time using the REC TIME
item.
3 Set the standby time using the INTERVAL
TIME item.
4 When the START/STOP button is pressed,
recording starts in the shooting mode for
intermittent recording.
5 When the OPERATION lever is tilted in the
“$” direction, “I –” blinks, and intermittent
recording is set to the temporary stop status.
OWhile intermittent recording is in progress,
no other operations are accepted.
OWhile intermittent recording is in progress,
the remaining tape amount is not
displayed.
Even when the intermittent recording mode has
been set, it will be returned to OFF when the
power is turned off.


