


57
Saving data
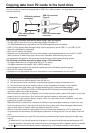
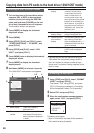
Importing data from a hard drive to P2 cards
Importing clips one partition at a time
from a TYPE S or P2 Store hard drive
You can import data (load data from the hard drive
to a P2 card) at high speed one partition at a time
(one card at a time) onto a P2 card of the same
size as the original card.
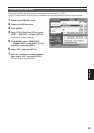
1 Insert the P2 card that will serve as the
import destination.
2 Display the P2 thumbnail screen.
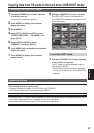
3 Press the [MENU] button.
4 Using [STOP], [PLAY] and [STILL], select
“HDD” – “EXPLORE”, and press [STILL].
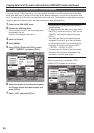
5 Using [STOP] and [PLAY], select the copy
source partition, and press [STILL].
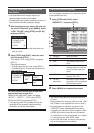
6 Press [MENU].
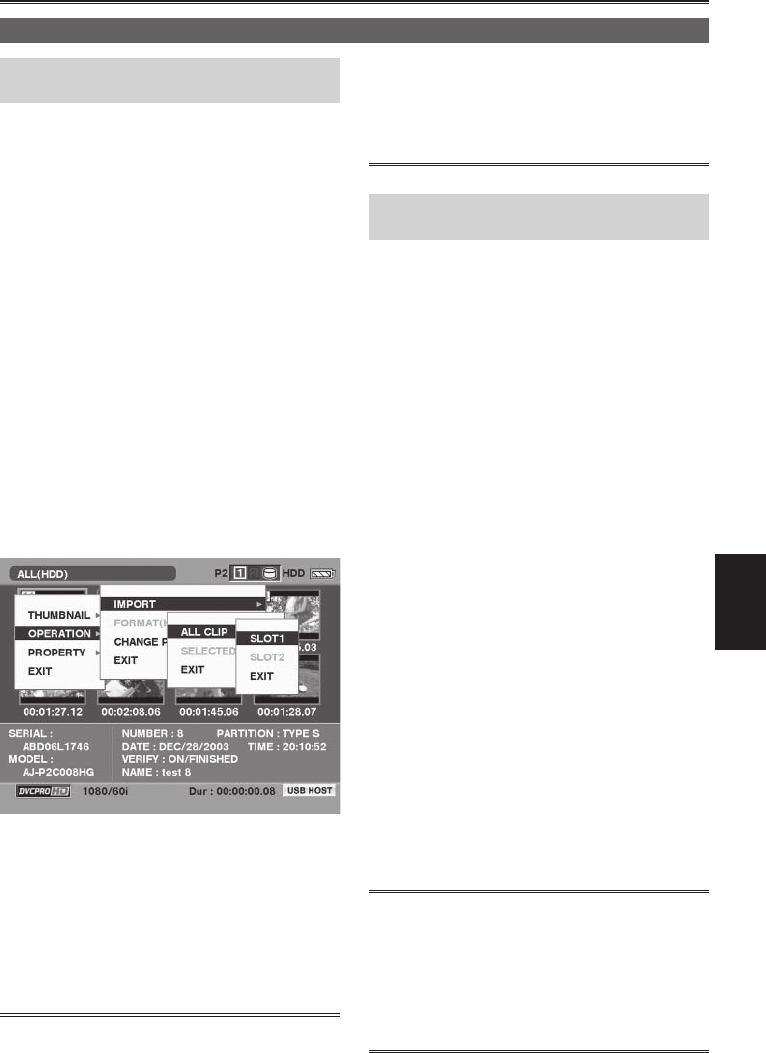
7 Using [STOP], [PLAY] and [STILL], select
“OPERATION” – “IMPORT” – “ALL CLIP”,
and press [STILL].
8 Move the cursor to the number of the
P2 card slot which serves as the import
destination and which contains a formatted
P2 card, and press [STILL].
9 Select “YES”, and press [STILL].
Importing now begins.
When importing is completed, “COPY
COMPLETED!” appears on the screen.
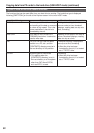
• When data has been imported to a P2 card which
is different from the source P2 card, some clips
may be incomplete (in which case, they will be
indicated by the [!] indicator). If this is the case,
use the connecting function to reconfigure these
clips. Refer to “Connecting incomplete clips”.
• Using a menu setting, you can choose whether to
verify the two sets of data when copying.
Importing one clip at a time
to a P2 card
You can select the hard drive clips, and import
them onto a P2 card.
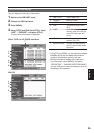
1 Insert the P2 card that will serve as the
import destination.
2 Display the thumbnail screen of the hard
drive.
3 Press [MENU].
4 Using [STOP], [PLAY] and [STILL], select
“HDD” – “EXPLORE”, and press [STILL].
5 Using [STOP] and [PLAY], select the copy
source partition, and press [STILL].
6 Select the clip to be copied.
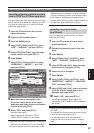
7 Press [MENU].
8 Using [STOP], [PLAY] and [STILL], select
“OPERATION” – “IMPORT” – “SELECTED
CLIP”, and press [STILL].
9 Using [STOP] and [PLAY], select the number
of the P2 card slot whose data is to be
imported, and press [STILL].
10 Select “YES”, and press [STILL].
Importing now begins. When importing is
completed, “COPY COMPLETED!” appears on
the screen.
• Verifying is not executed when importing one clip
at a time.
• The operation involved in importing one clip at a
time is similar to copying the clips.
For the precautions to be observed when
importing one clip at a time, refer to “Copying
clips.”