


Operating Instructions
59
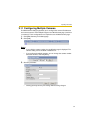
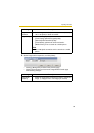
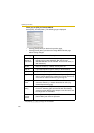
8. Confirm the settings, and click [Save].
• New settings are saved. The buffered images are deleted.
• When finished, "Success!" is displayed.
9. Click [Go to Image Buffer/Transfer page].
• The Image Buffer/Transfer page is displayed.
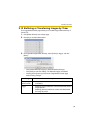
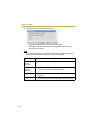
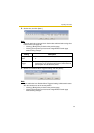
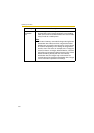
Notes
• If you set a short interval to transfer image to a mobile phone, many E-
mails may be sent to it leading to a large phone bill. Therefore, we
recommend you to set a long interval. In an emergency situation, the E-
mail transfer can be stopped by enabling privacy mode using a mobile
phone (see page 26).
• Buffered images will be deleted by doing the following.
• Turning off the camera.
• Saving the settings of Image Buffer/Transfer or Date and Time.
• Executing [Restart], [Update Firmware] or [Reset to Factory Default].
• Clicking [Delete Buffered Images] on the Image Buffer/Transfer page
(see page 53).
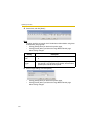
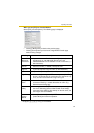
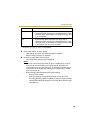
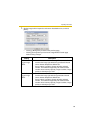
Subject • Enter a subject with ASCII characters (see page 102) or
characters in each language (0—44 characters for a 1-byte
character and 0—22 characters for a 2-byte character). But
["] is not available.
Text • Enter text with ASCII characters (see page 102) or
characters in each language (0—63 characters for a 1-byte
character and 0—31 characters for a 2-byte character). But
["] and [end-of-line] key are not available.
*1
But [Space], ["], ['], [&], [<] and [>] are not available.
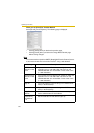
Setting Description