


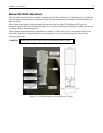

10 LS 785 High Throughput Lens Spectrograph User Manual
LightField Software and the LS 785
Software Installation
1. Verify that the detector (and controller) is connected to the computer and that
the detector is turned on.
2. Turn on your computer.
3. Verify that your computer can be connected to the Internet. Internet
connectivity is required for product activation.
4. If LightField was purchased with the LS 785, install LightField using the
installation disk and product key supplied.
5. Reboot your computer after completing the installation.
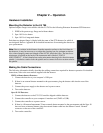
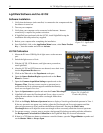
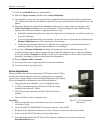
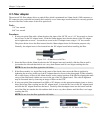
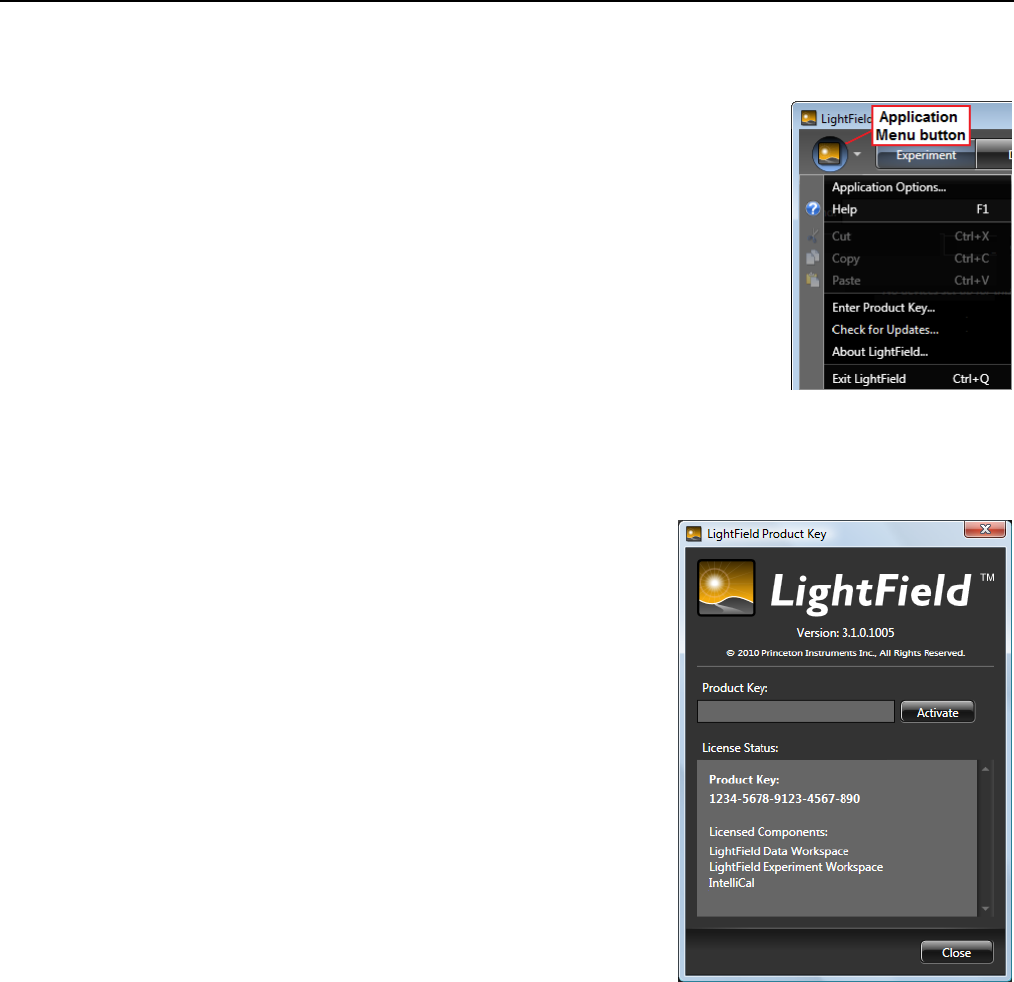
6. Start LightField, click on the Application Menu button, select Enter Product
Key…, enter the number and click on Activate.
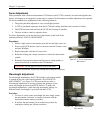
LS 785 Calibration
1. Mount the PI Acton USB-Hg-NeAr light source to the entrance
port.
2. Switch the light source to NeAr.
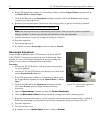
3. With the LS 785, CCD detector, and light source powered on,
start LightField.
4. After the LS 785 and CCD detector are detected, move their icons
into the Experiment Devices area.
5. Click on the View tab on the Experiment workspace.
6. Open the Sensor Readout Region expander and set the Rows
Binned to Center 1
7. Open the Common Acquisition Settings expander and set the
Exposure Time. You may want to acquire a spectrum just to
confirm that the NeAr spectrum appears and that the intensity
levels are not clipped or too low.
8. Open the Spectrometer expander and enter the Center Wavelength.
9. LightField will report the Wavelength and Focus values to use for
setting the micrometers for that center wavelength. Make those
adjustments.
10. Click on the Display Reference Spectrum button to display a Neon/Argon Standard spectrum in View 1.
If the two spectra do not appear very similar, adjust the Wavelength and Focus micrometers until the
observed spectrum most closely matches the Reference Spectrum. Pressing the Find Center
Wavelength button will adjust the center wavelength to more accurately match the observed spectrum.
11. For greater accuracy, you may want to acquire a background file before proceeding with the calibration.
See Background Correction for Calibration in the LightField Help file for more information.
12. If there is a CCD detector shutter or a detector-controlled shutter, open the Trigger/Shutter expander and
set the Shutter Mode to Always Open.
Figure 2-5. Application
Menu
Figure 2-6. LightField
Product Key dialog