


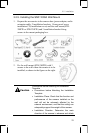
the template so that the front of the template is
in line with the camera direction.
Caution: Since there is a danger of the product
falling during installation, take care not to allow
anyone to stand below the installation area.
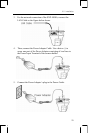
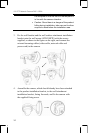
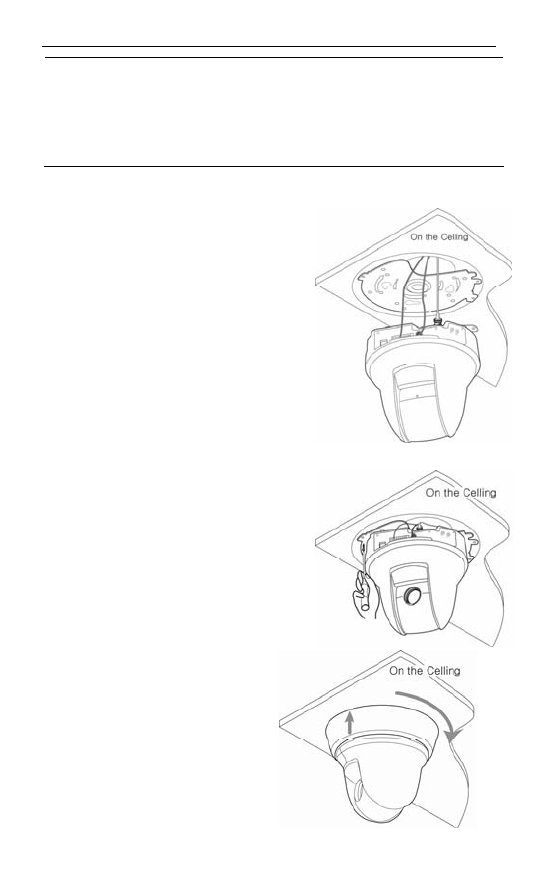
3. Align the arrow on the ceiling
attachment installation bracket
with the front of the template,
fix the bracket by fastening the 3
screws through the holes, and
connect the external incoming
cables (video cable, network
cable and power cord) to the
camera.
4. Assemble the camera, which
should already have been
attached to the product
installation bracket, to the
ceiling attachment installation
bracket, facing forwards, and fix
the camera with the supplied
fixing screw.
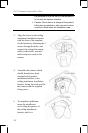
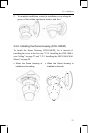
5. To complete installation,
rotate the installation
cover along the groove of
the ceiling attachment
bracket, and fix it.