33
Useful Features
Camera Recording
Useful Features
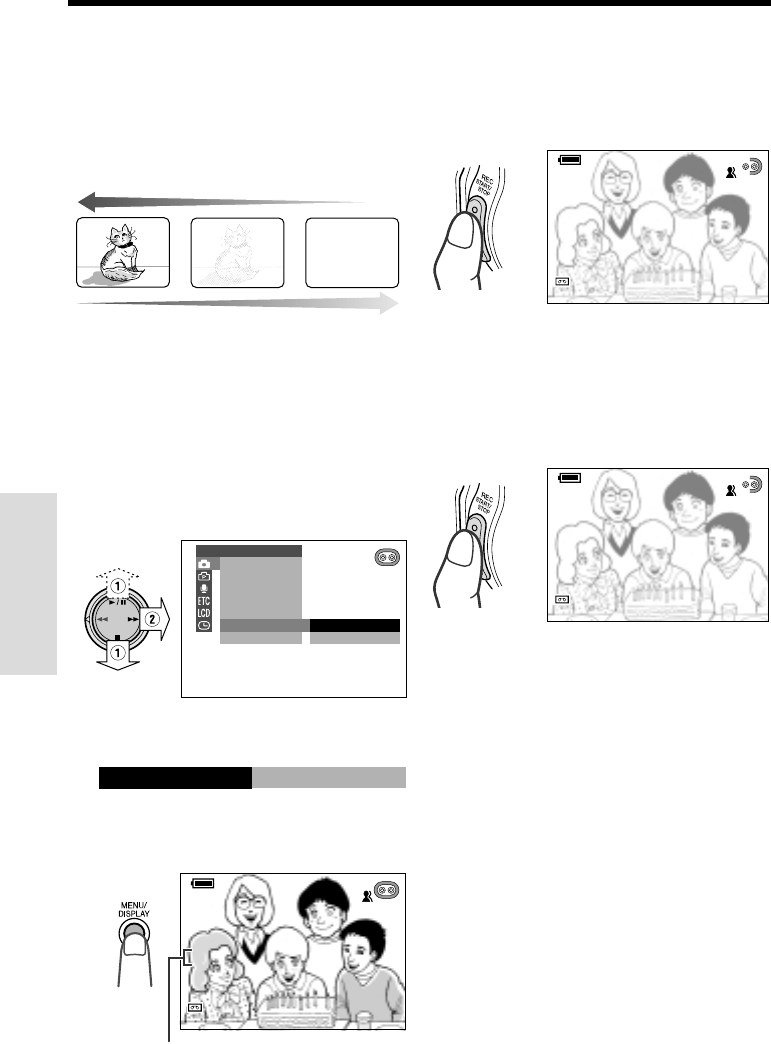
Fade In and Fade Out
The fade function allows you to gradually bring
the image and sound in or out at the beginning
or end of a scene for creating scene transi-
tions. This is especially effective for indicating a
dramatic change in scenery.
Fade in
Setting Fade Mode
1 Set the camcorder to CAMERA mode.
2 Press the MENU/DISPLAY button until
the menu screen appears.
3 Select T, then press r on the
Operation button. Select “FADE” (1),
then press r (2).
OFF
ON
M
AN. FOCUS
EXPOSURE
SHUT. SPEED
PIC. EFFECT
SCENE MENU
FADE
QK. RETURN
MANUAL SET
4 Press d or y to select “ON”, then
press e.
ON
FADE
5 Press the MENU/DISPLAY button to
turn off the menu screen.
•“FADE” is displayed.
AUTO
SP
33
min
0
AUTO
FADEFADE
SP
min
0
12bit12bit
Using Fade Mode
1 Press the REC START/STOP button to
begin recording.
• The picture turns white, and the image
and sound fade in.
AUTO
SP
33
minmin
0
AUTO
FADEFADE I NIN
SP
min
0
12bit12bit
Fade out
FADE indicator
2 Press the REC START/STOP button at
the point where you wish to stop
recording.
• The image and sound fade out as the
picture gradually turns white. The
camcorder then returns to Recording
Standby mode.
AUTOAUTO
SPSP
2
min
727
AUTO
FADADEFADE OUTOUT
SP
min
12bitbit12bit
To cancel Fade mode
Select “OFF” in step 4 in “Setting Fade Mode”.
To use Fade Out only
1 During recording, perform steps 2 to 5 in
“Setting Fade Mode” to display “FADE”.
2 Press the REC START/STOP button at
the point where you wish to stop
recording.
Note:
• Fade mode is automatically canceled after Fade
Out.


