


48 Chapter 3 Shooting
Chapter 3 Shooting
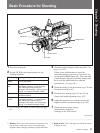
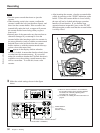
8 If required, switch on the center marker and/or
safety zone (basic menu page 4 and advanced
menu page 4) and zebra pattern (ZEBRA button) in
the viewfinder image.
9 Adjust the white balance (page 100) and black
balance (page 103).
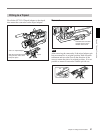
10Turn the focusing ring so that the subject is
sharply in focus. It may be convenient to use the
EZ FOCUS button for the “easy focus” function
(see page 12).
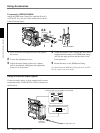
11Set up the VCR section according to your shooting
objectives, then start recording.
• During recording, the REC/TALLY indicator(s)
in the viewfinder light(s), and “REC” appears on
the viewfinder screen.
• Depending on the setting of the REC TIME
switch (see page 20), you can display the total
recording time or the length of the current cut on
the viewfinder screen.
• You can use the AUDIO LEVEL knob on the
front to manually adjust the channel 1 audio level.
To do this, you must first set up the VCR section
to enable manual adjustment of the audio
recording level.
12To pause recording, press the VTR button again.
Basic Procedure for Shooting