


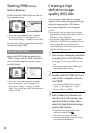

28
Creating a disc with
one touch
(One Touch Disc Burn)
You can save movies and photos on a
disc by simply pressing the (DISC
BURN) button on your camcorder. Movies
and photos recorded on your camcorder
that have not yet been saved with One
Touch Disc Burn can be saved on a disc
automatically. Movies and photos are saved
on a disc with their recorded image quality.
High definition image quality (HD) movies
(the default setting) will make a high definition
image quality (HD) disc. You cannot play a high
definition image quality (HD) disc on DVD
players.
Creating a Blu-ray disc is not available with One
Touch Disc Burn.
To create a standard definition image quality
(SD) disc from high definition image quality
(HD) movies, import movies to a computer first
(p. 29), and then create a standard definition
image quality (SD) disc (p. 32).
Install “PMB” beforehand (p. 24), however, do
not start “PMB.”
Connect your camcorder to the wall outlet (wall
socket) using the AC Adaptor supplied for this
operation (p. 11).
With the
(DISC BURN) button, you
can save movies and photos recorded on the
internal hard disk only.
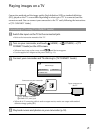
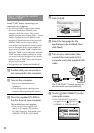
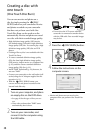
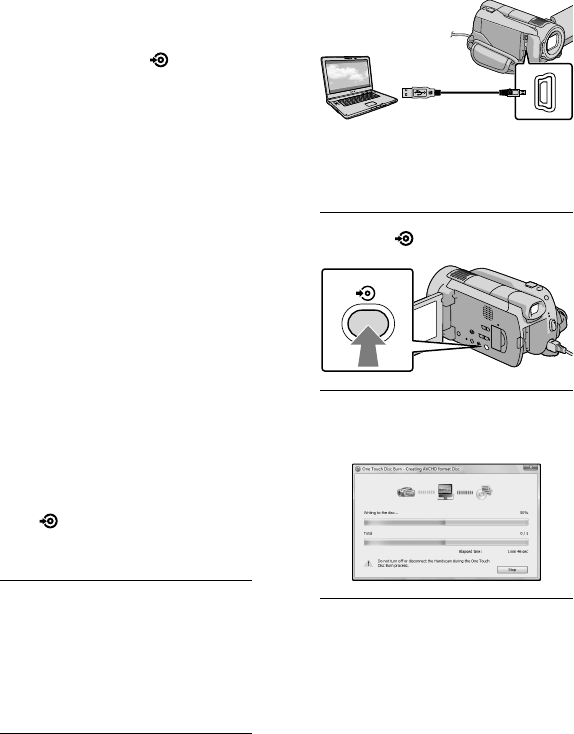
1
Turn on your computer, and place
an empty disc on the DVD drive.
See page 26 for the type of discs you can
use.
If any other software than “PMB” starts
automatically, shut it down.
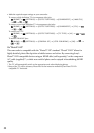
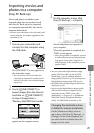
2
Turn on your camcorder, and
connect it to the computer using
the USB cable.
Do not close the LCD screen when the
camcorder is connected to another device
with the USB cable. Your recorded images
may be lost.
3
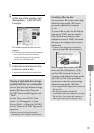
Press the (DISC BURN) button.
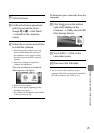
4
Follow the instructions on the
computer screen.
Movies and photos are not saved on the
computer when you perform One Touch Disc
Burn.