


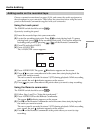
95
Editing
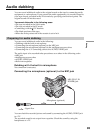
Adding audio on the recorded tape
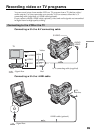
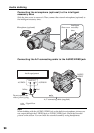
Choose a connection mentioned on pages 93, 94, and connect the audio equipment or
the microphone to your camcorder. Then follow the procedure below using the touch
panel or the Remote Commander supplied with your camcorder.
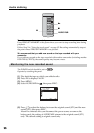
Using the touch panel
The POWER switch should be set to .
Operate by touching the panel.
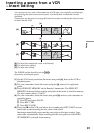
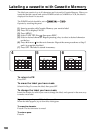
(1) Insert the recorded tape into your camcorder.
(2) Locate the recording start point. Press
to start playing back. To pause
playing back, press
at the recording start point. You can fine adjust the
recording start point by pressing
/ on the Remote Commander.
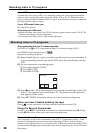
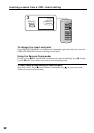
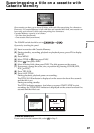
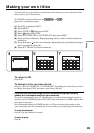
(3) Press FN and select PAGE3.
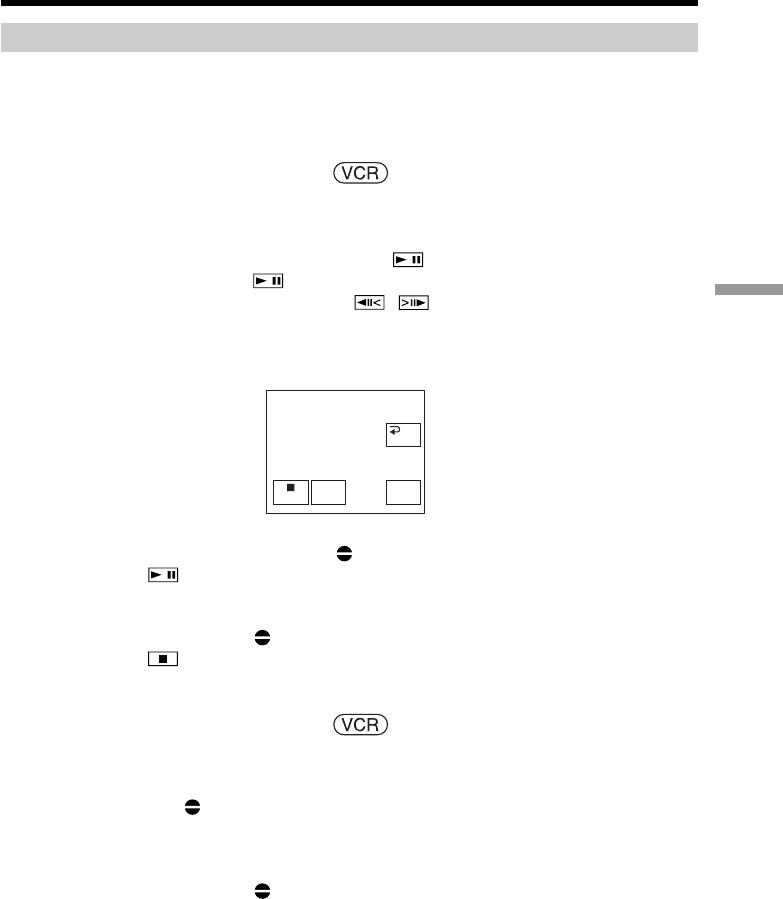
(4) Press A DUB CTRL.
The A DUB CTRL screen appears.
(5) Press AUDIO DUB. The green
X indicator appears on the screen.
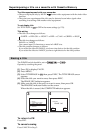
(6) Press
on your camcorder and at the same time start playing back the
audio you want to record.
The new sound is recorded in stereo 2 (ST2) during playback. While recording
new sound, the red
indicator appears on the screen.
(7) Press
on your camcorder at the point where you want to stop recording.
Using the Remote commander
The POWER switch should be set to .
(1) Follow Step 1 and 2 in “Using the touch panel.”
(2) Press AUDIO DUB on the Remote Commander.
The green
X indicator appears on the screen.
(3) Press X on the Remote Commander and at the same time start playing back
the audio you want to record.
The new sound is recorded in stereo 2 (ST2) during playback. While recording
new sound, the red
indicator appears on the screen.
(4) Press x on the Remote Commander at the point where you want to stop
recording.
Audio dubbing
N
X
A DUB CTRL
RET.
AUDIO
DUB