


66
Adjusting the Audio Level
Chapter 4 Adjustments and Settings for Recording
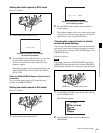
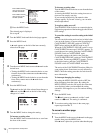
Manual adjustment of the audio levels
of the front microphone
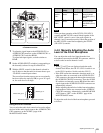
1
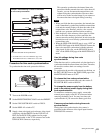
Set either or both of the AUDIO IN switch(es) to
FRONT as follows:
When using the front microphone input for both
channels 1 and 2: Set both AUDIO IN switches to
FRONT.
When using the front microphone input for either
channel 1 or 2: Set the AUDIO IN switch for the
desired channel to FRONT.
2
Set the AUDIO SELECT switch(es) for the desired
channel(s) selected in step 1 to MANUAL.
3
Turn the MIC LEVEL control, and adjust so that the
audio level meter shows up to –20 dB for a normal
input volume.
• The 9 bars from the bottom among 17 bars go on
with the normal input volume.
• The second top bar may turn on occasionally, but do
not allow the top bar to go on. If it goes on, the audio
level is too high.
Using the LEVEL controls
You can select the audio level controls to be used to adjust
the level of the front microphone on the AUDIO-3 page of
the MAINTENANCE menu.
When you have operation of the MIC LEVEL control and
LEVEL (CH-1/CH-2) controls linked together, if the
LEVEL (CH-1/CH-2) controls are set to 0, the audio
signals on channels 1 and 2 cannot be recorded. Check the
position of the LEVEL (CH-1/CH-2) controls before
adjusting the MIC LEVEL control.
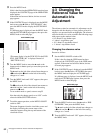
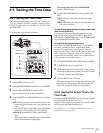
4-4-3 Input level of audio channels
CH-3 and CH-4
The levels of the audio signals recorded in audio channels
CH-3 and CH-4 are automatically adjusted or fixed. You
cannot adjust them manually.
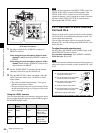
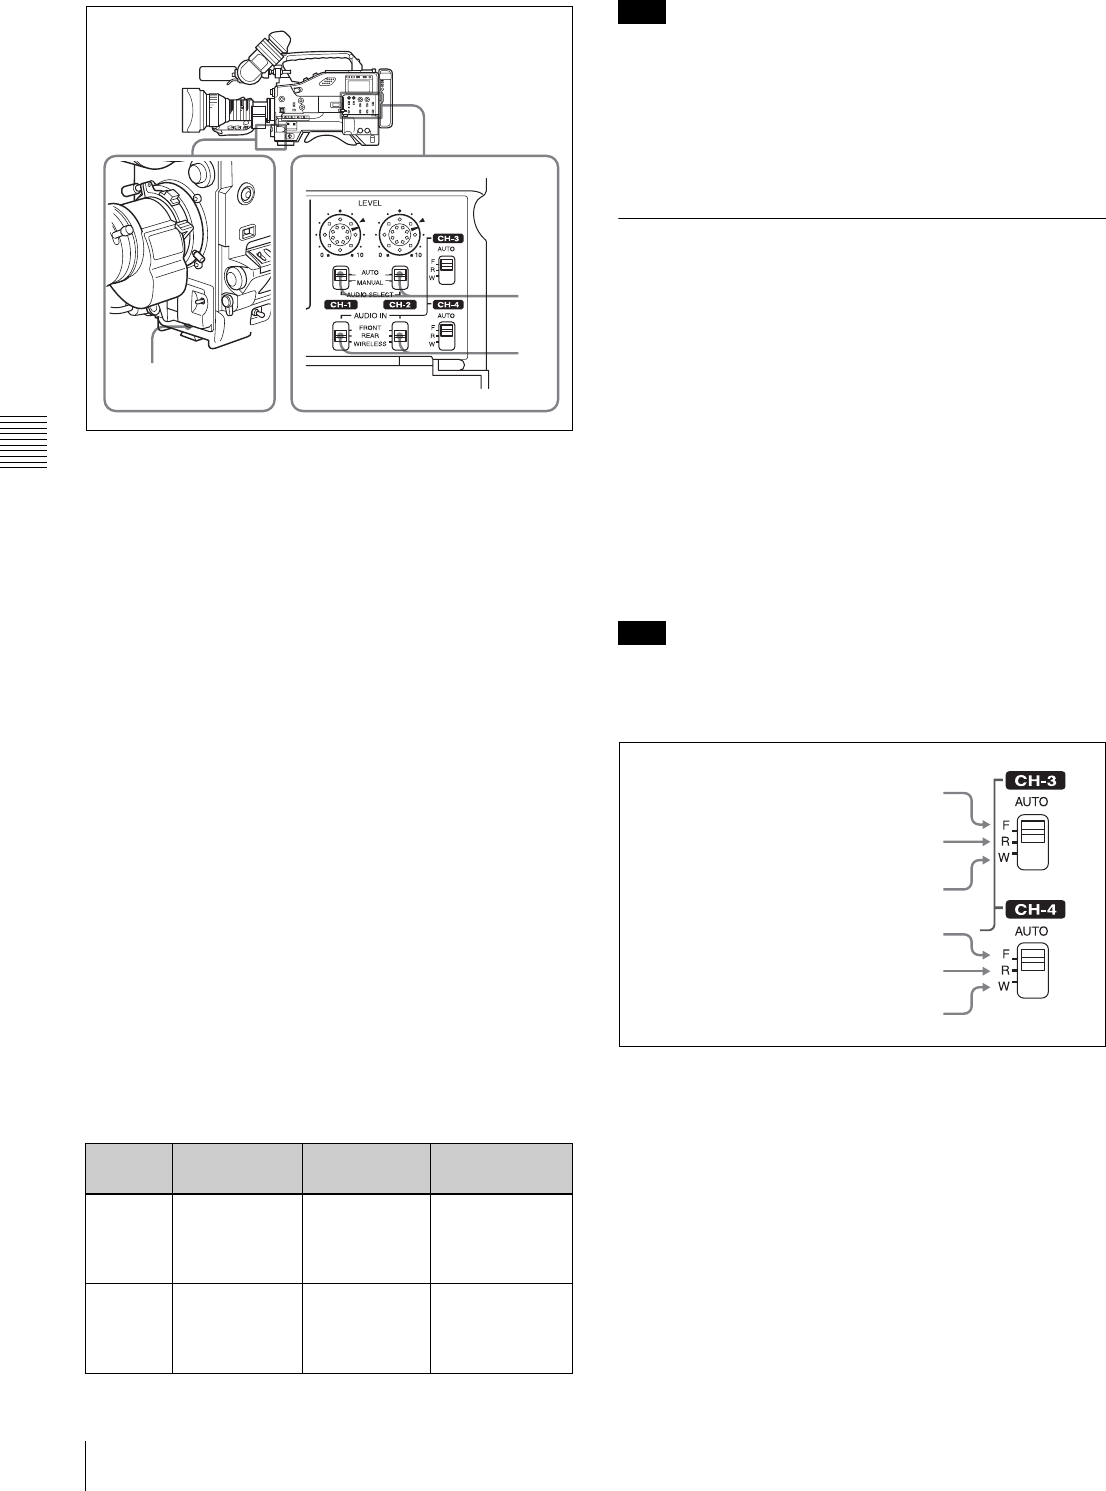
You can select the audio signal to be recorded in audio
channels CH-3 and CH-4 using the AUDIO IN CH-3 and
CH-4 switches.
To adjust the audio recording level
Set AU CH34 AGC MODE on the AUDIO-2 page of the
MAINTENANCE menu as follows:
For automatic adjustment: Set to STREO or MONO.
To fix the level: Set to OFF.
The XLR connector automatic detection function does not
affect audio signals recorded on audio channels CH-3 and
CH-4.
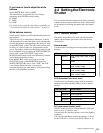
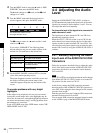
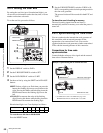
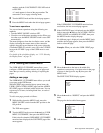
Audio signals to be recorded on audio channels 3 and 4
At the factory
setting
Example 1 Example 2
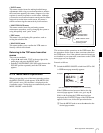
Audio
level to
CH-1
MIC LEVEL
control
LEVEL (CH-1)
control
The MIC LEVEL
control is linked
with LEVEL
(CH-1) control.
Audio
level to
CH-2
MIC LEVEL
control
LEVEL (CH-2)
control
The MIC LEVEL
control is linked
with LEVEL
(CH-2) control.
1
2
3
Note
Note
F: The audio signal from the front
microphone is recorded.
F: Same as with the CH-3 switch.
R: The audio signal input to the AUDIO
IN CH1 connector is recorded.
W:The audio signal of the wireless
microphone is recorded.
R: The audio signal input to the AUDIO
IN CH2 connector is recorded.
W:Same as with the CH-3 switch.