


72
Menu Organization and Operation
Chapter 5 Menu Displays and Detailed Settings
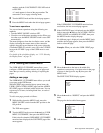
2 Press the MENU knob.
The selected page is displayed.
Go to step 4.
2
Turn the MENU knob until the desired page appears.
3
Press the MENU knob.
A
b mark appears on the left of the item currently
selected on the page.
4
Turn the move MENU knob to move the b mark to the
desired item.
• Turning the MENU knob counterclockwise as seen
from the front of the camera moves the
b mark up
continuously.
• Turning the MENU knob clockwise as seen from the
front of the camera moves the
b mark down
continuously.
5
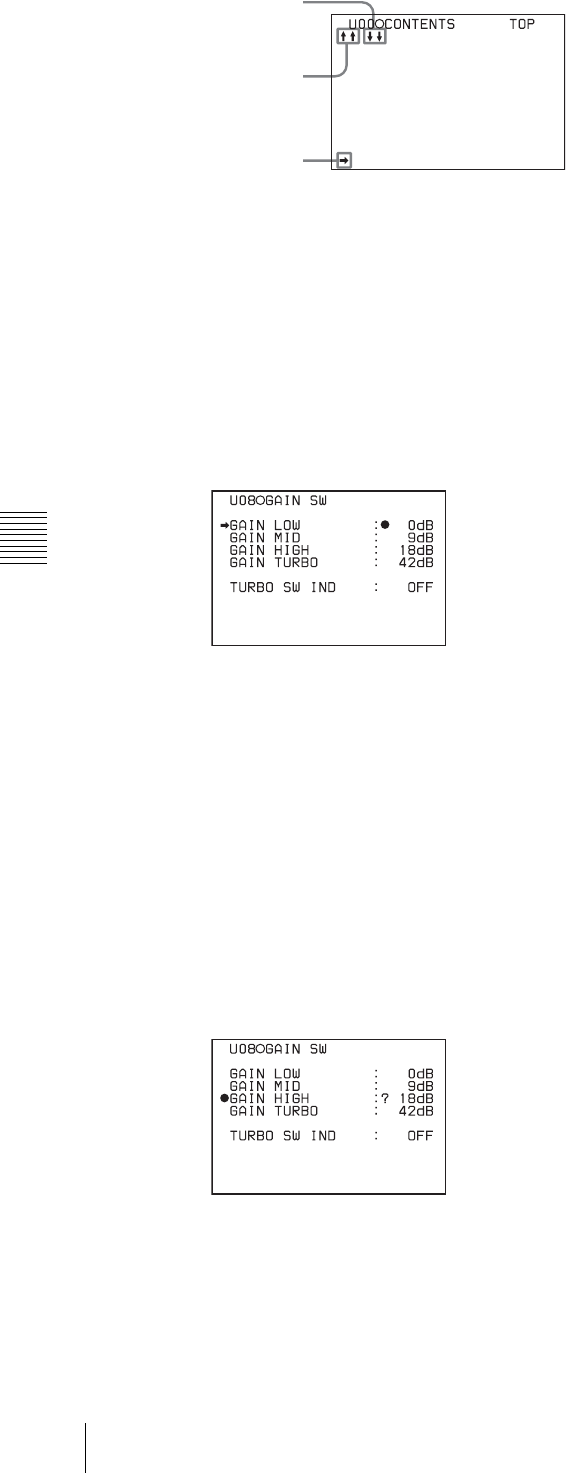
Press the MENU knob.
The
b mark on the left of the selected item changes to
a z mark, and the z mark on the left of the setting
changes to a ? mark.
6
Turn the MENU knob to change the setting.
To increase a setting value
Turn the MENU knob counterclockwise as seen from
the front of the camera.
To decrease a setting value
Turn the MENU knob clockwise as seen from the front
of the camera.
As turning the MENU knob, the setting increases or
decreases one step by one step.
If you turn the knob quickly, the numeric value
changes rapidly. If you turn it slowly, you can make
minute adjustments.
To toggle a setting on or off
Turn the MENU knob clockwise or counterclockwise.
Each turning operation of the knob toggles the ON and
OFF settings.
To cancel the setting/to reset the setting to the initial
setting
You can cancel the setting and reset it to its initial value
(one set at the factory, or preset value) by pushing the
CANCEL/PRST / ESCAPE switch to CANCEL/
PRST before pushing the MENU knob in step 7.
When the CANCEL/PRST / ESCAPE switch is set to
CANCEL/PRST, the message CANCEL? appears. To
cancel the previous setting, push the CANCEL/PRST/
ESCAPE switch to CANCEL/PRST again.
To reset the setting to the initial value, push the
CANCEL/PRST/ESCAPE switch to CANCEL/PRST
a third time. The message PRESET? appears. To reset
to the initial setting, push the CANCEL/PRST/
ESCAPE switch to CANCEL/PRST once more.
The action of the CANCEL/PRST function differs for
some setting items. Some items are only affected by
PRST. Check the setting procedure for each item for
more information.
To interrupt changing the settings
By setting the MENU ON/OFF switch to OFF, the
menu disappears from the screen. By setting the
MENU ON/OFF switch to ON again, the values that
were displayed when you interrupted the setting
operations will reappear so you can continue making
settings.
7
Press the MENU knob.
The z mark returns to a
b mark, and the ? mark
returns to a z mark. The setting is confirmed.
8
To continue setting other items in the same page,
repeat steps from 4 to 7.
To move to another page
Proceed as follows:
1
Turn the MENU knob to move the b mark to the page
number, then press the MENU knob.
If the
b mark is placed at a position other than the page
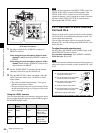
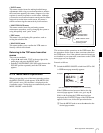
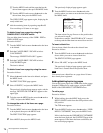
01.OUTPUT
02.TEST OUT
03.FUNCTION1
04.VF DISP 1
05.VF DISP 2
06.`!'LED
07.MARKER
08.GAIN SW
09.VF SETTING
10.AUTO IRIS
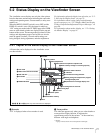
This indicates that the
menu screen can be
scrolled downwards.
b mark
This indicates that the
menu screen can be
scrolled upwards.