86
E:\SONY\2661356111\01GB08COM_E.fm
HDR-HC3E
2-661-356-11(1)
• After you start up [Click to DVD
Automatic Mode Launcher] once, from
then on it starts up automatically when
you turn on your computer.
• [Click to DVD Automatic Mode
Launcher] is set up for each Windows XP
user.
1 Turn on the computer.
Close all applications running with an
i.LINK.
2 Prepare the power source for the
camcorder.
Use the supplied AC Adaptor as the
power source since it takes a few hours
to create a DVD.
3 Slide the POWER switch to turn
on the PLAY/EDIT lamp.
4 Touch t [MENU] t
(STANDARD SET) t [i.LINK
CONV] t [ON (HDV t DV)] t
.
5 Insert a recorded cassette into
your camcorder.
6 Connect your camcorder to a
computer via an i.LINK cable
(p. 85).
• When you connect your camcorder to a
computer, make sure you insert the
connector in the correct way. If you insert
the connector forcibly, damage may occur
and cause camcorder malfunction.
7 Touch t [MENU] t
(EDIT/PLAY) t [BURN DVD] t
.
“Click to DVD” starts up and the on-
screen instructions appear on your
computer.
8 Place a writable DVD in the disc
drive of the computer.
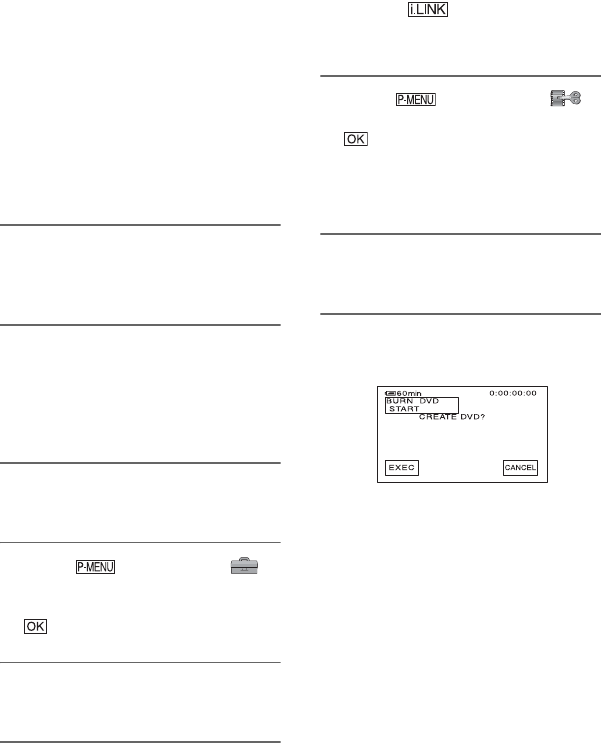
9 Touch [EXEC] on the screen of
your camcorder.
The status of the operation on your
computer is displayed on the LCD
screen of your camcorder.
CAPTURING: The picture recorded on
the tape is being copied to the computer.
CONVERTING: The picture is being
converted to the MPEG2 format.
WRITING: The picture is being written
onto the DVD.
• If you use a DVD-RW/+RW which has
other data stored on it, the message [This is
a recorded disc. Delete and overwrite?]
appears on the LCD screen of your
camcorder. When you touch [EXEC], the
existing data is erased and new data is
written.
Creating a DVD (Direct Access to “Click to DVD”) (Continued)
