33
Recording/Playback
A or B starts flashing rapidly. It
will stay on when the white balance
adjustment is completed and the
adjusted value is stored in A or
B.
b Notes
• When a white balance adjustment value has not
been obtained successfully, A or B
turns from rapid flashing to slow flashing.
Adjust the subject appropriately and set the
shutter speed to auto or around 1/60, then try
adjusting the white balance again.
• It may take a long time to adjust the white
balance, depending on the recording conditions.
If you want to perform a different operation
before completing the adjustment, set the white
balance memory switch B to another position
to temporarily suspend white balance
adjustment.
To adjust the white balance
automatically
Press the WHT BAL button A or set the
AUTO/MANUAL switch D to AUTO.
b Notes
• When you set the AUTO/MANUAL switch D
to AUTO, other manual adjusted items (iris,
gain, and shutter speed) also become automatic.
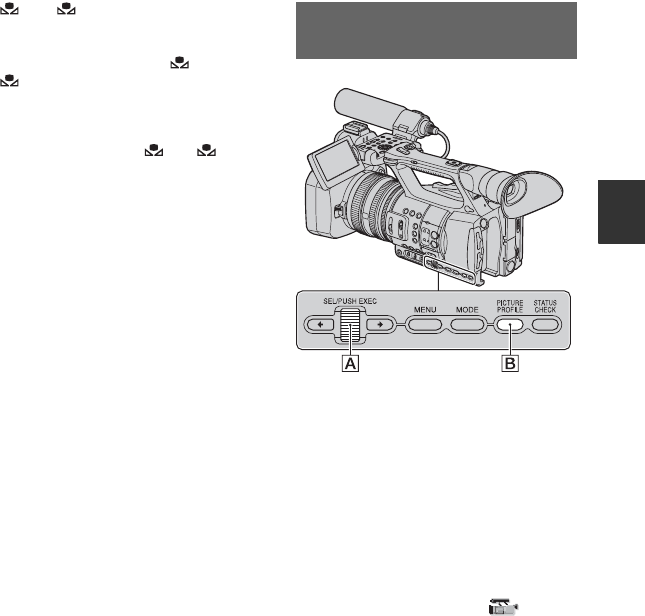
You can customize the picture quality by
adjusting picture profile items such as
[GAMMA] and [DETAIL].
Connect your camcorder to a TV or
monitor, and adjust the picture quality
while observing the picture on the TV or
monitor screen.
Picture quality settings for different
recording conditions have been stored in
[PP1] through [PP6] as default settings.
b Notes
• When you set [x.v.Color] in the
(CAMERA SET) menu to [ON], the picture
profile will be disabled.
Customizing the picture quality
(Picture profile)
Continued ,


