masterpage:Left
filename[D:\WORKS\CD\3067951111\3067951111MVCCD200UC\02GB-
MVCCD200UC\08adv.fm]
82
model name1[MVC-CD200/CD300]
[3-067-951-11(1)]
To unmark selected print
marks
Select the image to be unmarked in
step 5 with
v
/
V
/
b
/
B
,thenpress
z
.
To unmark all the print
marks
Select [ALL] with
b
/
B
in step 4, then
press
z
. Select [OFF] with
b
/
B
,then
press
z
.
The marks on all images are
unmarked.
To cancel marking the print
mark
Select [CANCEL] with
b
/
B
in step 4,
then press
z
, or select [EXIT] with
b
/
B
in step 7,thenpress
z
.
Notes
• You cannot mark moving images, Clip
Motion images or images recorded in
TEXT mode.
• If you mark an image recorded in TIFF
mode with a print mark, only the
uncompressed image is printed, and the
JPEG image recorded at the same time is
not printed.
• If you mark an image with a print mark,
the disc space will decrease. Also, if you
unmark the print mark, the disc space will
decrease.
• If the disc space is not sufficient, you may
not be able to mark an image with a print
mark.
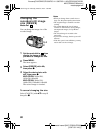
Formatting a CD-RW
When deleting all the images in the
CD-RW or using the CD-RW
formatted with other equipment than
this camera, format the CD-RW. When
youformataCD-RW,alldatastored
on the disc will be deleted. Check the
contents of the disc before formatting.
The initialization is also executed after
the format.
To cancel formatting
Select [CANCEL] with
v
/
V
in step 3,
then press
z
.
6
Press MENU.
The menu appears.
7
Select [OK] with
b
/
B
,then
press
z
.
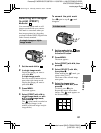
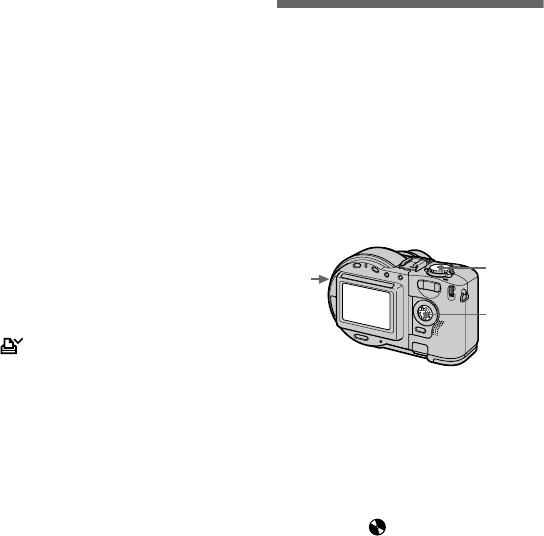
1
Insert only the CD-RW you
want to format.
2
Set the mode dial to SET UP.
The setup screen appears.
3
Select [ ] (DISC TOOL) with
v
/
V
, [FORMAT] with
B
/
v
/
V
,
then press
B
.
4
Select [OK] with
v
/
V
,then
press
z
.
“FORMAT PLACE ON LEVEL
SURFACE” appears on the LCD
screen.
5
Select [OK] with
v
/
V
,then
press
z
.
2
1
3
–
5
01cov.book Page 82 Thursday, March 8, 2001 4:59 PM


