


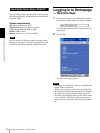

Administrating the Camera
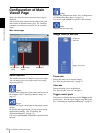
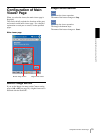
Configuring the System — System setting Page
18
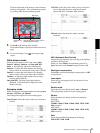
Default frame rate
Select the initial frame rate which is selected when you
log in the camera and display the main viewer page.
Click the down-arrow button in the box and select the
frame rate from the drop-down list.
The selectable frame rates are the following:
SNC-CS3N:
1, 2, 3, 4, 5, 6, 8, 10, 15, 20, 25, Fastest
SNC-CS3P:
1, 2, 3, 4, 5, 6, 8, 12, 16, 20, Fastest
The numbers indicate “FPS” (the number of frames
transmitted per second).
With Fastest, the camera transmits the maximum
number of frames possible for the connected line. The
maximum frame rate is 30 FPS for the SNC-CS3N and
25 FPS for the SNC-CS3P.
Note
To update the main viewer page for the changed setting,
click Refresh of the browser.
Default URL
Select the homepage to be displayed when you enter the
IP address of the camera in the Address box of the
browser.
To display the homepage built in the camera
Select /index.html.
To display your individual homepage
You can display the favorite homepage that you have
created using the CGI commands of the camera. Store
the HTML file in the built-in flash memory using the
Custom Homepage Installer included in the supplied
CD-ROM.
1
Select User Setting/ddrv/.
2
Store the HTML file in the built-in flash memory
using the Custom Homepage Installer included in
the supplied CD-ROM.
For use of the Custom Homepage Installer, see
page 48.
3
Type the path of the homepage in the text box up to
64 characters.
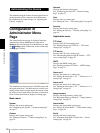
System log
Click View to display the Log file events page.
The Log file events page shows the software version and
troubleshooting information.
Access log
Click View to display the Access log page.
The Access log page shows the history of accessing the
camera.
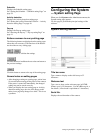
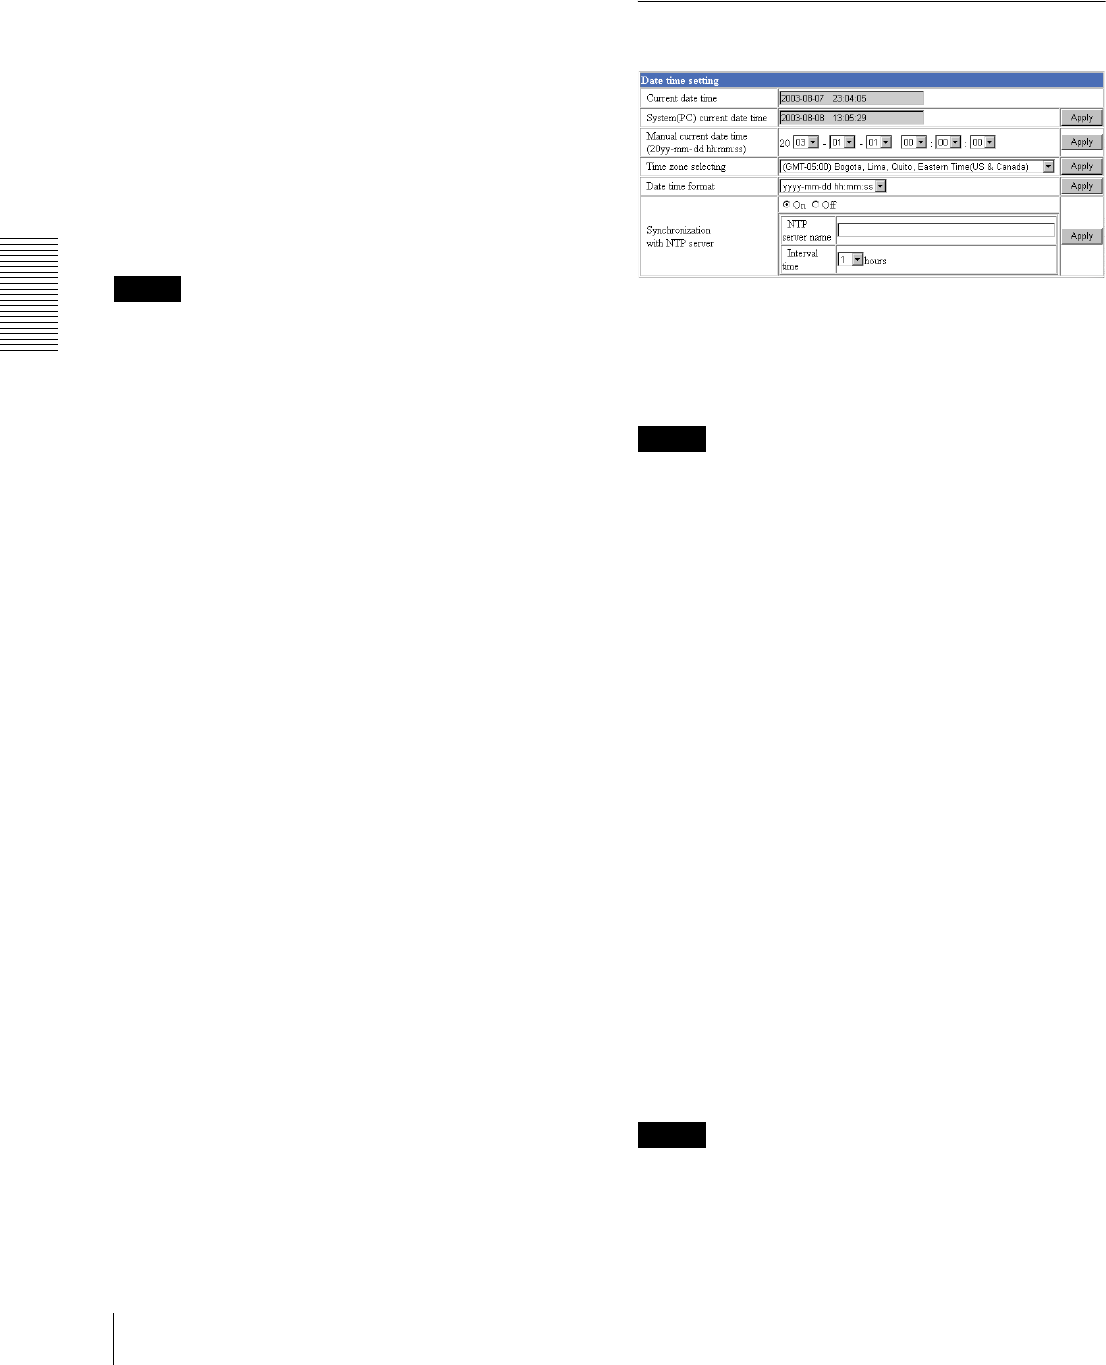
Date time setting Section
Current date time
Displays the date and time set on the camera.
You can set the date and time using the following two
methods.
Note
When you purchased the camera, be sure to check the
date and time of the camera and set them if necessary.
System (PC) current date time
Displays the date and time set on your computer.
Click Apply to transfer the computer’s date and time to
the camera.
The set date and time are shown on Current date time.
Manual current date time
When you want to set the camera’s date and time
manually.
Select the lower 2-digits of the year, month, date, hour,
minutes and seconds from each drop-down list. Click
Apply to change the Current date time setting to the date
and time you selected.
Time zone selecting
Set the time difference from Greenwich Mean Time in
the area where the camera is installed. When you send
an E-mail, the senting date and time is adjusted
according to this setting.
Select the time zone where the camera is installed from
the drop-down list. Click Apply to change the Current
date time setting according to the selection.
Notes
• If the time zone selected on the Time zone selecting
menu is different from that set on the computer, the