


124
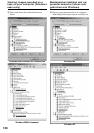
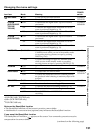
(6)Klik op de knop links op het scherm.
Nu verschijnt het openingsscherm van het
“PIXELA ImageMixer Ver.1.0 for Sony”
programma op het scherm.
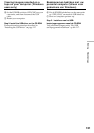
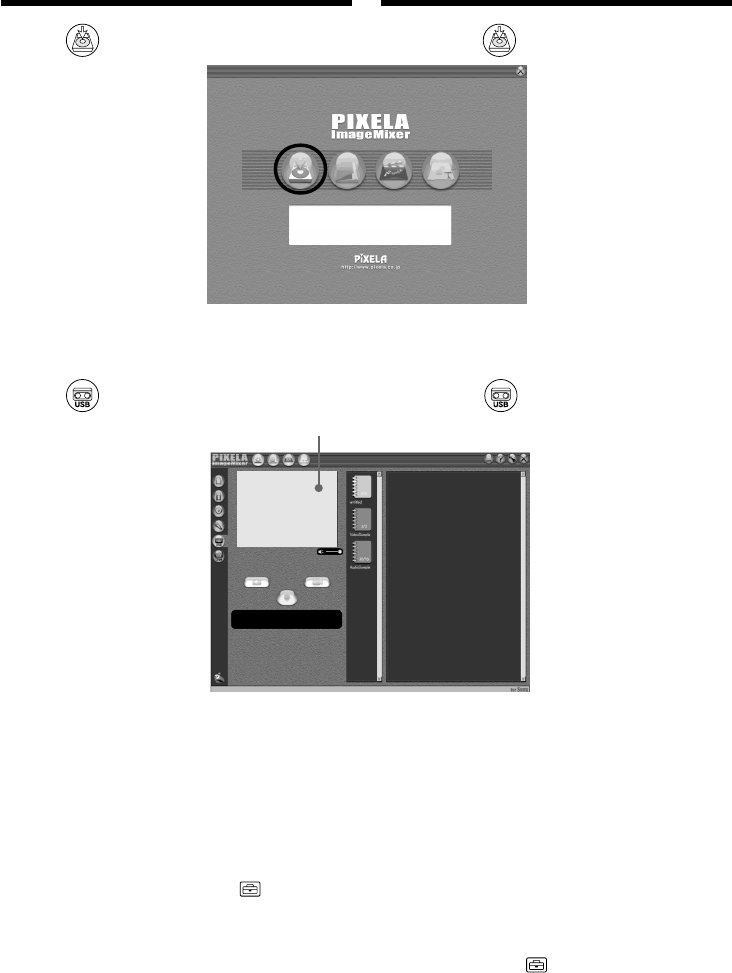
(7)Klik nu op .
(8)Start het afspelen van de videoband op uw
camcorder.
De beelden van de bandopnamen verschijnen
in het voorvertoningsvenster.
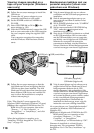
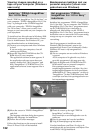
Directe beeldweergave via uw camcorder
(1)Volg de aanwijzingen (1) en (2) op blz. 123,
sluit de netspanningsadapter aan op uw
camcorder en steek de stekker in het
stopcontact.
(2)Zet de POWER schakelaar in de “CAMERA”
stand.
Stel het menu-onderdeel USB STREAM op
“ON”, onder het pictogram in het
instelmenu (zie blz. 128)
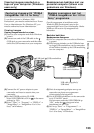
(3)Volg de aanwijzingen van (5) t/m (7) op blz.
123 en 124.
De beelden die uw camcorder opneemt,
verschijnen nu direct “live” in het
voorvertoningsvenster.
Bandopnamen bekijken met uw
personal computer (alleen voor
gebruikers van Windows)
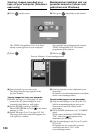
(6)Click on the screen.
The “PIXELA ImageMixer Ver.1.0 for Sony”
startup screen appears on your computer.
(7)Click .
(8)Start playback on your camcorder.
The image from the tape appears in the
preview window.
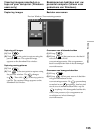
Viewing images live from your camcorder
(1)Follow the steps (1), (2) on page 123, then
connect the AC power adaptor to your
camcorder and then to a wall socket.
(2)Set the POWER switch to CAMERA.
Select USB STREAM to ON in in the menu
settings (p. 128).
(3)Follow the steps (5) to (7) on page 123, 124.
The image from your camcorder appears live
in the preview window.
Viewing images recorded on a
tape on your computer (Windows
users only)
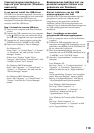
Preview Window/Voorvertoningsvenster