


Adjustment
Menu Operation
15
Adjustment
Menu Operation
You can set the following items using the relevant menu:
• Confirming information (INFORMATION) (page 15)
• Adjusting the print quality (PRINT QUALITY)
(page 15)
• Calibration (CALIBRATION) (page 16)
• Adjusting the density (DENSITY ADJ) (page 17)
• Selecting a gamma curve (GAMMA SEL) (page 19)
Notes
• The next printout will be printed with the values most
recently set. You cannot adjust the setting during
printing. Once you have adjusted and stored the
settings, the printer operates according to those
settings until their values are modified.
• If you do not press any button for approximately 15
seconds after pressing the MENU button, the printer is
automatically reset to standby status.
Confirming Information
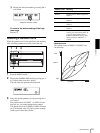
You can confirm the IP address and the total number of
prints made since you started the unit.
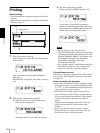
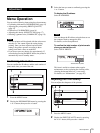
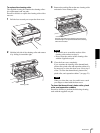
1
Press the MENU button.
2
Display the INFORMATION menu by pressing the
F or f button, then press the g button.
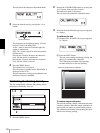
3
Select the item you want to confirm by pressing the
F or f button.
To display the IP address
Select IP ADDRESS.
Note
You can change the IP address using the browser on
the computer used to manage the unit.
For details, see the Setup Manual.
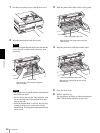
To confirm the total number of prints made
since you started the unit
Select TOTAL PRINTS.
This item is useful to estimate when regular
maintenance such as replacing the cleaning roller,
cleaning the thermal head, etc., is necessary.
For details, see “Maintenance” (on page 20).
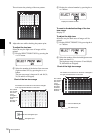
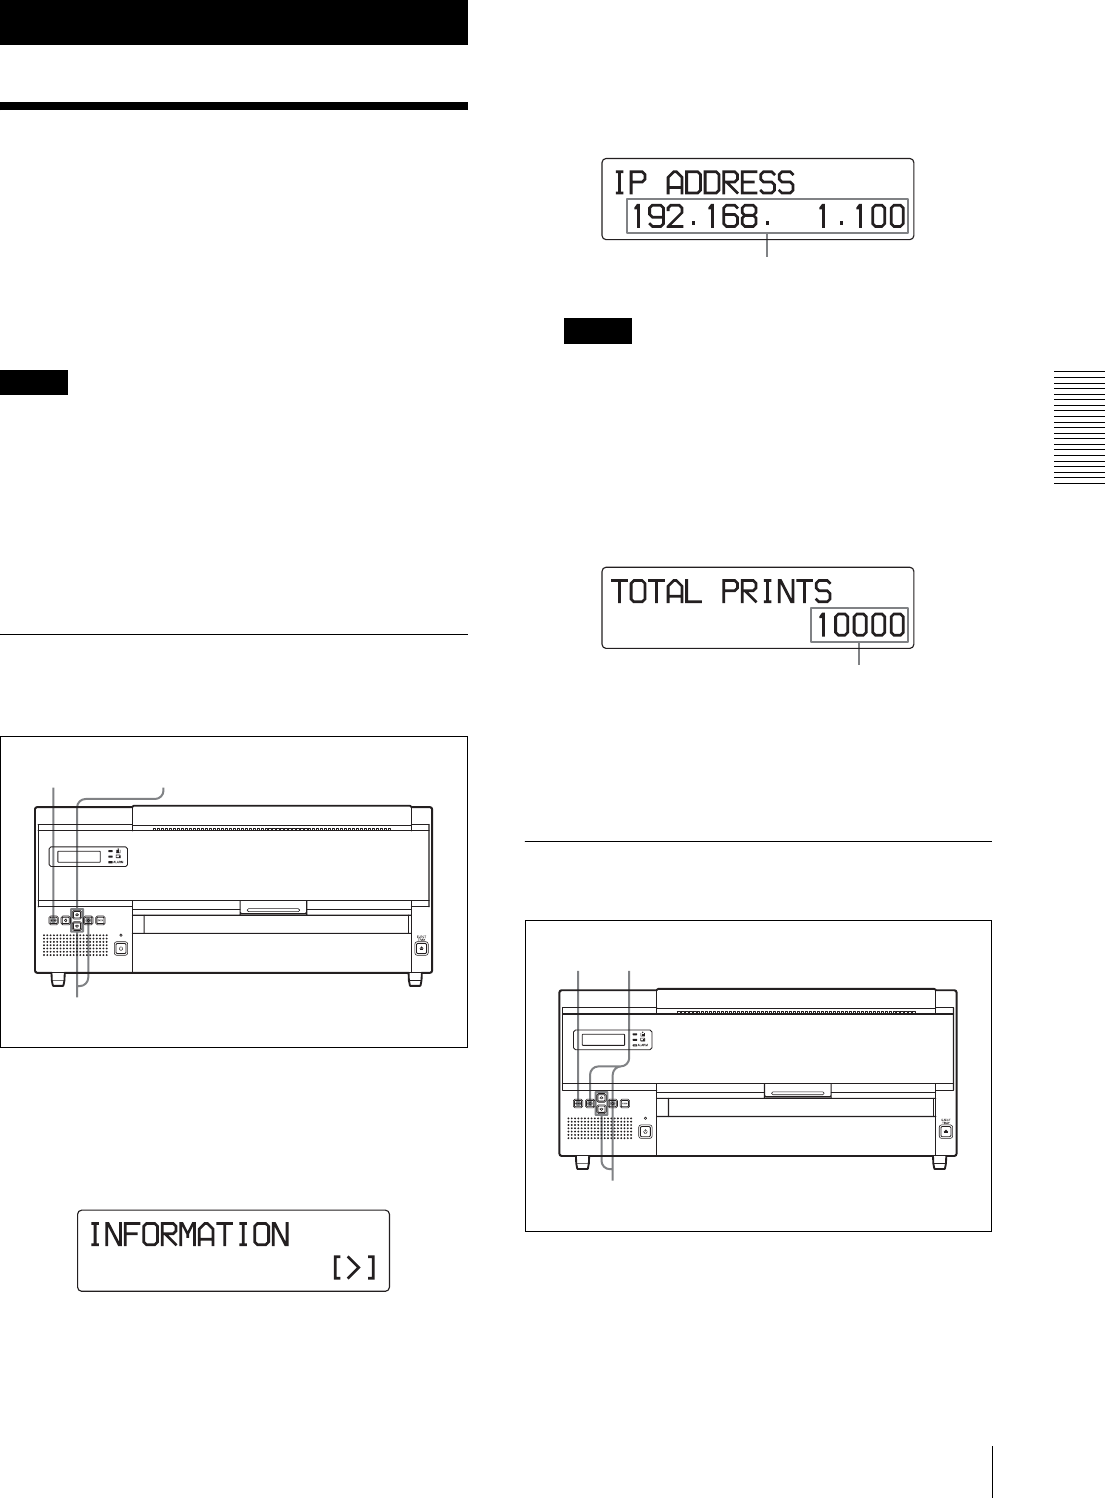
Adjusting the Print Quality
You can adjust the sharpness of the printout.
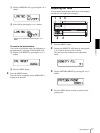
1
Press the MENU button.
2
Display the PRINT QUALITY menu by pressing
the F or f button, then press the g button.
1
3
2
IP address
Total number of prints
1, 4
2
3