21
Other
Applications
Playing/
Erasing Images
Basic
Photography
Additional
Information
Connecting to
the PC
Getting Ready
Important
1
2
Turning the Power ON
1
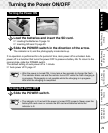
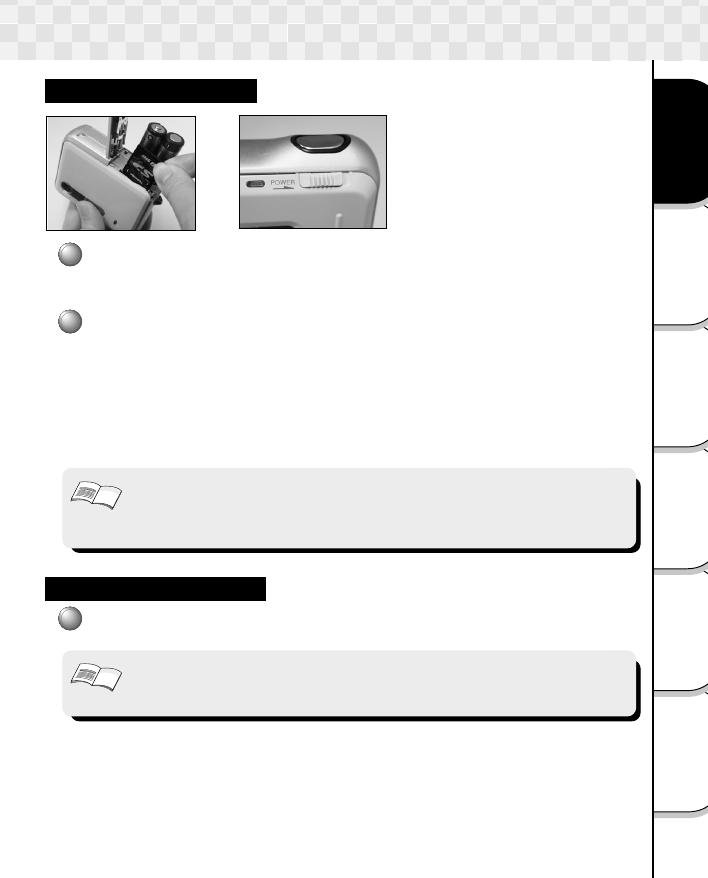
Load the batteries and insert the SD card.
☞ Loading the Batteries ➲ page 18
☞ Inserting SD card ➲ page 20
2
Slide the POWER switch in the direction of the arrow.
The indicator is lit, and the photography mode starts up.
If no operation is performed for a fix period of time, Auto power off is activated. Auto
power off is a function that turns the power OFF to preserve battery life. To return to the
normal state, slide the POWER switch.
The default setting of auto power off is 1 minute.
☞ Auto power off ➲ page 47
• After the power is turned ON, it may take a few seconds to charge the flash.
The indicator blinks red and the monitor turns OFF while the flash charging is
in progress. Photography is not possible while the charging is in progress.
Wait until the charging is completed.
Turning the Power OFF
1
Slide the POWER switch.
• The indicator is lit red until the power is turned OFF properly. Never open the
battery/SD card cover or remove the SD card and batteries while the
indicator is lit.
Turning the Power ON/OFF
Important


