


82
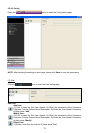
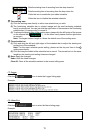
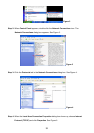
2. Click the PPPoE button on the left side of the page to enter the “PPPoE SETTING” page.
3. Choose “ON” from the “PPPoE mode” list to activate it.
4. Enter the Account and the Password which are provided from your ISP.
5. Click the Submit button to submit the setting.
NOTE: Please refer to section 5.1.8 for more details.
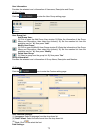
◇Use the Sub Hostname to view the IP Camera
1. Click the URL block at the top of the PC screen.
2. Type in the DDNS Host Name of the IP Camera into the URL block and press the “Enter”
button to enter the login page.
3. Enter the user name and fill in the password.
4. Click the “OK” button and enter the home page of the IP Camera.
Question 4:
How to set the scheduled record on from, say, 6:00 PM to 7:00 PM with the recording rate of
1F/8S and upload the recorded file to the FTP server?
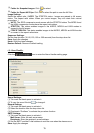
Set the scheduled recording time◇
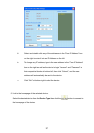
1. Click the Application button in the home page.
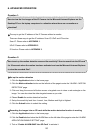
2. Click the Schedule button on the left side of the page to enter the “RECORD - SCHEDULE”
page.
3. Select one of the schedules and set the recording time period.
4. Tick the schedule on to activate it.
For example, if you want to set the schedule record on from 6:00 PM to 7:00 PM, please
choose “FROM 18:00 to 19:00” on the drop-down list. Then tick on the schedule which you just
set.
5. Click the Submit button to submit the setting.
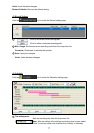
Upload the recorded file via the FTP◇
1. Click the Application button in the home page.
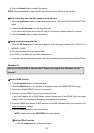
2. Click the Enable button on the left side of the page to enter the “RECORD APPLICATION
ENABLE SETTING” page.
3. Tick on “Enable RECORD - UPLOAD via FTP
”.
4. Click the Submit button to submit the setting.