


39
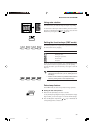
■ SETTING THE SCANNER ■
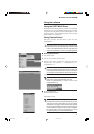
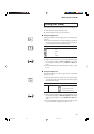
DATE
DATE
SHAPPNESS
PICTURE
NOTE
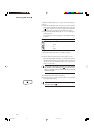
Using auto rotation
This function lets you rotate the image 90 degrees for printing.
To set the auto rotation print feature enabled, press the Auto Ro-
tation key to illuminate the lamp. To reset it, press the Auto
Rotation key once again to turn the lamp off.
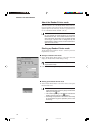
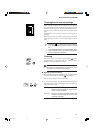
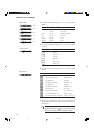
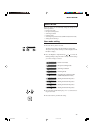
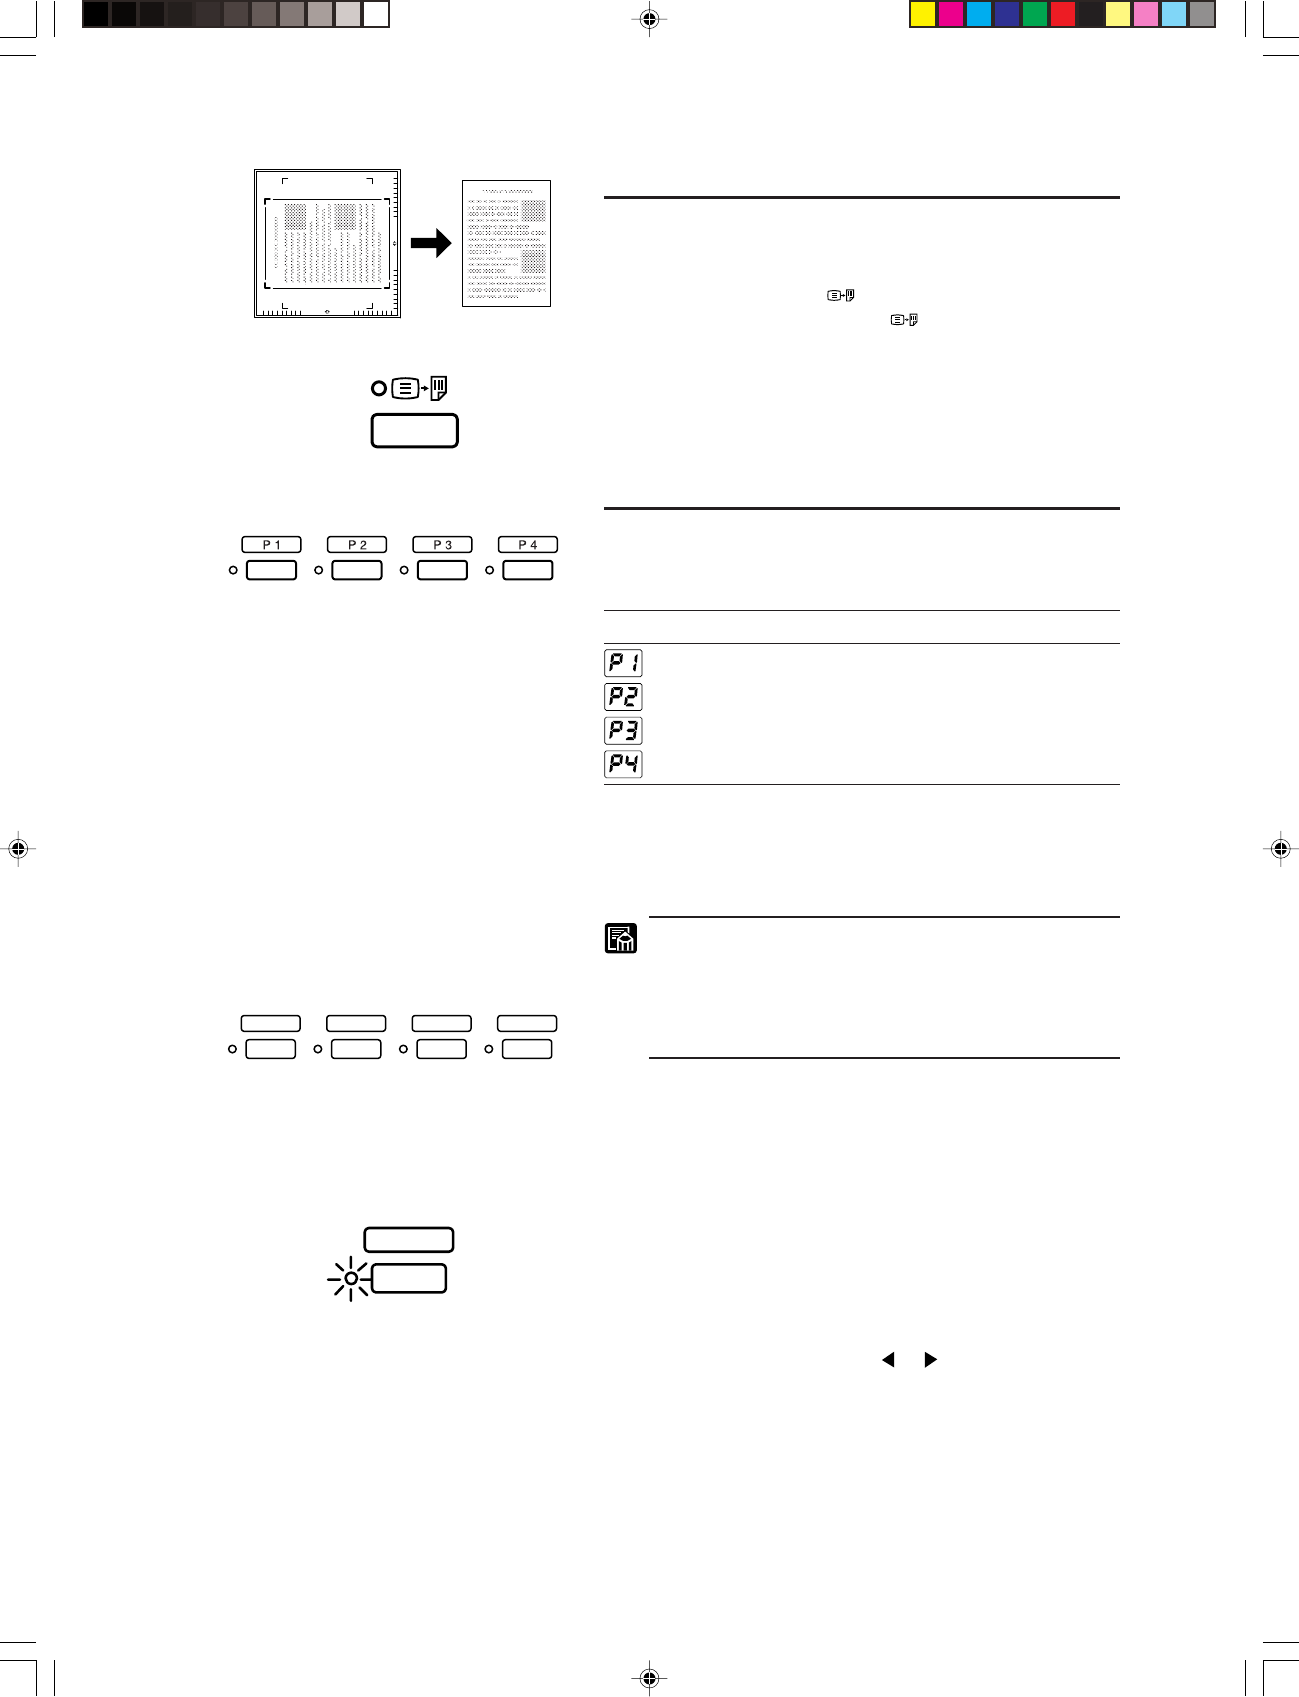
Setting the function keys (DMP mode)
The following features are assigned to the respective function keys
(P1 to P4) before factory shipping.
KEY Feature
Printing the date.
Printing the preset note.
Picture mode
Sharpness
To use any of the assigned features, press and illuminate the key
that a specific feature is assigned to before you start printing.
To reset the feature, press the same key once again to turn the
lamp off.
• The features assigned to the function keys can be
changed in the user mode. (➞P.47, “Setting the func-
tion keys”)
• Please use the function key labels bundled with the
scanner, pasting them on the respective keys.
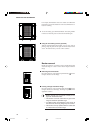
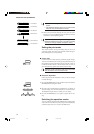
Date stamp feature
In the DMP mode, the date can be printed on image printouts.
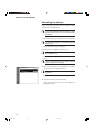
■ Setting the date stamp feature
1. Hold down the [DATE] key for about 2 seconds.
As the [DATE] lamp, Brightness display and Print/Error display
begin to blink, you can now begin to set various DATE settings.
2. Press the Brightness Adjustment ( or ) key to illuminate the
corresponding LED to a mode to set.
CE-IE-335-01 07.5.14, 14:1939