42
■ SETTING THE SCANNER ■
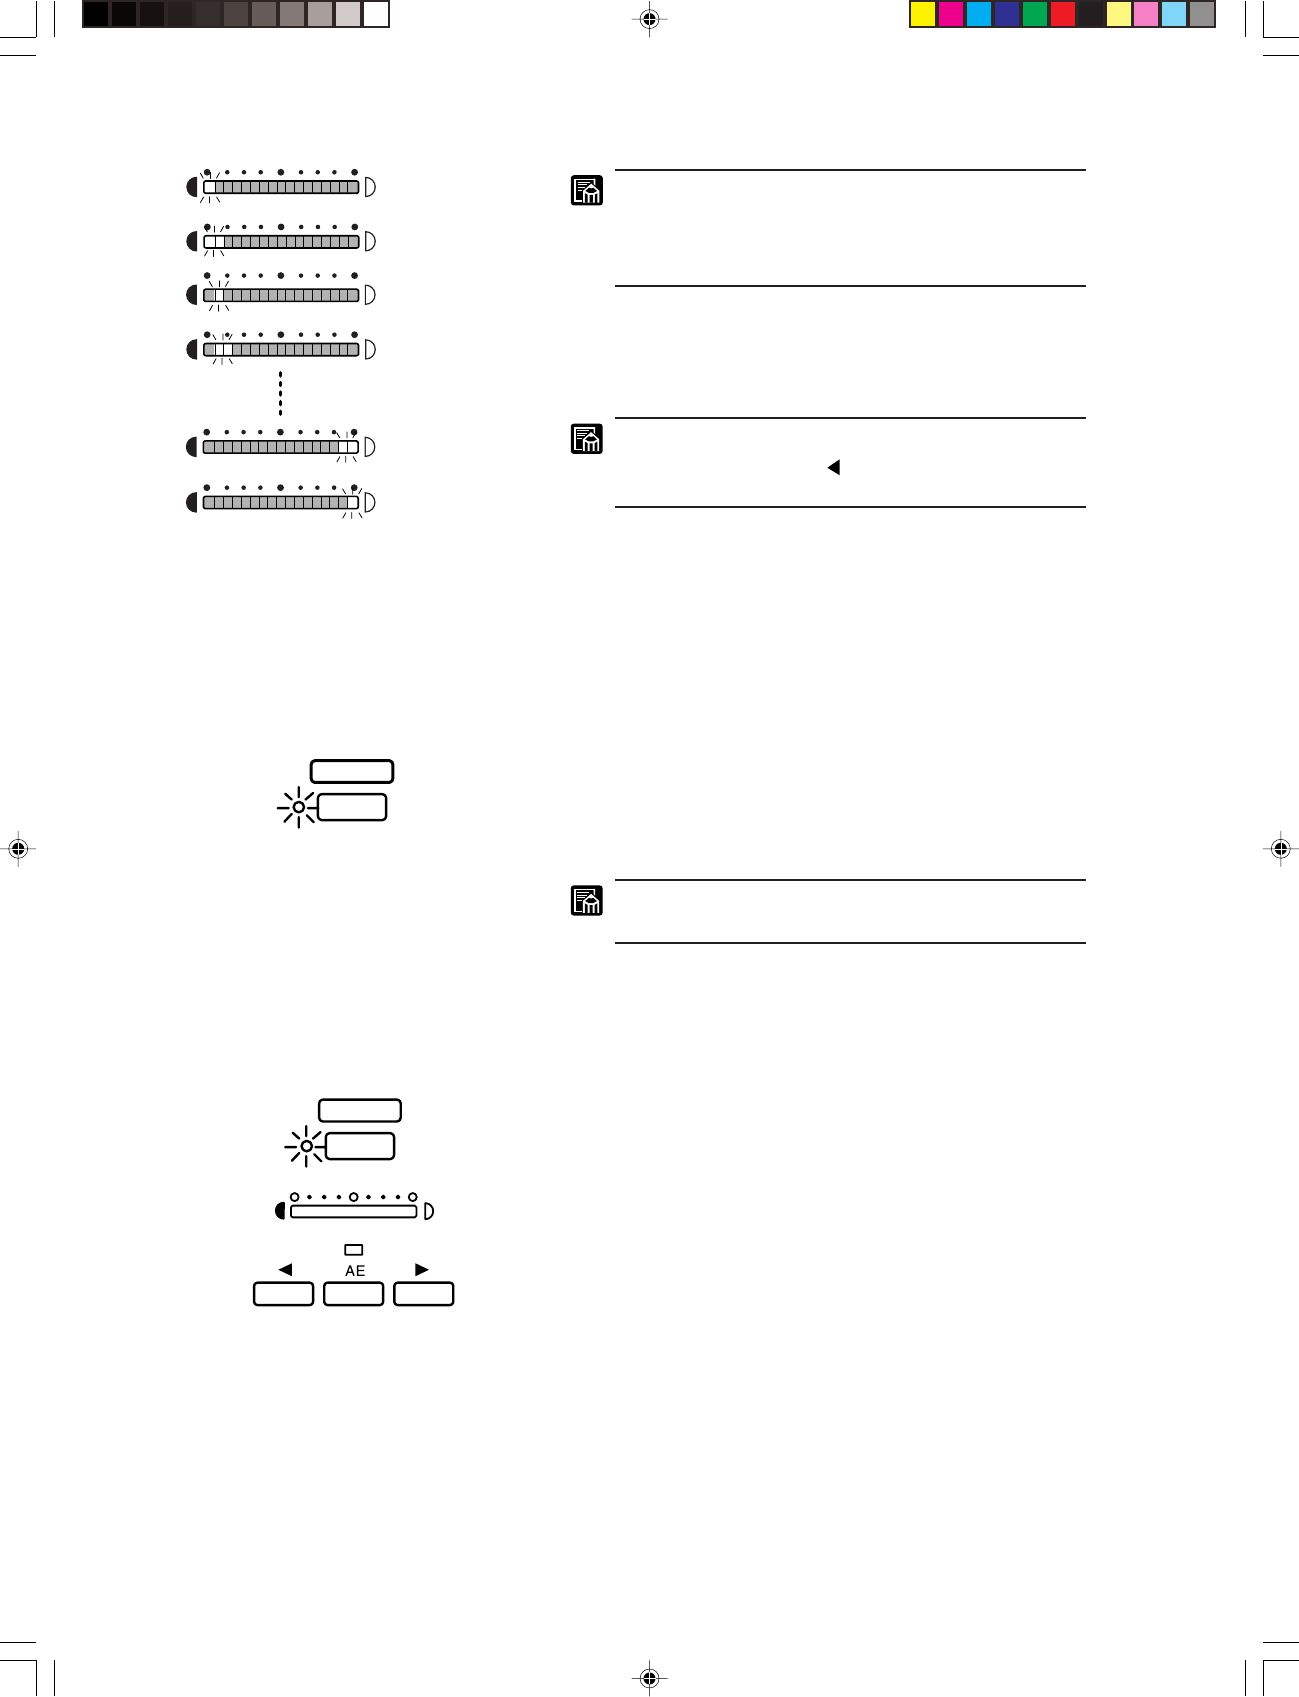
PICTURE
SHARPNESS
1st character
2nd character
3rd character
4th character
32nd character
33rd character
• Maximum note length is 33 characters including
spaces.
• The Brightness display shows your current location
within the note, as described on the left.
6. When you have finished entering the note, press the Clear/
Stop key to save it. The MS350II writes the note into memory
and returns to normal operating mode.
If you want to make a change in the setting, press the
Brightness Adjustment ( ) key to go back to a setting
you want to change, and then change the setting.
Setting the print mode
This section describes various print settings that you can use to
control the quality and format of the printouts. Make the appro-
priate settings before you start printing.
■ Picture mode
Use this mode for accurate printing of halftone graphic images.
You can switch the mode on or off by pressing the Picture key on
the operation keyboard. The lamp to the left of the key comes on
to indicate that the scanner is in the Picture mode. To reset it,
press the Picture key again to turn off the “Picture” lamp.
Automatic density adjustment (AE) does not function
while the scanner is in the Picture mode.
■ Sharpness adjustment
Follow the procedure described below when you need to sharpen
or soften the image.
1. Press the SHARPNESS key on the operation keyboard so that the
[SHARPNESS] lamp begins to blink.
2. Press the right or left Brightness Adjustment key to sharpen or
soften the image. You can set the sharpness to one of five levels.
The Brightness display moves to reflect your new setting.
3. Press the SHARPNESS key once again to register the new set-
ting.
Switching the operation modes
You can switch the operation mode (DMP mode or Scanner mode)
of the scanner. Press the function key assigned as the [DMP] key
so that the lamp comes on to switch to the DMP mode.
CE-IE-335-01 07.5.14, 14:2042


