


143
Additional
Information
E
About the NETWORK Mode
The NETWORK mode is for use with DV Messenger version 2 (Windows XP only).
Set the camcorder to NETWORK mode and connect it to the computer using a
USB cable or DV (IEEE1394) cable.
For details on DV Messenger version 2, refer to the DV Network Software
Instruction Manual.
Do not connect the camcorder to a printer when the camcorder is set to
NETWORK mode.
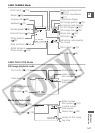
Connection
First, install DV Messenger. If you wish to connect the camcorder using a USB cable,
you also need to install the Canon USB Video Driver.
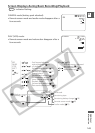
1. Connect the power adapter to the camcorder.
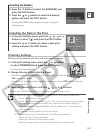
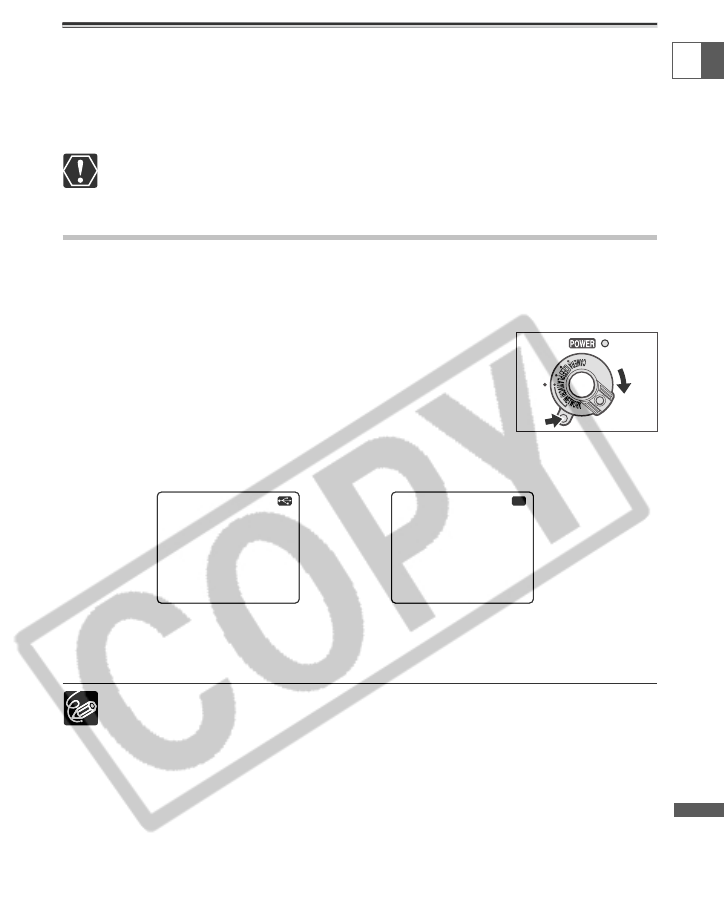
2. Press the small button below the POWER switch and
turn the POWER switch to NETWORK.
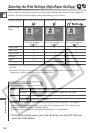
3. Connect the camcorder to the computer using a USB cable or DV cable.
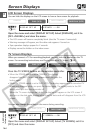
• “NETWORK MODE” appears on the camcorder screen.
• When you have connected the camcorder to the computer, start DV Messenger. You
can now operate the camcorder from the computer using DV Messenger.
❍ When DV Messenger is started and set up for communication, the video
picture appears on the computer screen.
❍ In NETWORK mode, the camcorder can only be operated from the computer,
except for the following functions:
- When the DV Messenger [CAMERA] control panel is displayed: Zoom and
focus (when DV Messenger set to autofocus)
- When the DV Messenger [VCR] control panel is displayed: Volume
adjustment of the built-in speaker
❍ Following functions cannot be used with DV Messenger:
- Image stabilizer
- Built-in flash
❍ The camcorder cannot be operated with the wireless controller.
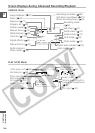
USB Connection DV Connection
NETWORK MODE
NETWORK MODE
DV