


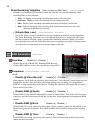
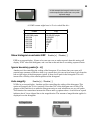

RAW develop < Raw parameters < Main Menu
This feature is for RAW files created with CHDK, not the Canon native RAW of some cameras.
Use this feature to process a RAW file and create a JPEG from it. When selected, a file browser
window is displayed. Select a RAW file and press Set. Press Set again to clear the message, then
press the <ALT> button to exit <ALT> mode. Finally, press the shutter. The RAW file will then
be processed into a JPEG. The interesting aspect of this feature is that the processing will occur
with the camera’s current settings. So you can use the MyColors settings to create Vivid and
Sepia versions of the same image, or simply tweak the sharpness or contrast settings. Normally,
you would have to set MyColors before the image is taken, and you would get only one image.
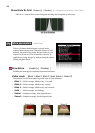
Bad pixel removal [ Off, Average, RAWconv ] < Raw parameters < Main Menu
To remove defective pixels in a DNG image. Once you have generated a list with all the "bad"
! pixels for your camera, CHDK can remove them automatically.
! See:- Bad pixel Notes on page: 51.
! ! and also:- Badpixel removal at http://chdk.wikia.com/wiki/Badpixel_removal
!
DNG format Enable [•] / Disable [ ]
Automatic conversion of RAW image in the DNG format, in the camera. This format can be read
by many image editing programs. Also includes meta data like EXIF and whitebalance / color
matrix information. For this feature to be activated, the CHDK file directory badpixel.bin is
required, it can be generated either on a Windows PC (see Badpixel_removal for more
information), or directly in the camera with a script. This file contains specific information on
camera-pixel errors. The DNG files created have the same file extension as described in RAW,
and can be reset manually to DNG. There is also an automatic function to rename for most
cameras.
‘DNG’ file extension Enable [•] / Disable [ ]
To distinguish DNG from RAW files. The DNG RAW image files will be stored as
<filename>.DNG with this option enabled, otherwise the extension from the "RAW file
extension" menu entry is used.
RAW buffer cached Enable [•] / Disable [ ]
When enabled, saves the DNG file using the RAW buffer, which is a quicker method.
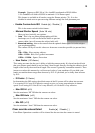
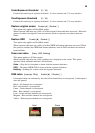
! More about RAW
To get the RAW files onto your computer you must use a flash card
reader. The most versatile way to work with RAW is to first convert
the RAW files to the Adobe DNG format (Adobe Digital NeGative.)
This conversion can now be done in camera. See DNG format above.
Once the RAW files are converted, the resulting DNG files can be
processed with Photoshop® or any other popular photo processing
software.
See also:- Raw notes on page 50
18