111
This prevents the image from being erased accidentally.
1
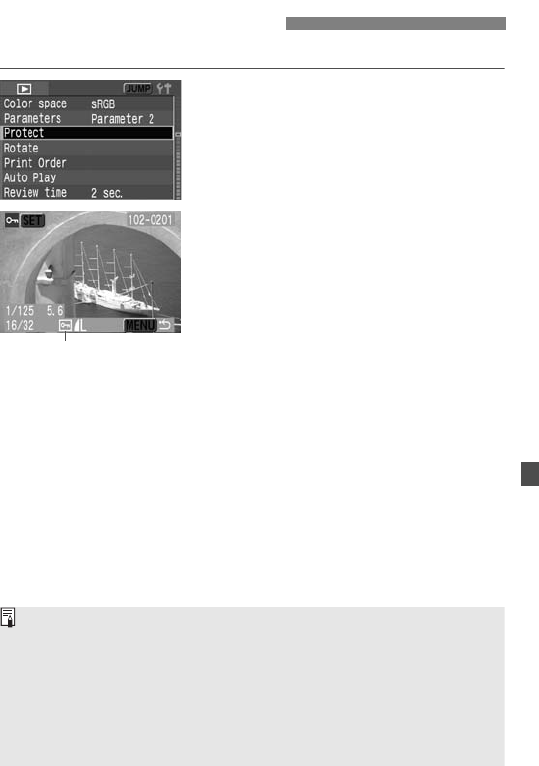
Select [Protect].
¡ Turn the <5> dial to select [x
Protect], then press <0>.
s The protect setting screen will
appear.
2
Protect the image.
¡ Turn the <5> dial to select the
image to be protected, then press
<0>.
s When an image is protected, the
<K> icon will appear below the
image.
¡ To cancel the image protection, press
<0> again. The <K> icon will
disappear.
¡ To protect another image, repeat step
2.
¡ To exit the image protection, press
the <M> button. The menu will
reappear.
3
Protecting Images
Image protect icon
¡ Once an image is protected, it cannot be erased by the camera’s Erase
function. To erase a protected image, you must first cancel the
protection.
¡ If you erase all the images (p.113), only the protected images will
remain. This is convenient when you want to erase unnecessary images
all at once.
¡ You can protect the image even after you change the display format to
shooting info display, magnified view, or index display after step 1.


