65
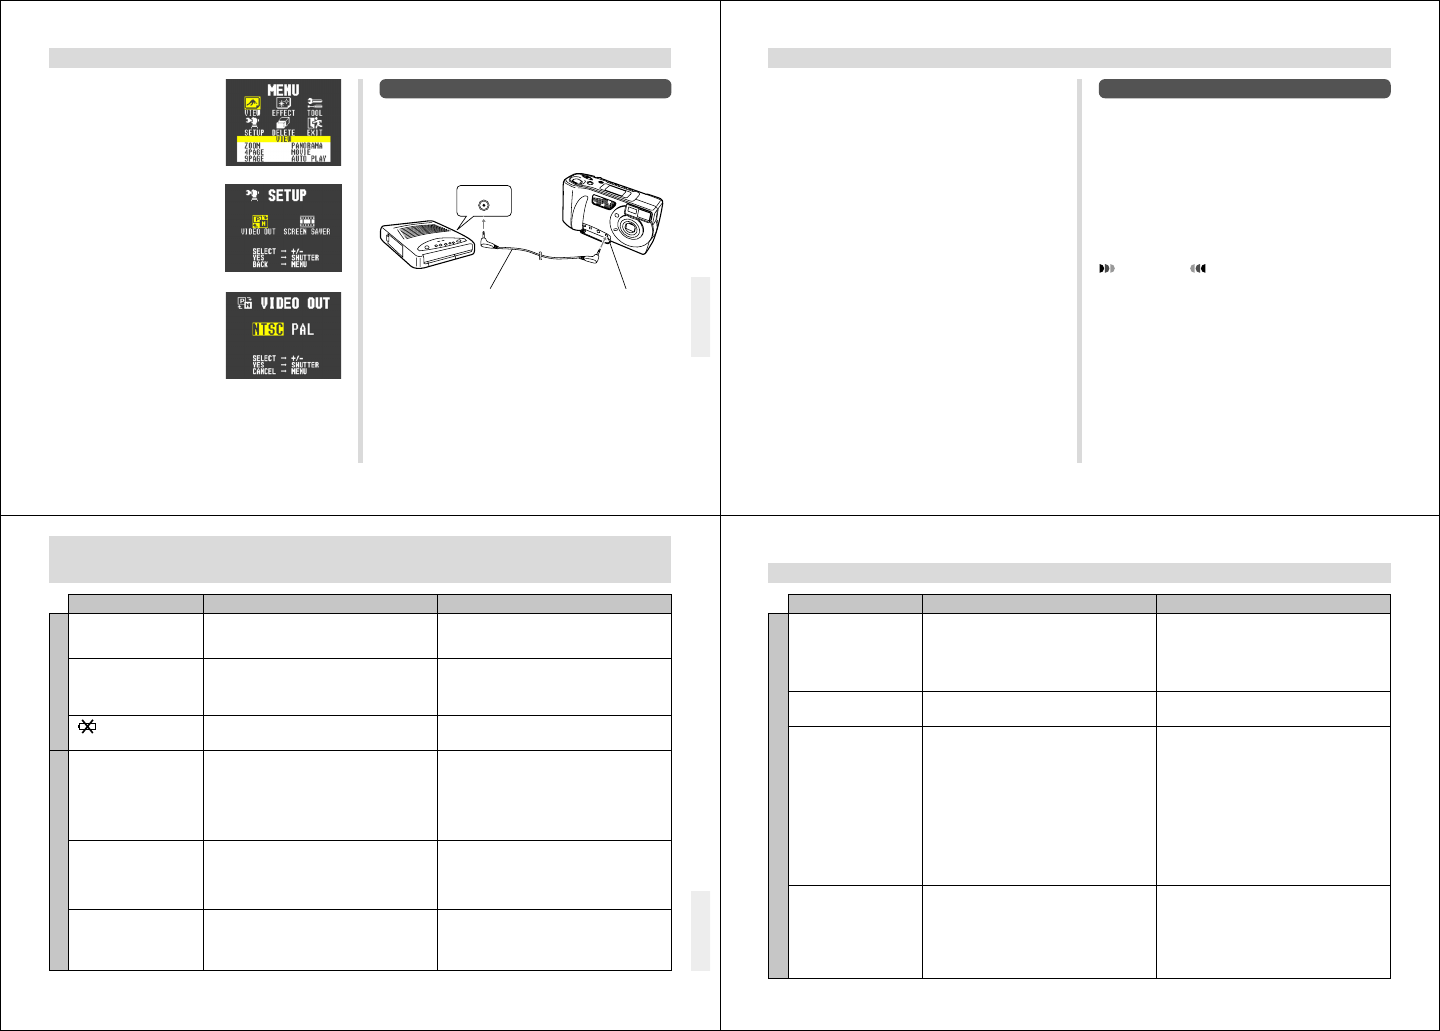
Connecting to a QV Color Printer
You can use a QV Color Printer to produce printouts of your
image data.
Supported Printer Models: DP-300, DP-8000
Digital connector
2.
Press MENU.
3.
Use [+] and [–] to select
SETUP, and then press
the shutter button.
4.
Use [+] and [–] to select
VIDEO OUT, and then
press the shutter button.
5.
Use [+] and [–] to select the video mode you
want to use, and then press the shutter button.
CONNECTING TO OTHER EQUIPMENT
Data communication cable DIGITAL terminal
66
PC Link Software
Special PC Link software available from CASIO makes im-
age data transfers with a personal computer quick and easy.
The software is also designed to minimize loss of image
quality due to data transfer.
For details on how to connect to a personal computer and
exchange data, see the documentation that comes with the
PC Link software.
LK-12S for Windows
LK-22S for Windows and Macintosh (scheduled to go on
sale soon)
IMPORTANT!
This camera does not fully support the software that
comes with the LK-1, LK-1A, LK-10V, LK-11 connection
kits for Windows, and the LK-2, LK-2A, LK-2V, LK-21
connection kits for the Macintosh. Never try to use the
software that comes with these connections kits with
this digital camera.
CONNECTING TO OTHER EQUIPMENT
1.
Connect one end of the cable that comes with
the QV Color Printer to the camera and the
other end to the printer.
2.
Slide the camera’s Function Switch to PLAY
and then turn on camera power.
3.
Perform the QV Color Printer operations re-
quired for printing.
• See the documentation that comes with the QV Color
Printer for details.
• Performing a print operation for a movie prints the 16
individual frames that make up the movie.
• Printing a panorama prints the individual images that
make up the panorama.
67
1. Batteries not loaded correctly.
2. Dead batteries
3. Wrong AC adaptor
1. Auto Power Off
2. Low battery power
3. Use of manganese batteries.
Batteries are about to go dead.
1. Function Switch set to PLAY.
2. Flash unit is charging.
3. The message “MEMORY FULL” is on the moni-
tor screen.
4. The message “REMAINING” is on the monitor
screen.
1. Lens or distance sensor is dirty.
2. The object you want to focus is not in the focus
frame.
3. Conditions make it impossible to obtain proper
focus.
Low battery power
TROUBLESHOOTING
Symptom Probable Cause Action
Power Supply
Recording
No power
Sudden power failure
indicator on LCD
No recording when shutter
button is pressed
Auto Focus cannot focus
the image.
Power failure during self-
timer operation
1. Correctly load batteries (page 18).
2. Replace batteries with new ones (page 18).
3. Use only recommended AC adaptor .
1. Turn power back on.
2. Replace batteries with new ones (page 18).
3. Replace manganese batteries with alkaline bat-
teries.
Replace all four batteries with a set of new ones
(page 18).
1. Set Function Switch to REC.
2. Wait until flash unit charging is finished.
3. Delete images you no longer need from camera
memory.
4. Change to another resolution mode, or delete
images you no longer need from camera
memory.
1. Clean off the lens or distance sensor.
2. Aim the camera so the object you want to focus
is in inside the focus frame.
3. Switch to the Manual Mode and focus manually.
Replace batteries (page 18).
68
TROUBLESHOOTING
Monitor screen image is out
of focus.
Poor color and brightness
when indoors
Part of the image is miss-
ing.
Cannot perform movie re-
cording.
1. Failure to focus the image while the camera is in
the Manual Mode.
2. Camera is in the Macro Mode.
3. Camera is in the Normal Mode while the subject
is too close.
Indoor fluorescent lighting
1. Blocking of the lens when recording.
2. Failure to correctly center the object when aim-
ing through the viewfinder.
1. Movie Record Mode is not selected.
2. Insufficient camera memory capacity.
1. Focus the image before recording it.
2. Use the Normal Mode for scenery and group
shots.
3. Use the Macro Mode for close ups.
Shoot under incandescent or other non-fluorescent
lighting (page 24).
1. Hold the camera correctly, making sure that your
finger or the wrist strap is not blocking the lens.
2. Take particular care under the following condi-
tions, which can cause the recorded image to be
slightly different from the image that appears in
the viewfinder.
• Macro photography
For more precise image composition, use the
LCD monitor screen instead of the viewfinder.
• Aiming at an angle that is diagonal to the
viewfinder’s optical axis.
It is best to point the lens directly at the subject,
and not at an angle.
1. Press MODE to enter the Movie Record Mode
(page 31).
2. Delete images you no longer need from camera
memory, so there are at least two images worth
of free memory capacity (page 57).
Symptom Probable Cause Action
Recording


