102
Other Playback Functions (PLAY)
Procedure
[p] (PLAY) * Snapshot Screen * [SET] * MENU * PLAY Tab *
Dubbing
2. Press [SET] again to stop audio recording.
• Take care that you do not block the camera’s microphone
with your fingers while recording.
• Good recording results are not possible when the camera is
too far away from what you are trying to record.
• Your camera supports the following audio data formats.
– Audio Format: WAVE/IMA-ADPCM (WAV extension)
• You cannot add audio to an image that is protected.
• To delete audio, perform the following operation:
Dubbing * Delete * [SET] * [AUTO].
IMPORTANT!
• Note that you cannot restore the original audio of an Audio Snapshot after you
delete or re-record it.
1. In the PLAY mode, use [4] and [6] to scroll through the images until
the Audio Snapshot you want is displayed.
An audio snapshot is one that has a ˆ icon.
2. Press [0] (Movie) to start playback.
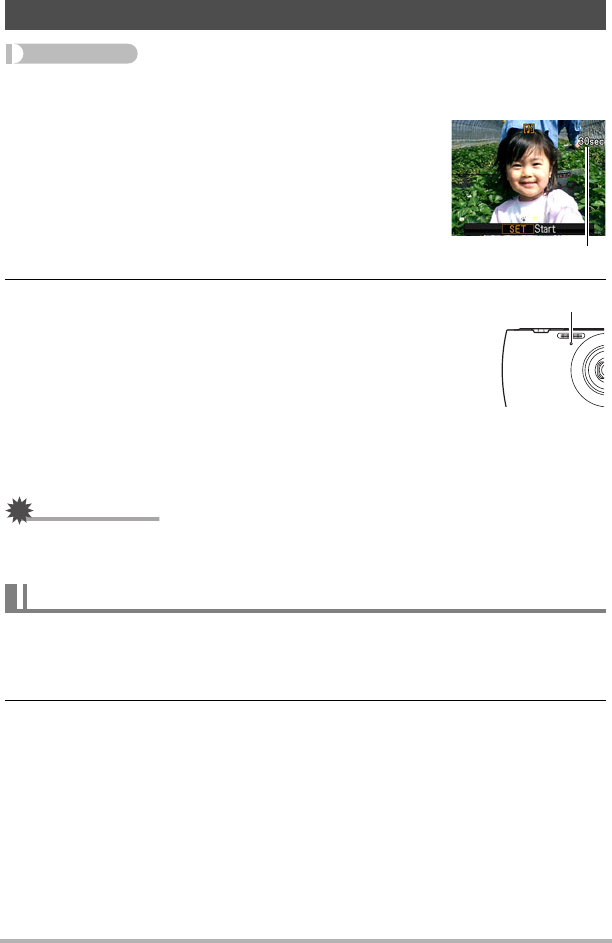
Adding Audio to a Snapshot (Dubbing)
You can add audio to a snapshot after you shoot it.
You can re-record a snapshot’s audio whenever you
want. You can record up to about 30 seconds of audio
for a single snapshot.
1. Press [SET] to start audio recording.
Remaining recording time
To play snapshot audio
Microphone


