


13
ADVANCED FEATURES
Advanced Features and Menu Options
You can manage your photos and configure various settings on your CEIVA frame using Advanced
Features. You can also access these features by logging in to your CEIVA account at http://www.ceiva.com.
Some Advanced Features are only available if you have an active PicturePlan subscription and
are so indicated in this manual with (PicturePlan only).
NOTE: Menu options on your CEIVA frame may change.
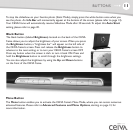
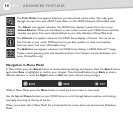
Info Bar
The Info Bar appears at the bottom of your CEIVA frame's screen when you push the white Picture
button on the back of the CEIVA frame or the Left and Right buttons. As you manually browse through
photos, the
Info Bar displays the number of each image in the slideshow. The Info Bar states the name of
the CEIVA member who sent you the photo or indicates if the photo is from an inserted memory card. The
Info Bar also displays icons for actions that you initiate in Menu Mode.
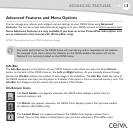
On-Screen Icons
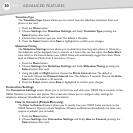
The Locked Photo icon appears whenever the CEIVA frame displays a photo that is
locked. You can only delete a locked photo once you have unlocked it. (PicturePlan only)
The Delete icon appears whenever the CEIVA frame displays a photo that you have marked
for deletion. (PicturePlan only)
The Card Reader icon appears whenever the CEIVA frame displays a photo from an
inserted memory card.
Any action performed on the CEIVA frame will override any action requested on the website.
For example, if you mark a photo for deletion on the CEIVA website, the photo will not be
Deleted if it is currently Locked on the CEIVA frame.