


2-10
Taking Pictures
L
Proof Sign-off:
K. Pipa CRE Tsutagawa
K. Pipa
CRE R. Hopley
R4C7850
Rev. C
A5 size PICTURES.FM
4/27/01 Pass 3
Note:
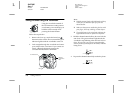
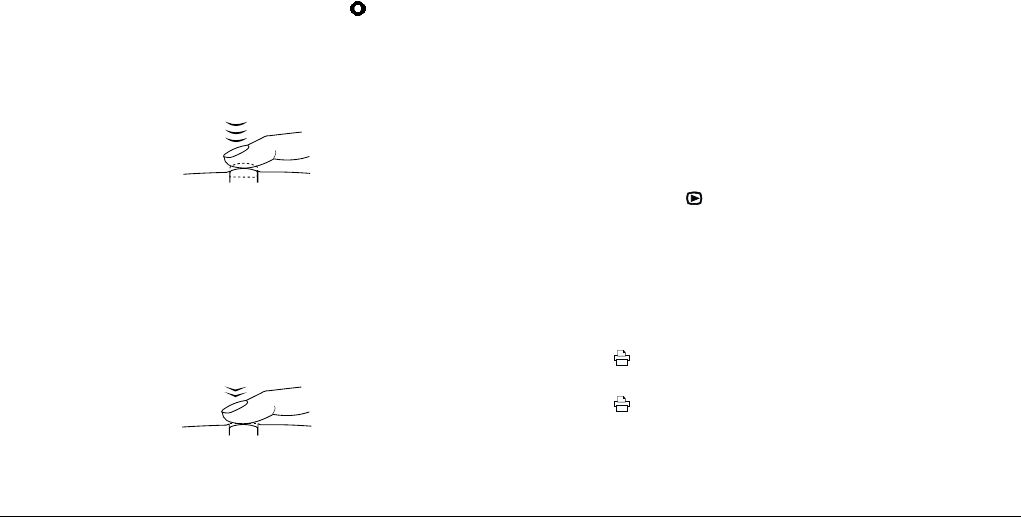
❏ Hold the camera firmly with both hands and keep
it still for a few moments after you press the
shutter button.
❏ Make sure that you are not blocking the lens with
your finger, the strap, clothing, or other objects.
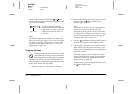
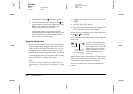
2. Hold the shutter button halfway down to lock the
auto focus. A small green circle appears in the
upper-right corner of the monitor. If you wish,
you can now reposition the camera, so that your
subject is off-center, without losing focus.
When you are in the Program or Manual camera
mode, the shutter speed and aperture settings are
shown on the display panel on the top of the
camera.
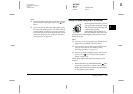
3. Depress the shutter button completely to take the
photo.
4. Hold the camera still until the camera makes a
clicking sound. Then release the shutter button.
After the picture is taken, it remains displayed on
the monitor until the camera finishes processing
it. After the green indicator light comes on, you
can take another photo or display or manage your
photos. See “Playing Back and Managing Images
With Your Camera” on page 3-1.
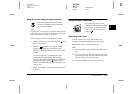
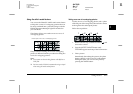
Using the basic playback feature
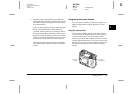
When you take photos using the LCD monitor, you
can view the photos that you have already taken using
the basic playback feature. Using this feature, you can
view your photos without having to turn the dial
switch to the position after taking a photo. You can
use this feature when the LCD monitor is displaying
a preview image, or immediately after taking a
picture. See the appropriate section below.
Note:
❏ When using the basic playback feature, you can use the
print button to make print settings. See “Making
Camera Settings” on page 4-19 for details on using the
print button.
❏ You cannot view video clips using the basic playback
feature.