4-18
Making Settings
L
Proof Sign-off:
K. Pipa CRE Tsutagawa
K. Pipa
CRE R. Hopley
R4C7850
Rev. C
A5 size MAKESET.FM
4/27/01 Pass 3
6. Make sure that slow synchro is selected as the
flash setting. Press the flash button on the top
of the camera until the slow synchro icon
appears on the display panel on the top of the
camera.
Note:
For details on making the flash setting, see “Setting the
flash” on page 4-4 for details.
Selecting the internal or external flash
The PhotoPC 3100Z has a convenient built-in flash
which satisfies ordinary flash needs. If you need more
light, you can attach an external flash (sold separately
as a camera accessory) to the PhotoPC 3100Z.
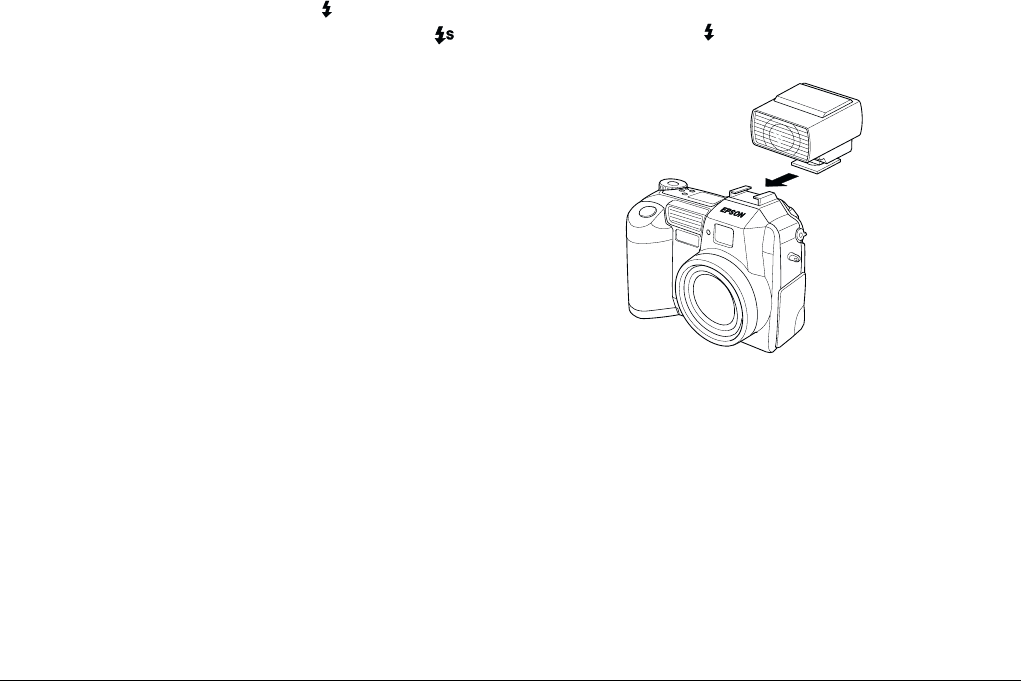
To mount the external flash, turn off the flash and your
camera, slide the mounting foot of the flash into the
hot-shoe attachment on the top of the PhotoPC 3100Z,
and secure the lock mechanism. For details about
using the flash, refer to its documentation.
w
Warning:
Be sure to turn off the camera and flash before
connecting them.
Note:
When using the external flash, the internal flash setting is
disabled and the button does not work.
Follow the steps below to specify an internal or
external flash.
1. Make sure that the camera is in the Manual
camera mode. To change the camera mode
setting, see “Making camera mode settings” on
page 4-6.
Note:
The external flash works only works in the Manual
camera mode. To change the camera mode setting, see
“Making camera mode settings” on page 4-6.
Slide the flash into the hot
shoe and make sure that
the connection is secure.


