


21
Using
the Camera
20
4
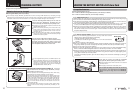
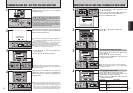
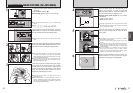
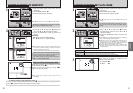
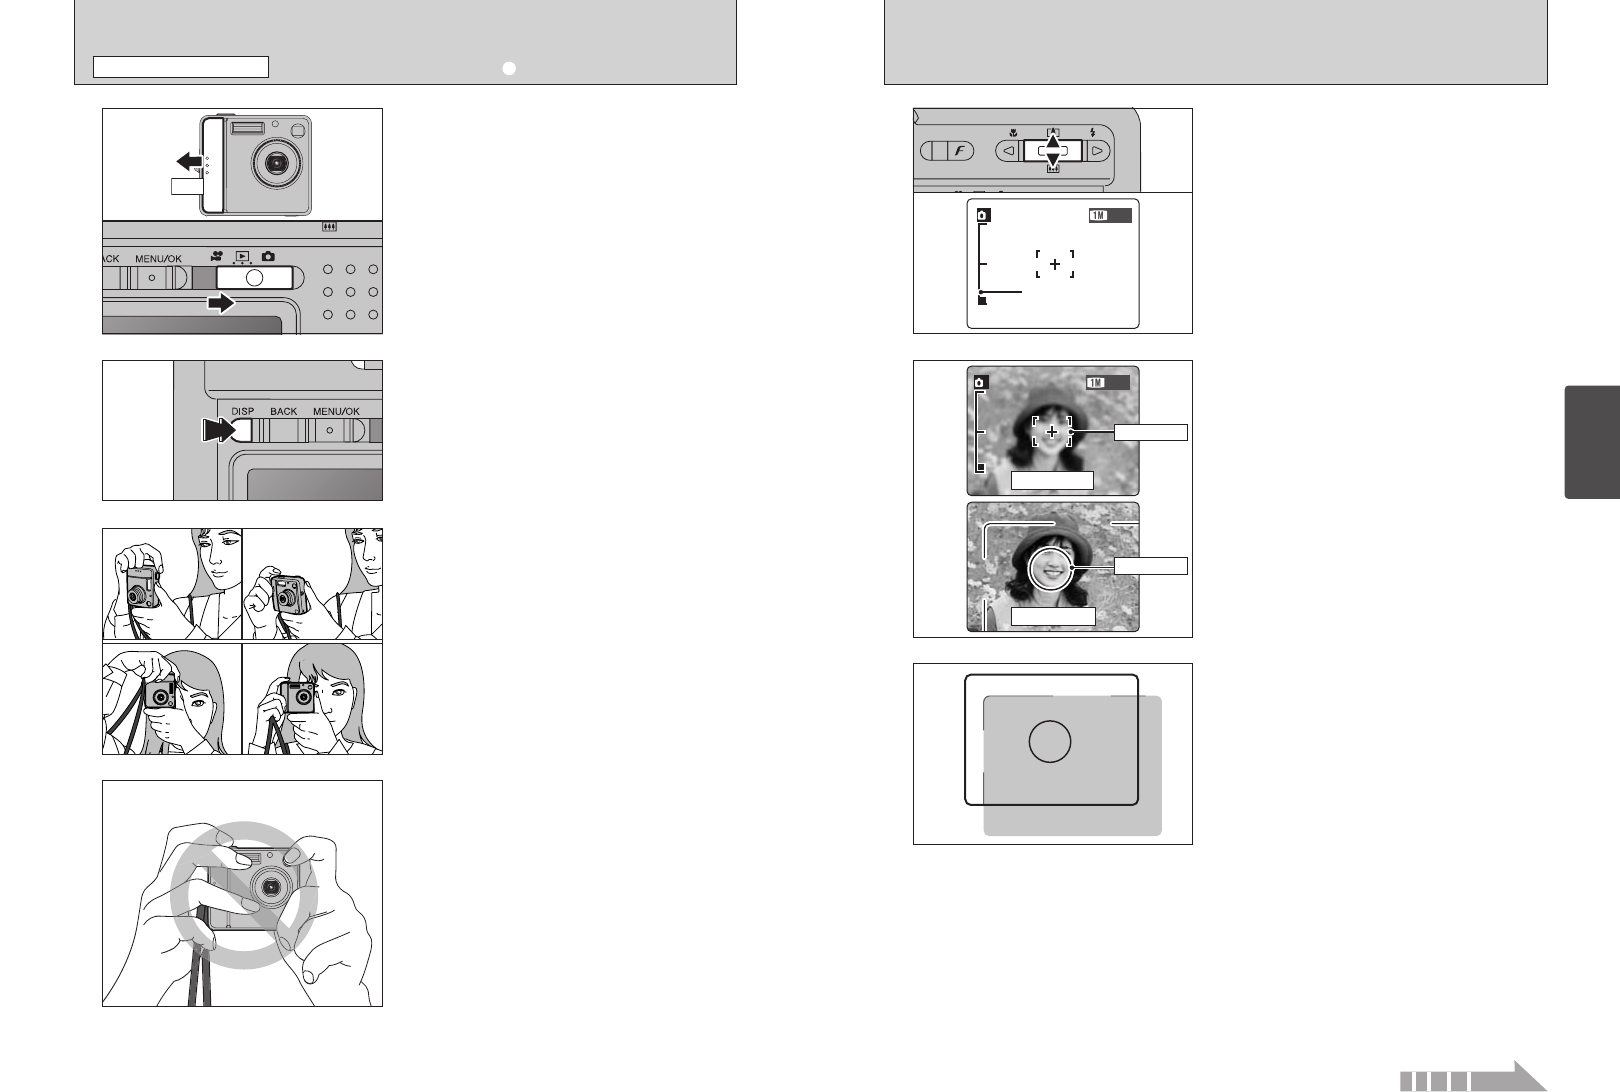
Press the Zoom switch “a” ([ telephoto) up to
zoom in on the subject. To zoom out, press “b”
(] wide-angle) down. A “zoom bar” appears on
the LCD monitor when you zoom in or out.
h Optical zoom focal length (35 mm camera
equivalent)
Approx. 36 mm-108 mm
Maximum zoom scale: 3×
●
!
Zooming pauses briefly when it changes between optical
zoom and digital zoom (➡P.25). Press the same Zoom button
again to change Zoom modes.
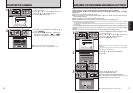
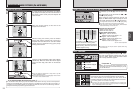
Using the LCD monitor or viewfinder, frame the
shot so that the subject fills the entire AF (Auto
Focus) frame.
●
!
If the subject is not in the center of the picture, use AF/AE
lock to take the picture (➡P.24).
●
!
To frame the shot precisely, take the picture using the LCD
monitor.
●
!
The image shown on the LCD monitor before taking the
picture may differ in its brightness, color, etc. from the image
actually recorded. If necessary, play back the recorded image
to check it (➡P.26).
●
!
In some conditions it may be difficult to see your subject
clearly on the LCD monitor, (such as in sunny weather
outdoors or when you are shooting dimly lit scenes). In such
situations, use the viewfinder to take the picture.
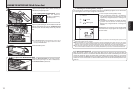
When using the viewfinder to take a picture at a
distance of 0.6 m to 1.5 m (2.0 ft. to 4.9 ft.), only the
shaded area in the figure is photographed.
Zoom bar
6
5
AF frame
AF frame
LCD monitor
View finder
ON
1
2
3
01
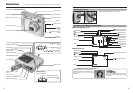
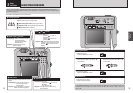
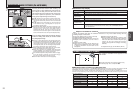
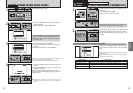
1Slide the Power switch sideways to turn the
camera on.
2Set the Mode switch to “q”.
h Focal range: Approx. 60 cm (2.0 ft.) to infinity
To take pictures using the viewfinder, press the
“DISP” button to turn the LCD monitor off (turning
the LCD monitor off conserves battery power).
●
!
For subjects closer than 60 cm (2.0 ft.), use Macro mode
(➡P.33).
●
!
If the “å”, “˙”, “∆” or
“
©” message appears, see P.82.
●
!
Note that you cannot turn the LCD monitor off in Macro
mode.
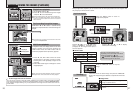
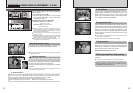
Brace your elbows against your sides and hold the
camera with both hands. Position the thumb of your
right hand so that it is handy for using the zoom.
Take care to hold the camera so that your fingers
or the strap do not cover the lens, flash or flash
control sensor. If the lens, flash or flash control
sensor is obscured by your fingers or the camera
strap, you may not be able to obtain the correct
brightness (exposure) for your shot.
●
!
The image will be blurred if the camera moves when taking
the picture (camera shake). Use a tripod to avoid camera
shake, particularly for shots in dark locations when the flash
is set to Suppressed flash mode.
●
!
There may be some unevenness in the brightness at the
lower edge of the LCD monitor. This is normal and does not
affect the photographed image.
●
!
Check that the lens is clean. If it is dirty, clean the lens as
described on P.78.
●
!
When using the flash in very dusty conditions or when it is
snowing, white dots may appear in the image due to the flash
reflecting off the dust particles or snowflakes. Try taking the
shot using Suppressed flash mode.
02
Continued
TAKING PICTURES
(
a AUTO MODE
)
STILL PHOTOGRAPHY MODE