


41
Advanced
Features
40
1
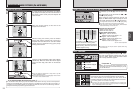
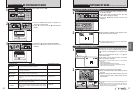
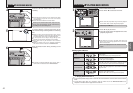
Set the Mode switch to “r”.
Use “r” Movie mode to record movies with sound.
h Specifications
Motion JPEG with monaural sound
Quality setting: $ 320 × 240 pixels
h Frame rate (➡P.88)
30 frames per second
●
!
The available recording time for a video may decrease depending on the amount of free space on the xD-Picture
Card.
●
!
Because a movie is recorded onto the xD-Picture Card as it is shot, it cannot be recorded correctly if the camera
suddenly loses power (if you open the battery cover or disconnect the AC power adapter).
●
!
Because sound is recorded concurrently with the images,
ensure that you do not cover the microphone with a finger,
etc. (➡P.8).
2
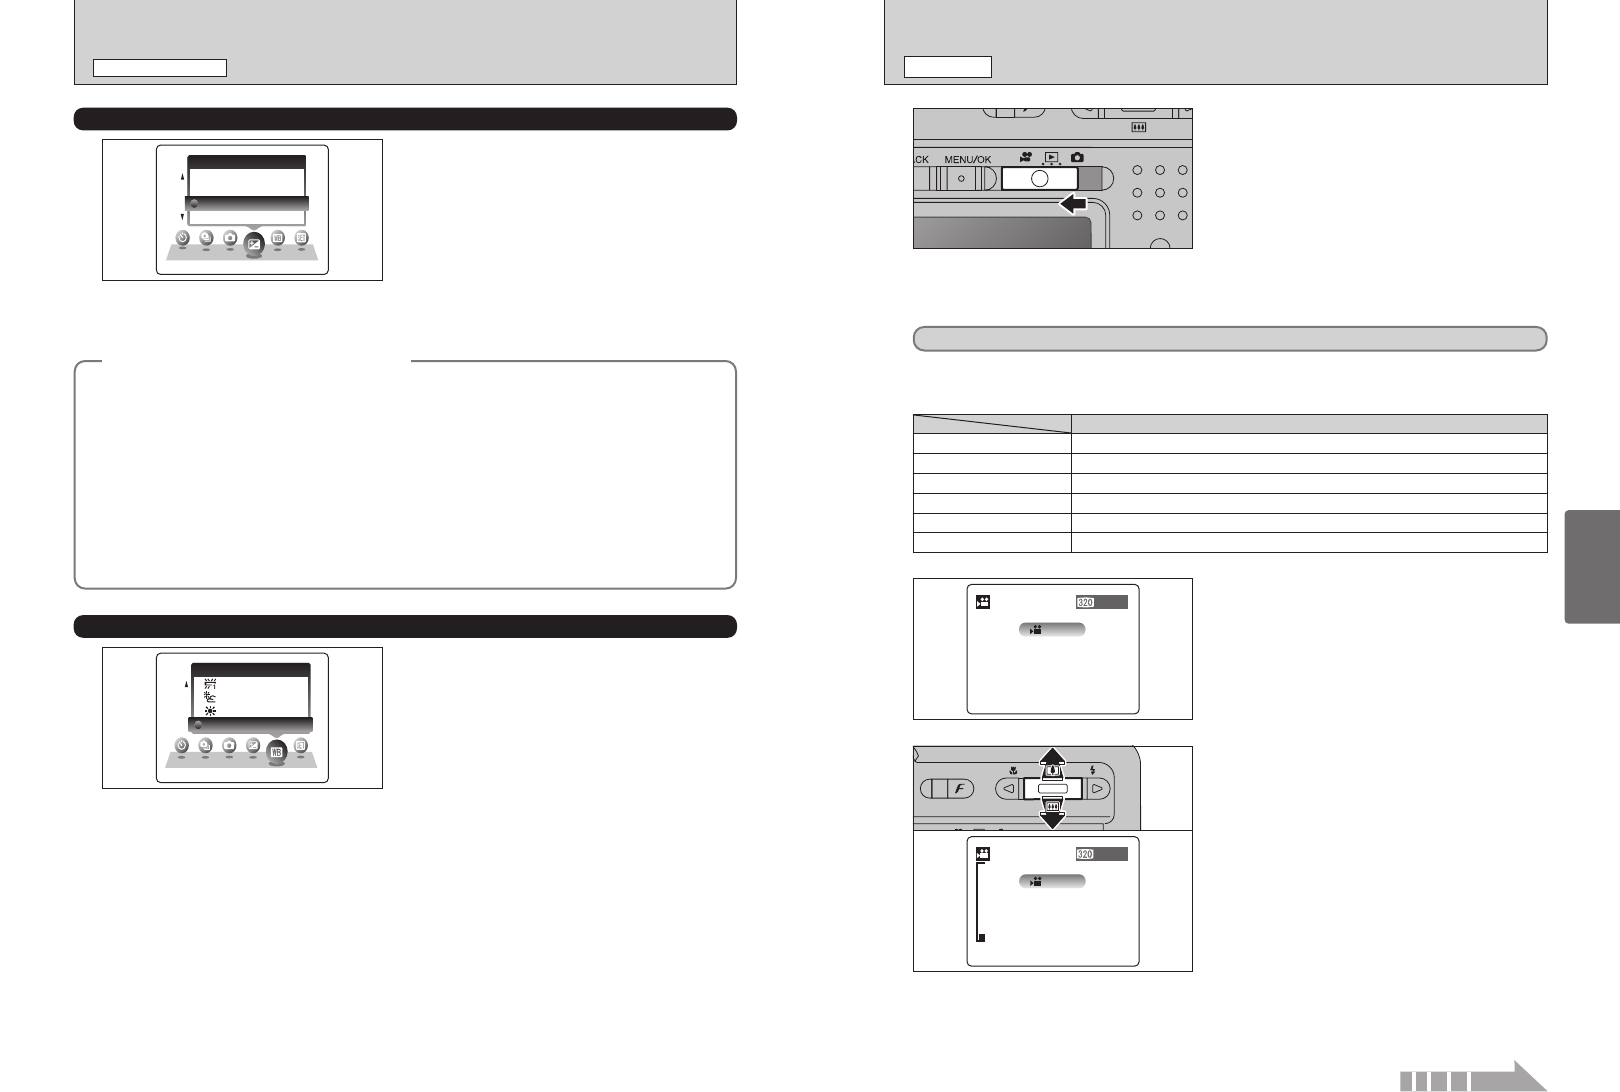
The available recording time and “œ”
appear on the LCD monitor.
3
Press “a ([)” up or “b (])” down to zoom in or
out before you start recording. You must zoom
beforehand as you cannot zoom during recording.
h The optical zoom focal length
(35 mm camera equivalent)
Approx. 36 mm-108 mm
Max. zoom scale: 3×
h Focal range
Approx. 60 cm (2.0 ft.) to infinity
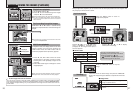
r RECORDING MOVIES
MOVIE MODE
It may not be possible to playback your movies on other cameras.
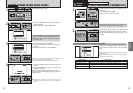
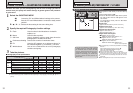
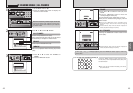
■ Recording Times for xD-Picture Card
✽ These figures are the available recording times using a new xD-Picture Card formatted on the camera.
DPC-16 (16 MB)
Quality mode
$
(
30 frames per second
)
26 sec.
DPC-32 (32 MB) 54 sec.
DPC-64 (64 MB) 109 sec.
DPC-128 (128 MB) 219 sec.
DPC-256 (256 MB) 7.3 min.
DPC-512 (512 MB)
14.6 min.
◆
To obtain the optimum brightness
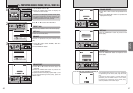
◆
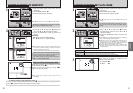
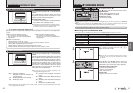
PHOTOGRAPHY MENU
STILL PHOTOGRAPHY MENU
D
EV
(
EXPOSURE COMPENSATION
)
A
WHITE BALANCE
This mode can be selected in “s” in the SHOOTING
MODE.
Use the Brightness setting to obtain the correct
brightness (exposure) when the subject is much
brighter or darker than the background.
h Compensation range
–2.1 EV to +1.5 EV (13 steps in 0.3 EV increments)
See P.88 for more information on EV.
●
!
The Brightness setting is disabled in the following situations:
i When the flash is used in Auto or Red-eye reduction mode
i When dark scenes are shot in Forced flash mode
This mode can be selected in “s” in the SHOOTING
MODE.
Change the white balance setting when you want to
take a picture with the white balance fixed for the
surroundings and lighting when the picture is taken.
In AUTO mode, the correct white balance may not
be obtained for subjects such as close-ups of
people’s faces and pictures taken under a special
light source. In such situations, select the correct
white balance for the light source. See P.88 for
information on the white balance.
●
!
The color tones may vary somewhat depending on the
shooting conditions (light source, etc.).
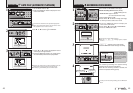
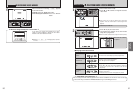
Adjust the exposure compensation according to the level of brightness or darkness in the photographed
image.
■ Guide to compensation
i Backlit portraits: +0.6 EV to +1.5 EV
i Very bright scenes (such as snowfields) and highly reflective subjects: +0.9 EV
i Shots made up predominantly of sky: +0.9 EV
i Spotlit subjects, particularly against dark backgrounds: –0.6 EV
i Scenes with low reflectivity, such as shots of pine trees or dark foliage: –0.6 EV
hWhen the subject appears too bright
Try a negative (–) compensation setting.
This will make the overall photographed
image darker.
hWhen the subject appears too dark
Try a positive (+) compensation setting.
This will make the overall photographed
image brighter.
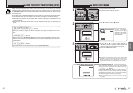
AUTO : Automatic adjustment
(Shooting to show the ambience of
the light source)
6 : Shooting outdoors in fine weather
7 : Shooting in shade
9 : Shooting under “Daylight” fluorescent
lamps
0 : Shooting under “Warm White” fluorescent
lamps
- : Shooting under “Cool White” fluorescent
lamps
8 : Shooting in incandescent light
✽ When the flash fires, the white balance set for the flash is used. To achieve a particular desired effect, set the Flash
mode to Suppressed flash (➡P.35).
Continued
Selecting the SHOOTING MODE (➡P.36)