


47
Advanced
Features
46
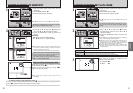
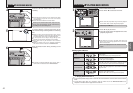
1Press “d” or “c” to select the protected frame
(file).
2Press the “MENU/OK” button to unprotect the
displayed frame (file).
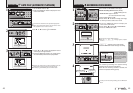
FRAME RESET
Press the “MENU/OK” button to protect all the
frames (files).
SET ALL
Press the “MENU/OK” button to unprotect all the
frames (files).
RESET ALL
01 02
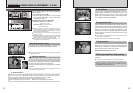
◆
To stop the procedure mid-way
◆
If the photographed images are very large, protecting
or unprotecting all the frames (files) may take some
time.
If you want to take a picture or a movie during the
procedure, press the “BACK” button. To then return
to protecting or unprotecting all the frames (files),
start the procedure on P.46 from step
1.
1
2
3
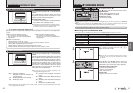
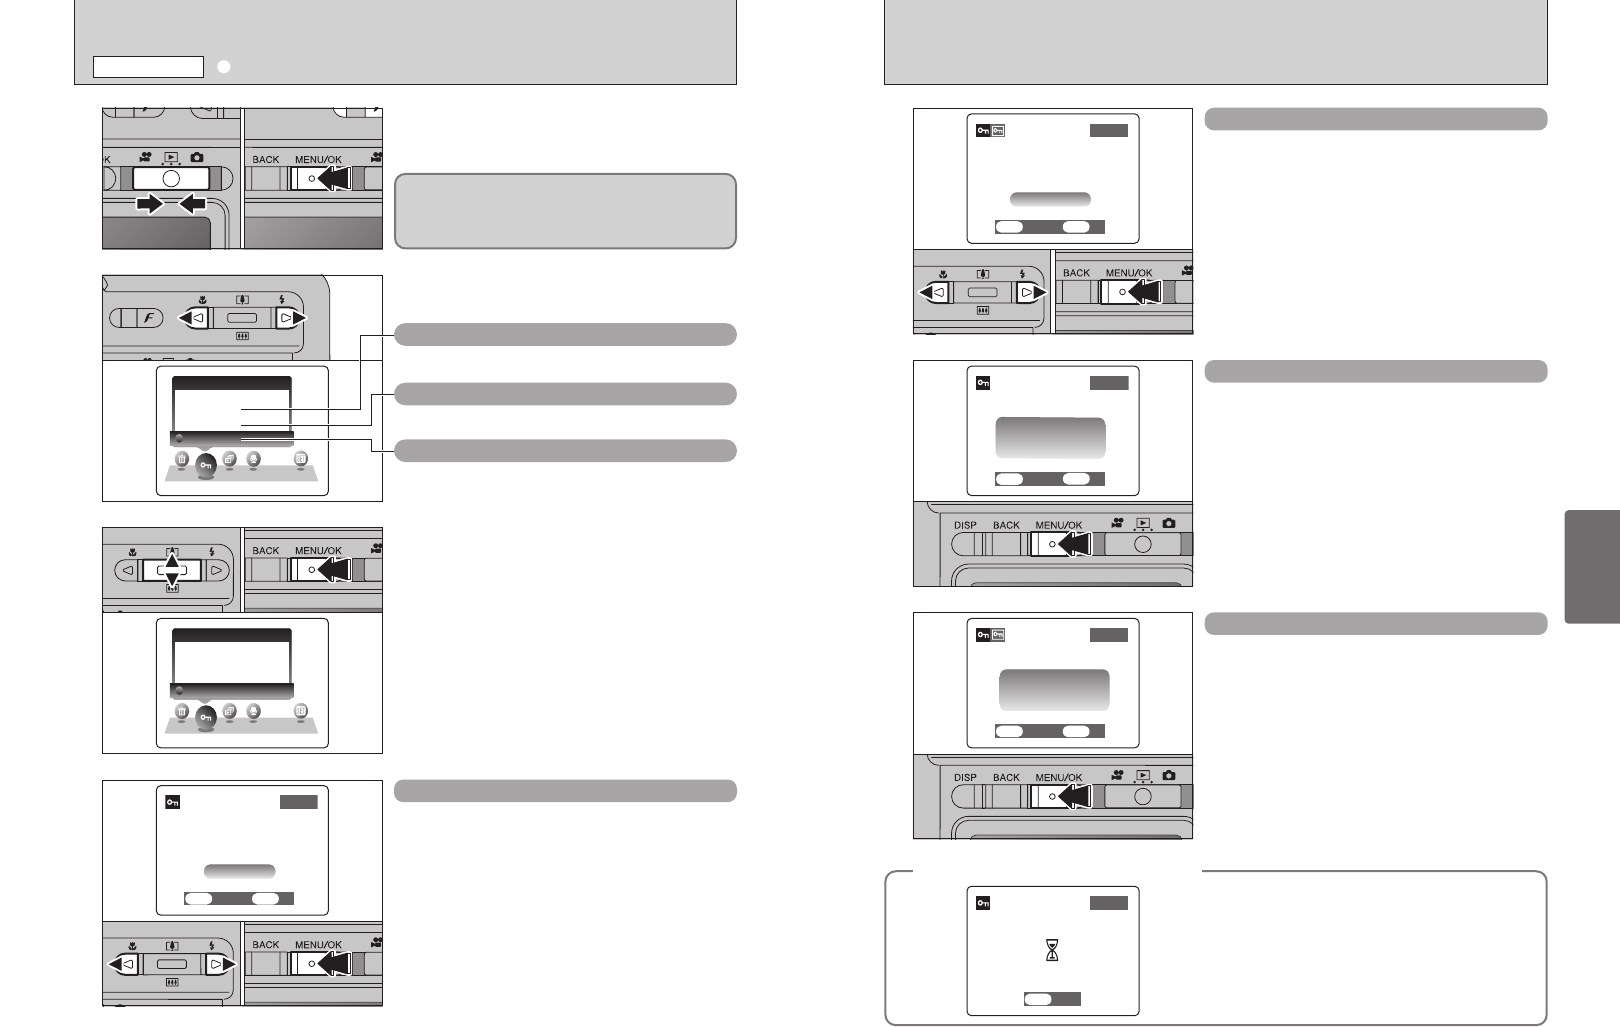
1Set the Mode switch to “w”.
2Press the “MENU/OK” button to display the
menu on the LCD monitor.
Press “d” or “c” to select “
i” PROTECT.
1Press “a” or “b” to select “FRAME”, “SET ALL”
or “RESET ALL”.
2Press “MENU/OK” button.
1Press “d” or “c” to select the frame (file) to be
protected.
2Press the “MENU/OK” button to protect the
frame (file) currently displayed.
To protect another frame (file), repeat steps 1 and
2. To finish protecting frames (files), press the
“BACK” button.
FRAME SET
01 02
01 02
01 02
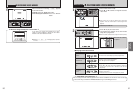
i
PROTECTING IMAGES: FRAME
/
SET ALL
/
RESET ALL
PLAYBACK MENU
Protection is a setting that prevents frames (files)
from being accidentally erased. However, the
“FORMAT” function erases all the frames (files),
including protected frames (files) (➡P.59).
RESET ALL
Removes the protection from all the frames (files).
SET ALL
Protects all the frames (files).
FRAME
Protects or unprotects only the selected frame
(file).