


29
Advanced
Features
28
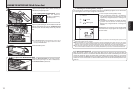
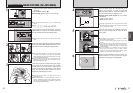
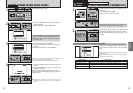
1
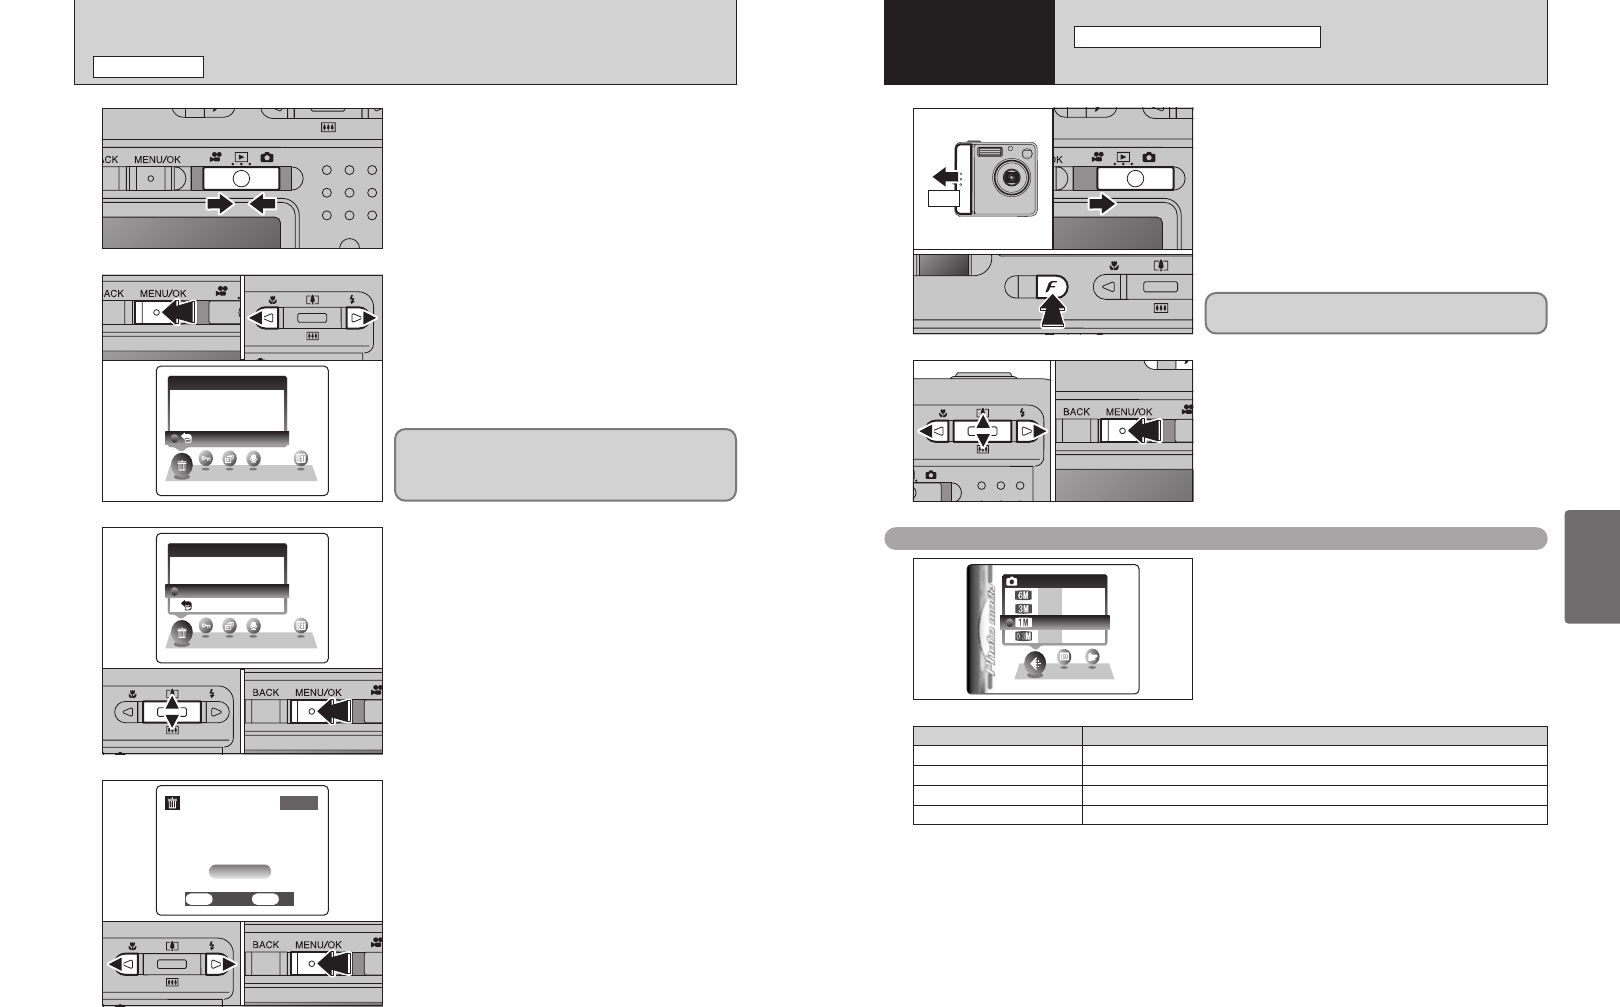
ON
1Slide the Power switch to the side to turn the
camera on.
2Set the Mode switch to “q”.
3Press the Photo mode (p) button.
2
1Press “d” or “c” to select the “y” quality setting
and then press “a” or “b” to change the setting.
2Press the “MENU/OK” button to confirm the
setting.
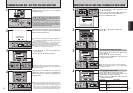
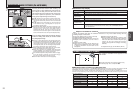
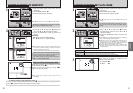
Choose from 4 settings. Using the table below as a
guide, select the setting that best suits the desired
result.
●
!
The numbers to the right of each setting show the number of
available frames.
●
!
When changing the quality setting, the number of available
frames also changes (➡P.23).
Quality settings in Still photography mode
01
03
02
01 02
y
QUALITY MODE
(
NUMBER OF RECORDED PIXELS
)
pPHOTO MODE STILL PHOTOGRAPHY
3
Advanced
Features
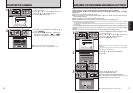
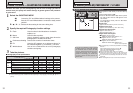
The quality setting is retained even if you turn the
camera off or change the Mode switch setting.
Printing at A4 size or printing part of the image cropped at A5 or A6 size.
Quality mode
5
6 MB (2816 × 2120)
Printing at A4 or A5 size or printing part of the image cropped at A6 size.
3
3 MB (2048 × 1536)
Printing at A6 size.
1
1 MB (1280 × 960)
For an image attached to E-mail or used on a website.
`
0.3 MB (640 × 480)
Sample Uses
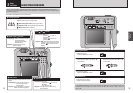
ERASING IMAGES
(
ERASE FRAME
)
PLAYBACK MODE
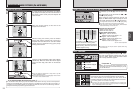
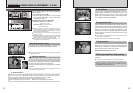
1
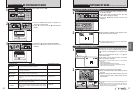
Set the Mode switch to “w”.
2
3
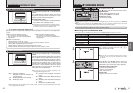
1Press the “MENU/OK” button during playback to
display the menu.
2Press “d” or “c” to select “o” ERASE.
1Press “a” or “b” to select “FRAME”.
2Press the “MENU/OK” button to confirm the
selection.
See P.44 for information on “ALL FRAMES”.
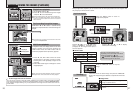
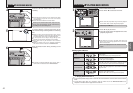
4
1Press “d” or “c” to select the frame (file) to be
erased.
2Press the “MENU/OK” button to erase the
displayed frame (file).
To erase another image, repeat steps 1 and 2.
When you have finished erasing images, press the
“BACK” button.
01 02
01 02
01 02
●
!
Pressing the “MENU/OK” button repeatedly erases
consecutive images. Take care not to erase an image by
mistake.
●
!
Press “a” or “b” to select “¡ BACK” and press “MENU/OK”
button to return to single-frame playback.
●
!
Press the “BACK” button to cancel erasing single frame.
01 02
Note that mistakenly erased images cannot be
recovered. Please copy important frames (files)
that you do not want to be erased to your computer
or another media.