


69
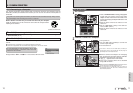
Viewing Images
68
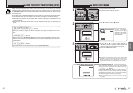
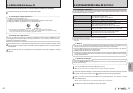
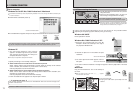
Check that the camera is turned off. Plug the AC
power adapter connector into the “DC IN 3V”
socket and then plug the AC power adapter into the
power outlet.
●
!
The socket-outlet shall be installed near the equipment and
shall be easily accessible.
●
!
The shape of the plug and socket-outlet depends on the
country of use.
●
!
See P.80 for notes on using the AC power adapter.
DC IN 3V
socket
Always use a FUJIFILM AC Power Adapter AC-3V/AC-3VW.
Use the AC power adapter to avoid losing power at inconvenient times, such as when downloading
photographed images to the computer. Using the AC power adapter also allows you to take pictures
and play back images without worrying about depleting the batteries.
●
!
By using the optional cradle, the AC power adapter bundled with the cradle must be used. The use of AC power adapters
other than the bundled product will cause faults.
●
!
Only connect or disconnect the AC power adapter when the camera is turned off.
Connecting or disconnecting the AC power adapter while the camera is turned on temporarily interrupts the power supply
to the camera, so that images or movies being shot at the time are not recorded. Failing to turn the camera off first can
also result in damage to the xD-Picture Card or malfunctions during PC connection.
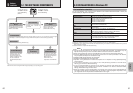
6.1 CAMERA CONNECTION
6
Viewing Images
6.1.1 Using the AC power adapter
(
sold separately
)
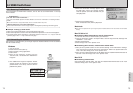
5.4 INSTALLATION ON A Mac OS X
9
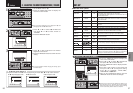
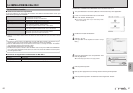
Click the [Continue] button.
●
!
The software is installed in the “Applications” folder on the installation destination disk.
10
Click the [Install (upgrade)] button.
11
Enter your administrator name and password and then click the [OK] button.
12
An installation progress window appears. (Installation may take several minutes)
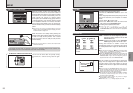
14
Launch “Image Capture” from the “Applications” folder.
13
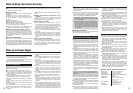
When you have completed the installation, click the
[Restart] button.
15
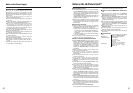
Change the ImageCapture settings.
(OS X 10.1.5)
(1) Select “Other...” from “Hot plug Action”.
(OS X 10.2 or later)
(1) Select “Preferenes...” from the “Image Capture”
menu.
(2) Select “Other...” from “When a camera is
connected, open”.
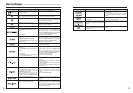
16
Select “FPVBridge” from “FinePixViewer” folder in
the “Applications” folder and click the “Open” button.
17
Quit ImageCapture.
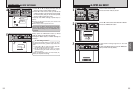
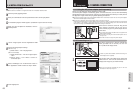
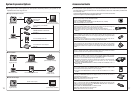
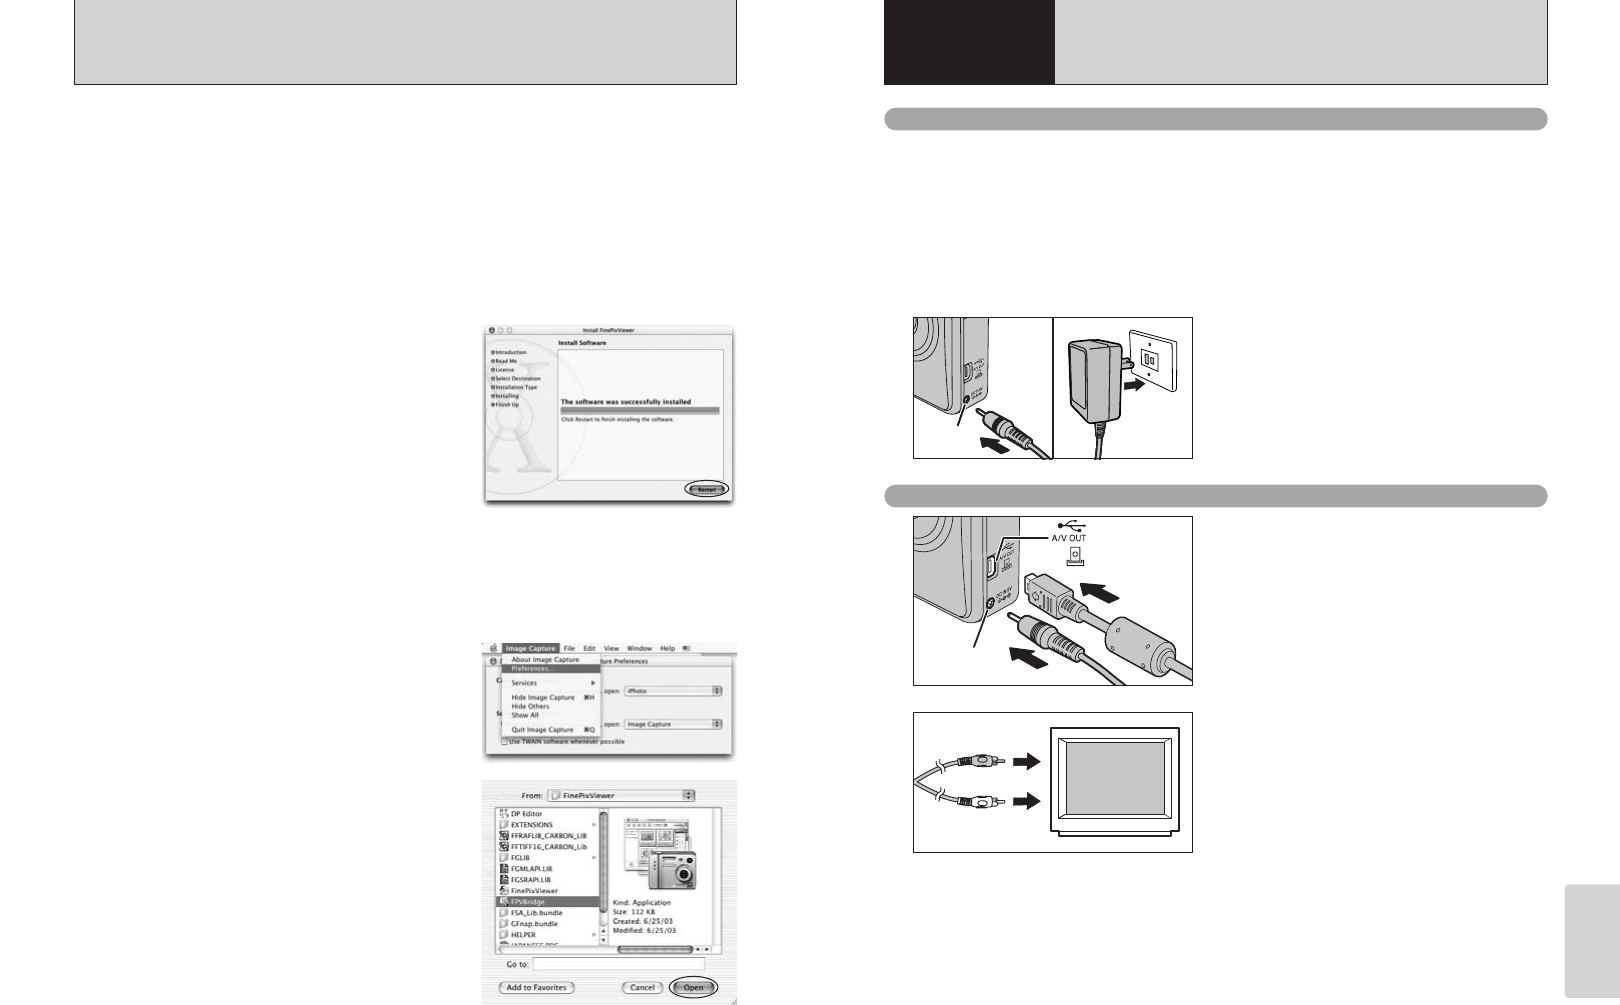
Trun off the camera and TV. Plug the included A/V
cable (provided with the camera) into the “A/V
OUT” (audio/visual output) socket.
Plug the other end of the cable into the video input
socket on the TV. Then turn the camera and TV on
and play back images as you would normally.
●
!
If there is a power outlet available, recommend for using AC-
Power Adapter AC-3V (optional).
●
!
Refer to the instructions provided with your TV for more
information on video input for your TV.
6.1.2 Connecting to a TV
DC IN 3V
socket
Socket
1
2
Video(yellow)
Audio(white)
To terminals