57
Advanced Features
3
56
PHOTOGRAPHY MENU
PHOTOGRAPHY MENU
✽ Displaying the menus (➡P.48)
Press shutter
button
Max. 40 shots
4 frames
Release shutter
button
Press the “MENU/OK” button to display the menu
and change the setting in the “j” BRACKETING
menu option (➡P.58).
Changing the setting (exposure range)
This mode allows you to release the shutter up to
40 times (at intervals as short as 0.3 seconds) and
record the last 4 frames. If you take your finger off
the shutter button before 40 shots have been
taken, the camera records the final 4 frames shot
before you released the shutter button.
If there is insufficient space on the xD-Picture
Card, the camera records as many of the shots
taken just before the shutter button was released
as will fit on the xD-Picture Card.
k Final 4-frame continuous shooting
Available Photography mode:
This mode shoots the same image with different
exposure settings. Bracketing shoots 3 continuous
frames, each with a different exposure setting.
A is correctly exposed, B is overexposed and C
is underexposed.
The settings (exposure range) can be changed in
the photography menu.
h Bracketing settings (3)
±1/3 EV, ±2/3 EV, ±1 EV
●
!
If the underexposed or overexposed frame is outside the
camera’s control range, the picture is not taken with the
specified setting increments.
●
!
Auto bracketing cannot be used in “B”, “m”, “,”, “.”,
“
/” or “r” mode.
A B C
j
Auto bracketing
Available Photography mode:
This mode allows you to take up to 40 continuous
shots (at intervals as short as 0.6 seconds). In
Long period continuous shooting with 1600 × 1200
pixels mode, the number of recorded pixels is set to
“2” (1600 × 1200).
●
!
Long-period continuous shooting cannot be used in the “m”,
“
,”, “.”, “/”, “N”, “M” , “<”, “>” and “r” modes.
h Long-period continuous shooting with 1600 × 1200 pixels mode
Available Photography mode:
◆
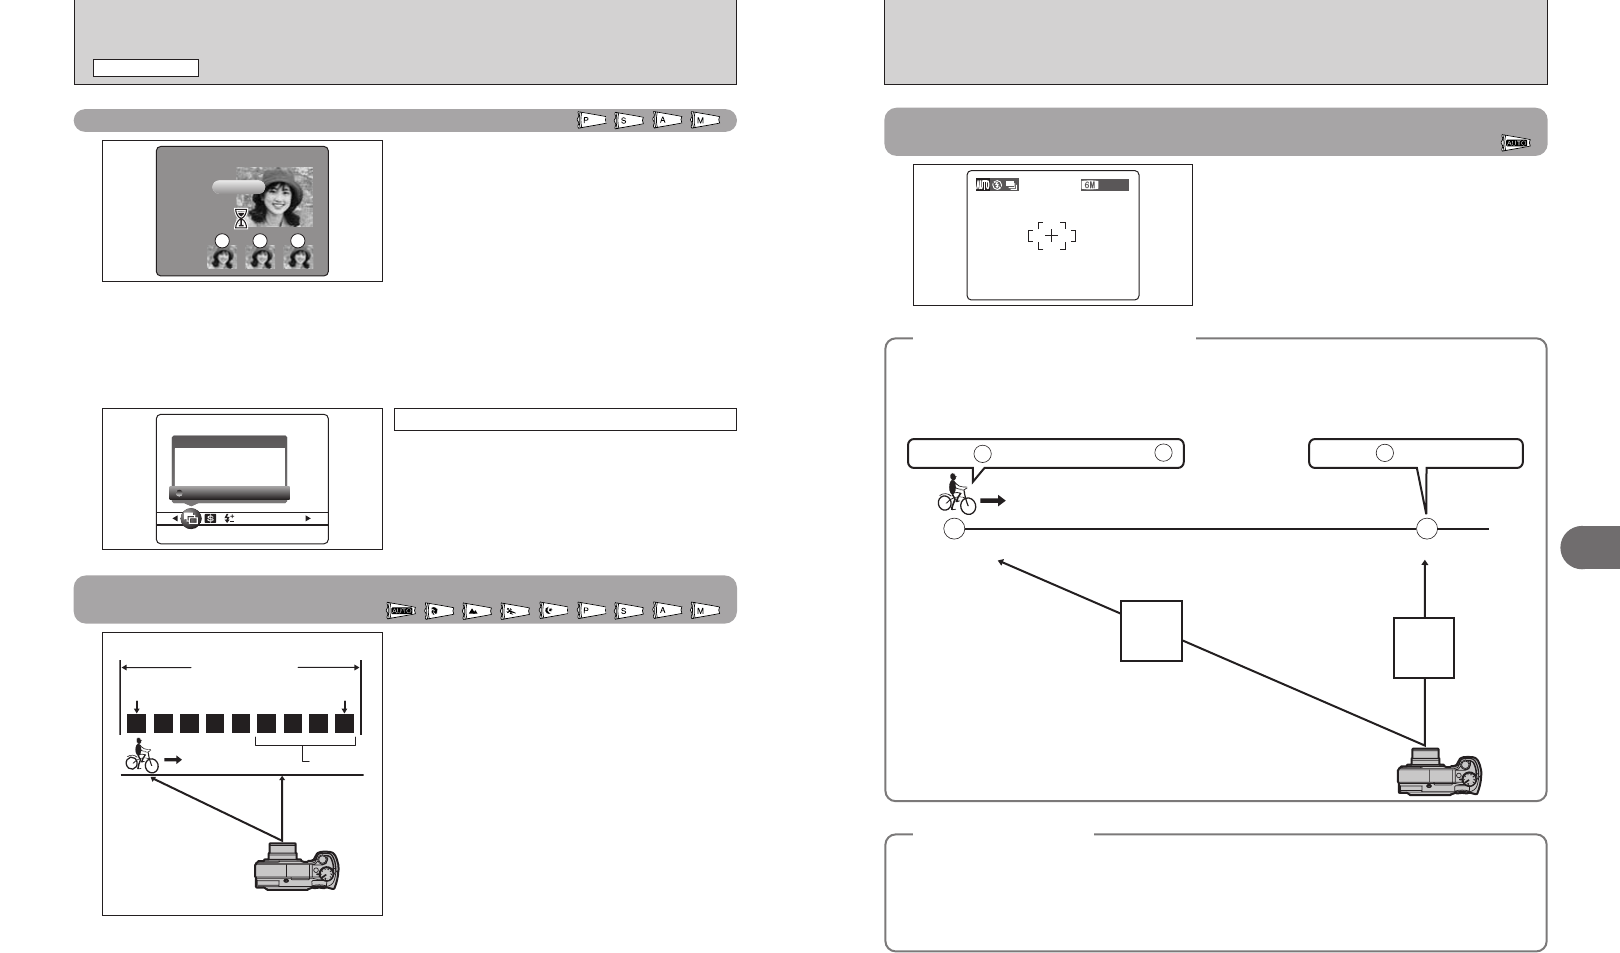
Focusing on a moving subject
◆
If you press the shutter button down halfway to focus on the subject at the starting point A, the subject
may no longer be in focus when it reaches point B where you want to take the shot.
In such situations, focus on point B beforehand and then lock the focus so that it does not shift.
This feature is also useful for photographing fast-moving subjects that are difficult to focus on.
Focus on and the focus is wrong at .
Focus on and lock the focus.
Starting point Point where you want to take the picture
A
A
B
B
B
FAR
NEAR
◆
Quality and flash
◆
When a Continuous shooting mode is selected, the flash mode is forcibly set to “v” Suppressed flash.
In a Long-period continuous shooting with 1600 × 1200 pixels mode, the quality is also forcibly set to
“
2”.
However, when the mode is changed back to normal photography, the flash setting specified before
continuous shooting was selected is restored. Likewise, when a Long-period continuous shooting with
1600 × 1200 pixels mode has been used, the quality setting is restored to its previous value.


