


74 75
Settings
SET
–
UP
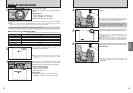
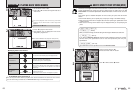
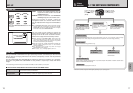
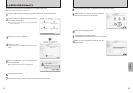
You can use this setting to specify whether
photographed images are displayed after shooting.
ON : Photographed images are displayed for approx. 2 seconds and then automatically
recorded.
OFF : Photographed images are automatically recorded without being displayed.
PREVIEW : The results of your shot are shown as a preview (for image checking) and you can
then choose whether or not to record the image.
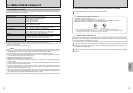
h To record the image : Press the “MENU/OK” button.
h To discard the image : Press the “BACK” button.
You can also use the preview zoom
●
!
In Long-period continuous shooting with 1280 × 960-pixel
mode, the photographed images are not displayed.
●
!
In top5-frame continuous shooting, and final5-frame
continuous shooting, the images are displayed for a set time
before being automatically recorded even when “OFF” is
selected here.
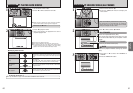
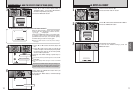
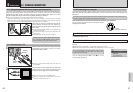
When the “PREVIEW” setting is selected, you can
check images shot in the “CONT.” and “FINAL 5”
modes.
However, you cannot use the preview zoom.
1You can check the images by pressing “d” or
“c”.
2Press the “MENU/OK” button to record all the
images.
Continuous shooting preview
(
image checking
)
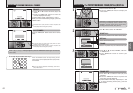
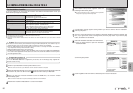
Preview zoom
When the “PREVIEW” setting is selected, this
function lets you enlarge images for detailed
checking.
1Press the “T” or “W” button to zoom in or out.
2Press “a”, “b”, “d” or “c” to view another part
of the image.
IMAGE DISPLAY
●
!
You cannot save a cropped image from the preview function.
●
!
Preview zoom works in the same way as the playback zoom
(➡P.28).
0201
0201
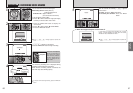
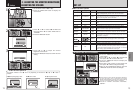
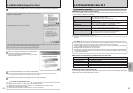
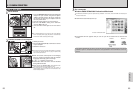
FORMAT
Formatting erases protected files also.
Formatting erases all the files.
Initialize the xD-Picture Card for use in the camera.
You should copy important files that you do not
want to be erased to your computer or other media.
1Press “d” or “c” to select “OK”.
2Pressing the “MENU/OK” button erases all the
files and initializes the xD-Picture Card.
●
!
If the “å” “˚” “ƒ” or
“
©
” message appears, refer to P.101-102
before formatting the xD-Picture Card and take the
appropriate measures.
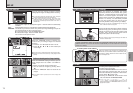
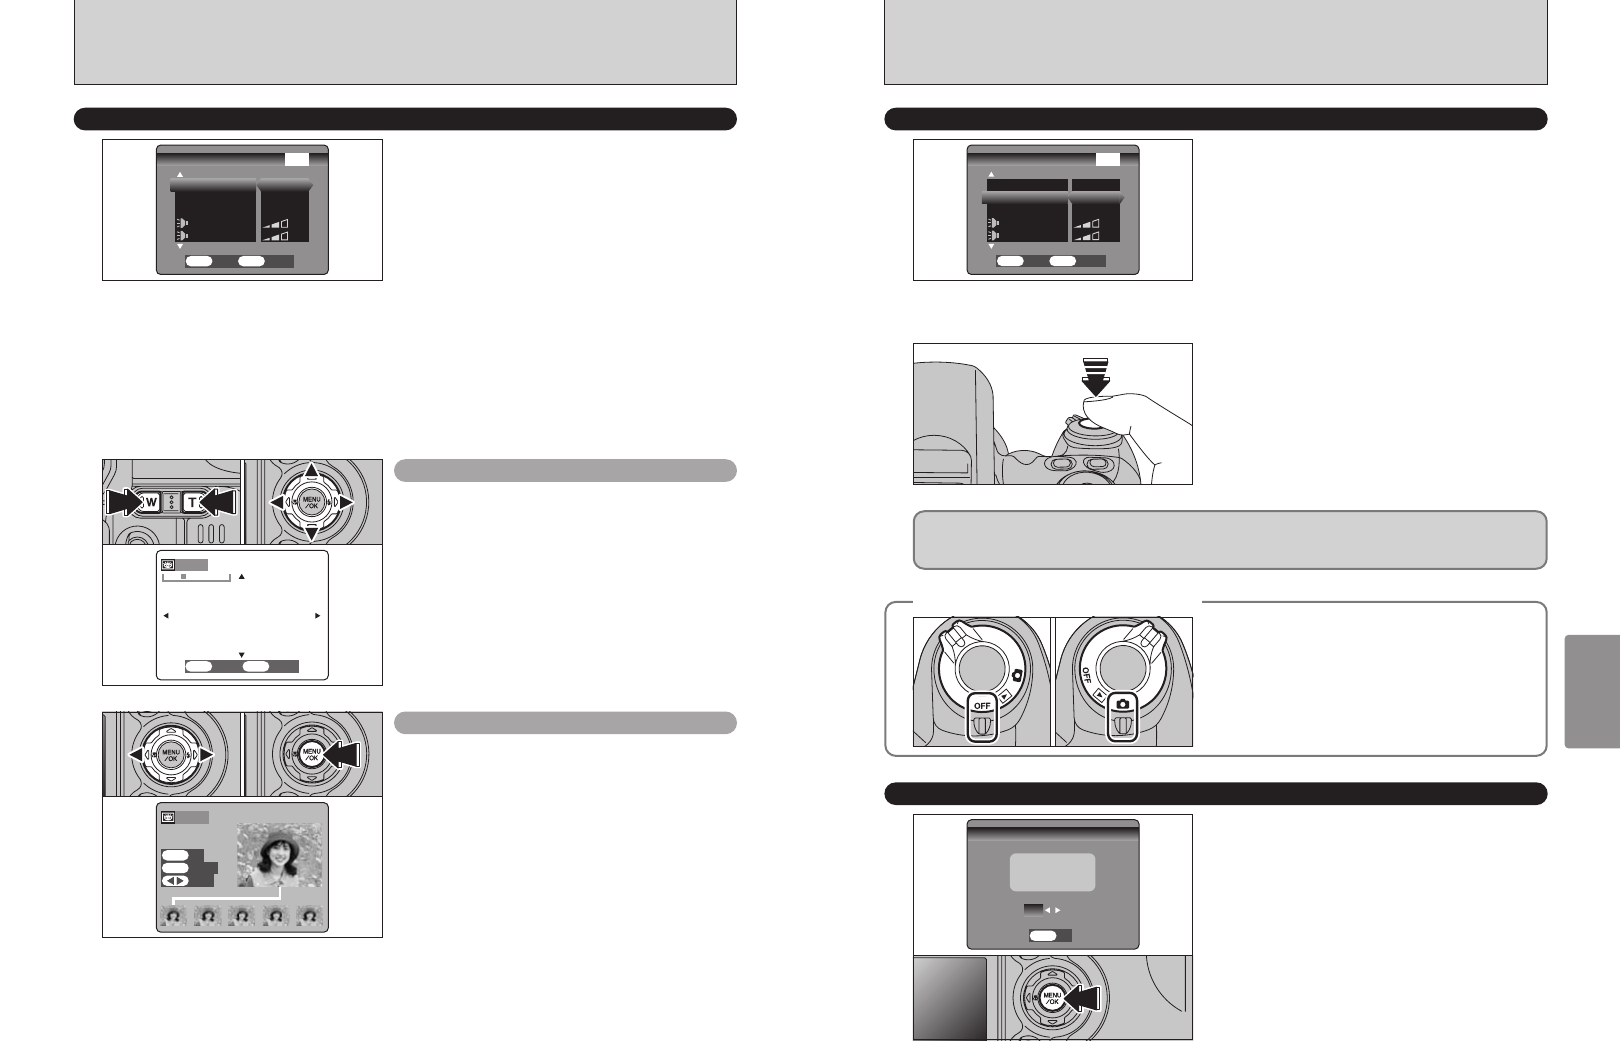
POWER SAVE SETTING
(
low power setting
)
◆
To restore power to the camera
◆
When the Power save function has switched the
camera off, set the Power switch to OFF briefly and
then back to ON to switch the camera back on so
that it is ready to use.
●
!
If the “BACK” button is pressed, none of the images are
recorded.
When this function is enabled, the screen
temporarily switches off (the indicator lamp (green)
flashes at 1-second intervals) to save power if the
camera is not used for approx. 30 seconds. If the
camera remains unused for an additional interval (2
minutes or 5 minutes), it is automatically switched
off. Use this function when you want to get the
maximum possible running time from your battery.
●
!
The Power save function is disabled during Auto play and
when a USB connection is being used.
Pressing the Shutter button down halfway while the
indicator lamp (green) is blinking once a second
restores the camera to the fully active status (ready
to shoot). This is useful since the camera can be
ready to take pictures almost instantly.
In Setup and Playback modes, the function that automatically switches off the LCD monitor is
disabled. However, the camera still switches off automatically if it is left unused for a set time (2
minutes or 5 minutes).
●
!
You can wake the camera up by pressing any other button as
well as the Shutter button.