


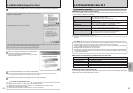
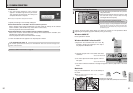
DC IN 5V
socket
USB
socket
(Mini-B)
91
Viewing Images
90
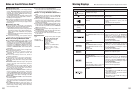
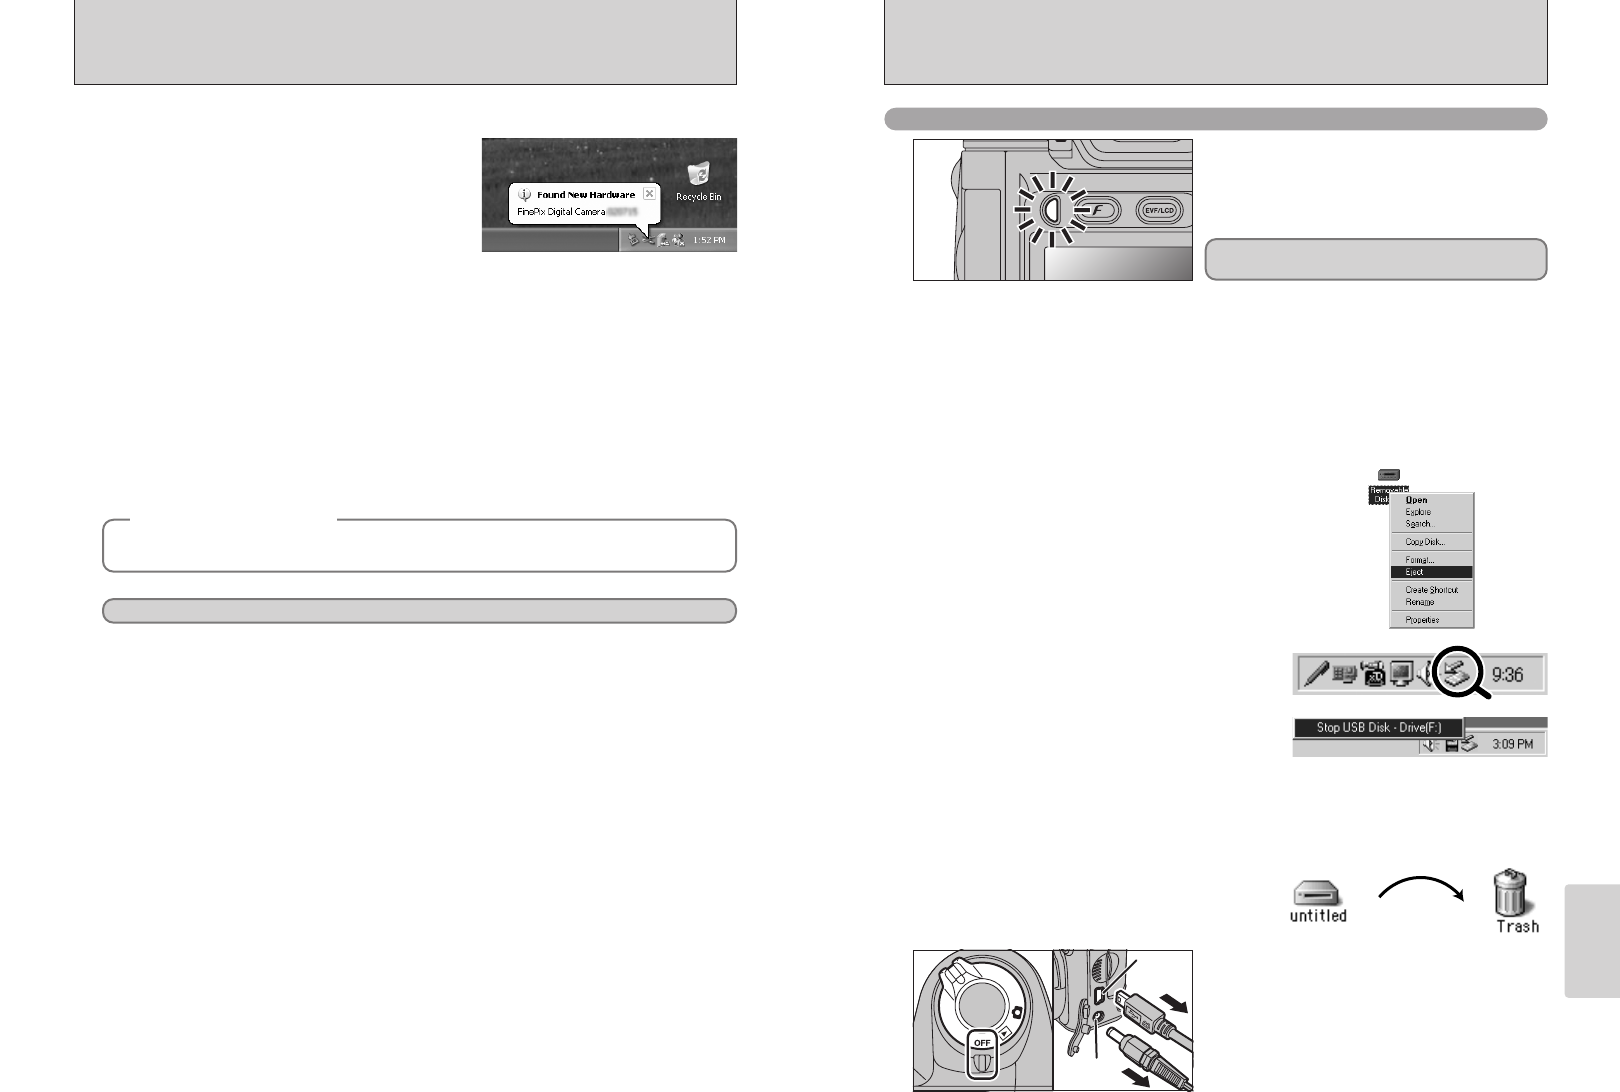
2Left-click the Eject icon in the taskbar and select
“USB Disk”.
3The menu option shown below appears. Click on
this option.
4The “Safe To Remove Hardware” message box appears. Click the [OK] button or the close
button.
✽ Screen for Windows Me
✽ Screen for Windows Me
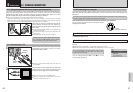
Macintosh
Drag the “Removable drive” icon on the desktop to
the Trash.
●
!
When you drag the icon to the Trash, “µ” appears
on the camera’s screen.
3
1Switch the camera off.
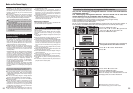
2Unplug the USB cable (Mini-B) from the camera.
01 02
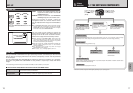
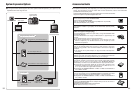
6.1 CAMERA CONNECTION
6.1.4 Disconnecting the camera
Windows 98/98 SE
Proceed to “USING FinePixViewer” on page 92.
For a DSC connection, proceed to step 2.
For a PC Camera connection, proceed to step
3.
◆
Regarding the icons
◆
The next time you connect the camera, the removable disk drive icon and name change to the
“FinePix” icon and name.
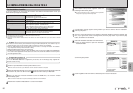
1
2
1Quit all applications (FinePixViewer etc.) that are
using the camera.
2Check that the indicator lamp is lit green or that
the self-timer lamp is off (no data is being
exchanged with the computer).
Perform the steps shown below before you switch the camera off. This procedure differs
depending on the operating system software (or PC) you are using.
No PC operation is needed.
Windows Me/2000 Professional/XP
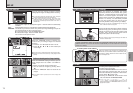
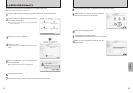
1Right-click the removable disk icon in the “My
Computer” window and select Eject. This step is
only required in Windows Me.
●
!
Even when “Copying” is no longer displayed on the computer,
the camera and the computer may still be exchanging data.
Always check that the indicator lamp is lit green or that the
self-timer lamp is off.
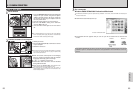
2Specify the settings in the “AutoPlay” dialog box.
h When FinePixViewer is included in the list of actions to perform
Select “Viewing images using FinePixViewer” and then select the “Always do the selected
action” checkbox. (This checkbox may not be shown in some cases.)
Click the [OK] button to launch FinePixViewer.
h When FinePixViewer is not included in the list of actions to perform
Select “Take no action” and then select the “Always do the selected action” checkbox. (This
checkbox may not be shown in some cases.)
Click the [OK] button and launch FinePixViewer manually.
3A new removable disk icon appears in the “My Computer” window.
Windows XP
1The “Found New Hardware” help message
appears in the bottom-right corner of your screen.
This message will close when the settings are
completed. No action is required.
●
!
This step is not required for subsequent connections.