


15
Getting Ready
14
1
2
3
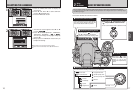
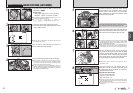
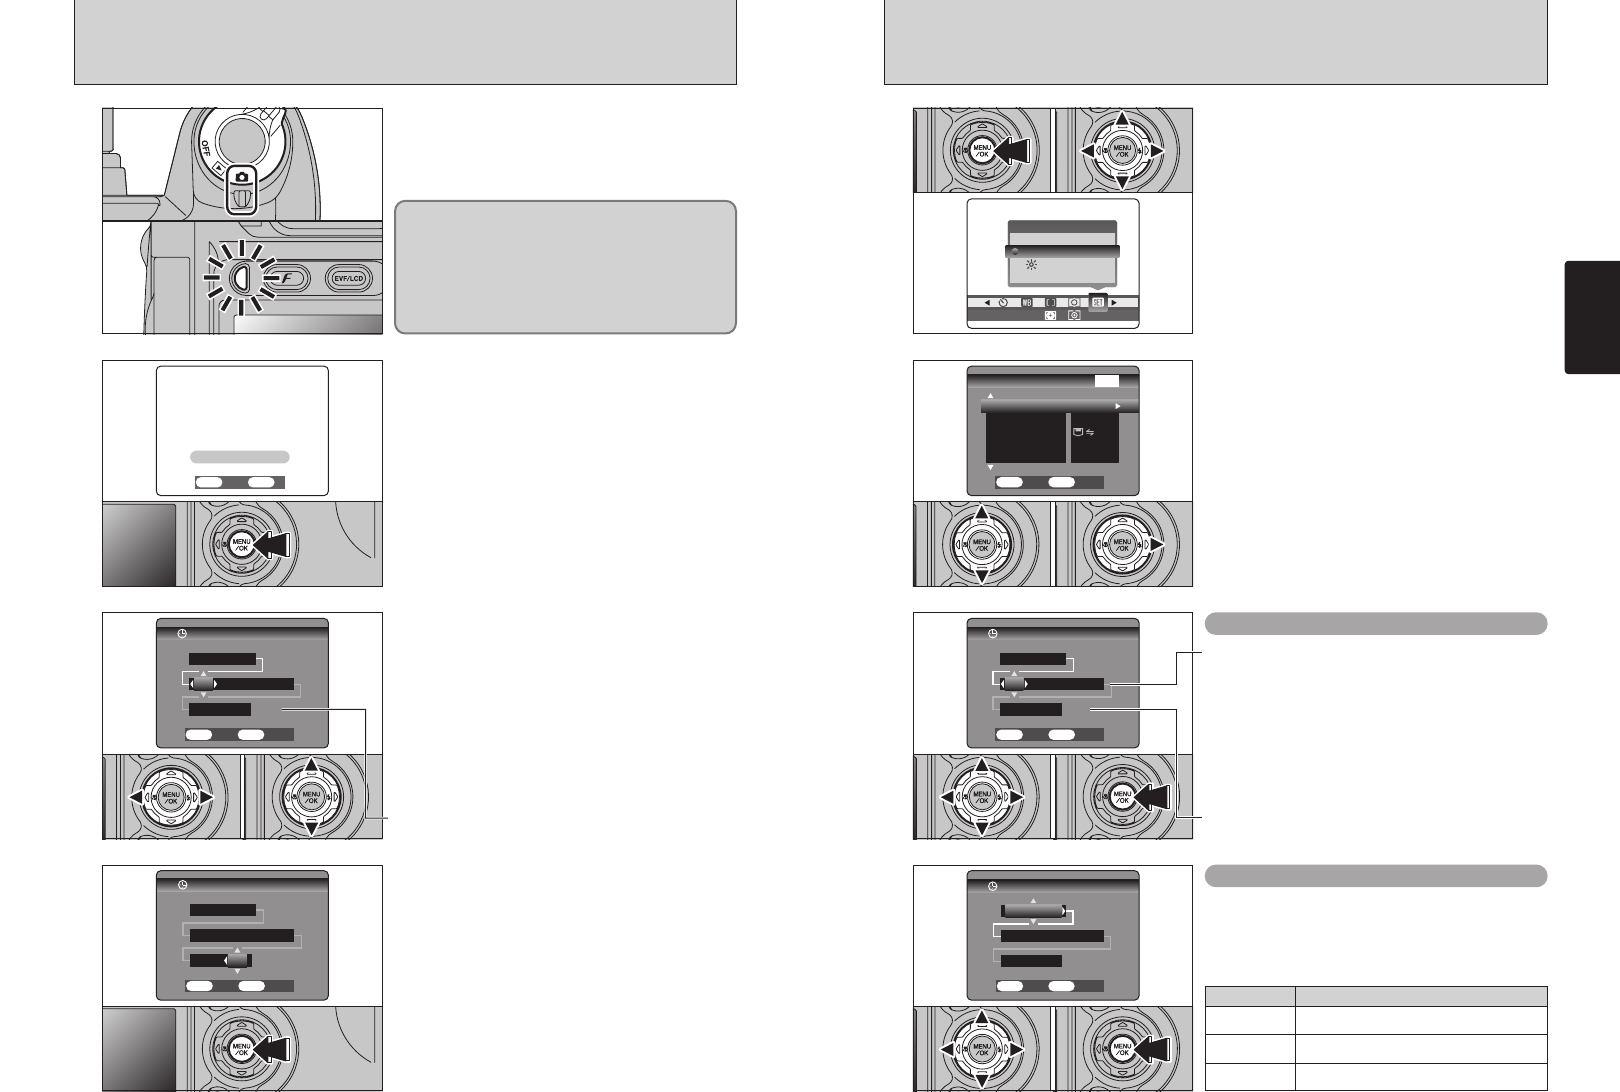
CORRECTING THE DATE AND TIME
/
CHANGING THE DATE ORDER
Changing the date and time
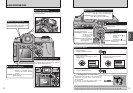
To change the date order
1Press the “MENU/OK” button.
2Press “d” or “c” to select “F” OPTION and
then press “a” or “b” to select “SET–UP”.
3Press the “MENU/OK” button.
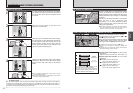
1Press “a” or “b” to select “DATE/TIME”.
2Press “c”.
1Press “d” or “c” to select the date order.
2Press “a” or “b” to set the format. Refer to the
table below for details of the settings.
3Always press the “MENU/OK” button after you
complete the settings.
0103 02
01 02
Setting Explanation
YYYY.MM.DD
Displays the date in the “year. month. day”
format.
MM/DD/YYYY
Displays the date in the “month/day/year”
format.
DD.MM.YYYY
Displays the date in the “day. month. year”
format.
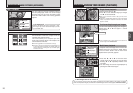
1Press “d” or “c” to select Year, Month, Day,
Hour or Minute.
2Press “a” or “b” to correct the setting.
3Always press the “MENU/OK” button after you
complete the settings.
●
!
If you hold down “a” or “b”, the numbers change continuously.
●
!
When the time displayed passes “12:00”, the AM/PM setting
automatically switches.
0102 03
0102 03
1
2
4
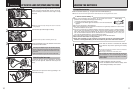
SWITCHING ON AND OFF
/
SETTING THE DATE AND TIME
3
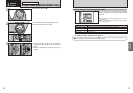
Turn the Power switch to turn the camera on and
off. When you switch the camera on, the indicator
lamp lights (green).
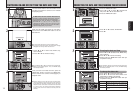
When you first switch the camera on, the date is
cleared. Press the “MENU/OK” button to set the
date and time.
1Press “d” or “c” to select Year, Month, Day,
Hour or Minute.
2Press “a” or “b” to correct the setting.
Once you have set the date and time, press the
“MENU/OK” button. Pressing the “MENU/OK”
button switches the camera to Photography or
Playback mode.
In “q” mode, the lens extends. Because this
operation involves precision mechanisms, take care
not to obstruct the lens with your hand or fingers.
Obstructing the lens will cause a malfunction or
fault and the “
ß” or “∂”
message will appear. Take care also not to get
fingerprints on the camera lens as this will result in
impaired image quality in your shots.
●
!
To set the date and time later, press the “BACK” button.
●
!
If you do not set the date and time, this confirmation message
will appear each time you switch the camera on.
●
!
If you hold down “a” or “b”, the numbers change continuously.
●
!
When the time displayed passes “12:00”, the AM/PM setting
automatically switches.
●
!
Camera settings such the date and time are cleared when
you first purchase the camera and if you leave the camera for
a long period with the battery removed. Once the AC power
adapter has been connected or the batteries has been fitted
for 2 hours or more, the camera settings will be retained for
roughly 6 hours even if both sources of camera power are
removed.
01 02