60 61
Advanced
Features
3
When the correct exposure is measured,
“ç” appears.
Press the “MENU/OK” button to confirm the setting.
●
!
The specified custom white balance is retained until it is
reset. This setting is retained even if the batteries are
removed.
●
!
After taking the picture, check the “Color (White Balance)”
setting for the image.
i Set “IMAGE DISP.” to “PREVIEW” in the SET-UP screen
(➡P.83).
i Set the Power switch to “
w” (➡P.19).
When “√” or “∫” appears, the white
balance was not measured at the correct exposure.
Set the exposure compensation again, using a
negative value (–) when “√” appears and a
positive value (+) when “∫” appears.
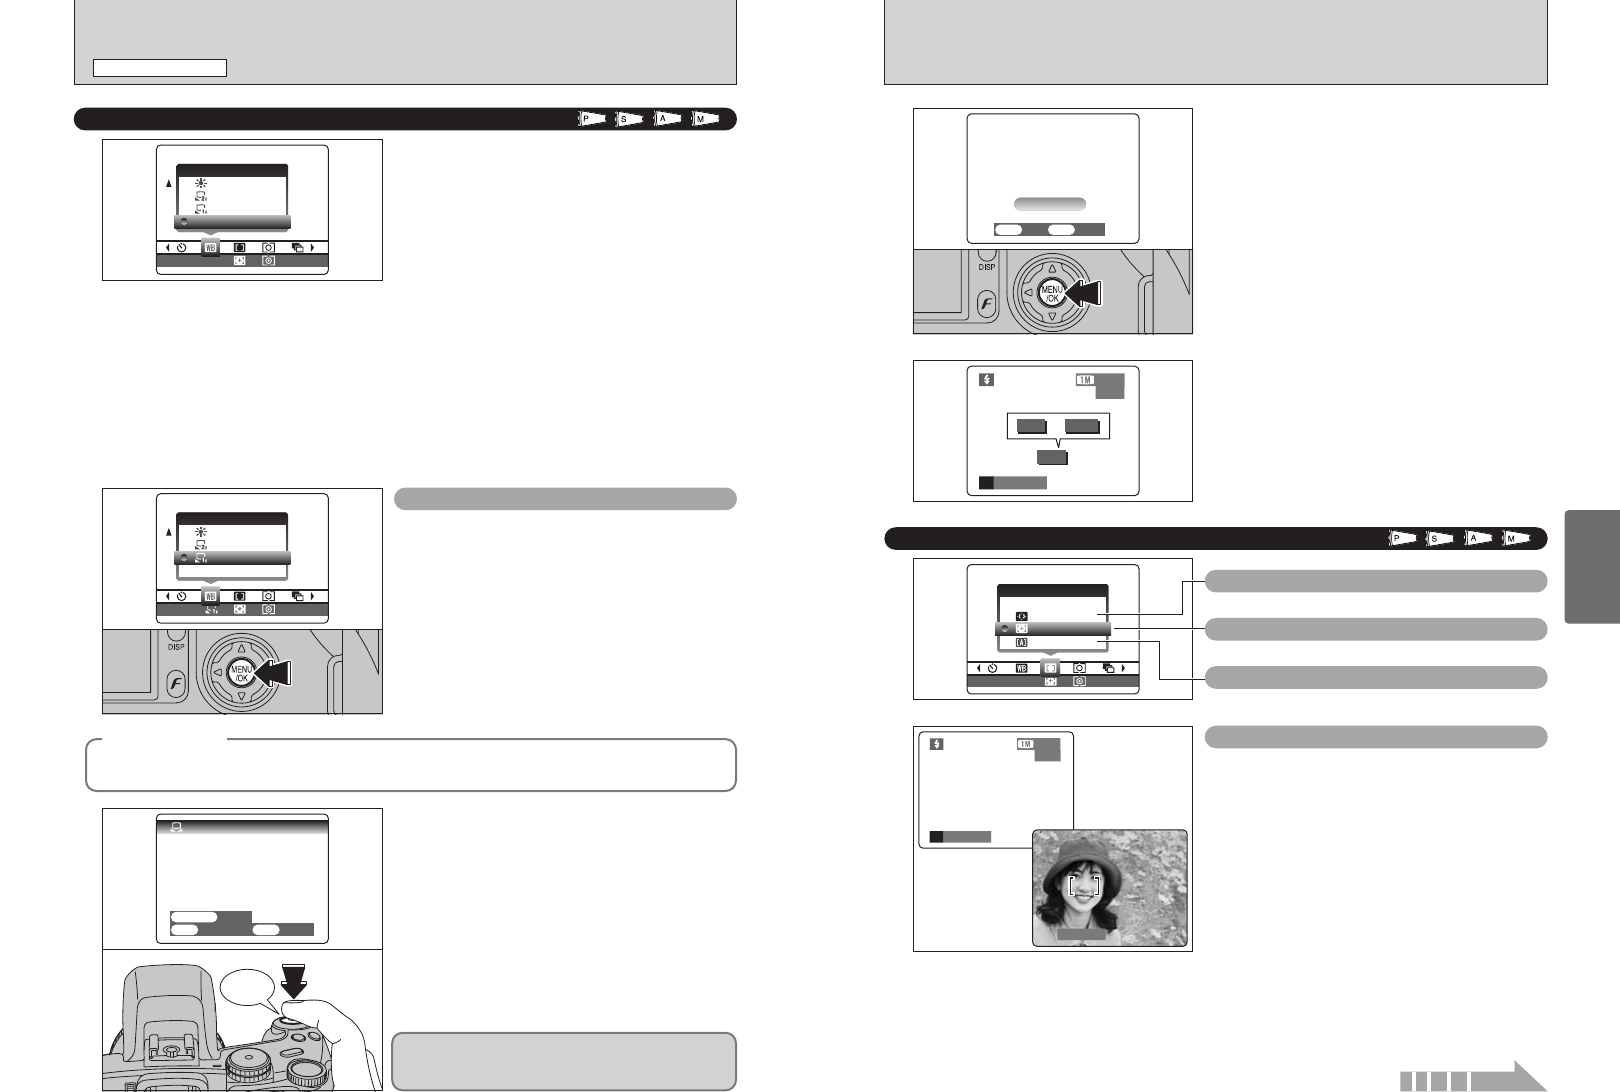
+ AF MODE
˜ AREA
; CENTER
´ MULTI
or
Beep
1
Use this function when you want to set the white
balance for the ambient natural or artificial lighting
in your shots. Use this function to achieve special
effects also.
1Select custom white balance “O” or “P”.
2Press the “MENU/OK” button.
STILL PHOTOGRAPHY MENU
STILL PHOTOGRAPHY MENU
A
WHITE BALANCE
Change the white balance setting when you want to
take a picture with the white balance fixed for the
surroundings and lighting when the picture is taken.
In Auto mode, the correct white balance may not be
obtained for subjects such as close-ups of people’s
faces and shots taken under a special light source.
In such situations, select the correct white balance
for the light source. See P.117 for more information
on the white balance.
AUTO:Automatic adjustment
(Shooting to show the ambience of
the light source)
O : Custom white balance type 1
P : Custom white balance type 2
6 : Shooting outdoors in fine weather
7 : Shooting in shade
9 : Shooting under “Daylight” fluorescent
lamps
0 : Shooting under “Warm White”
fluorescent lamps
- : Shooting under “Cool White”
fluorescent lamps
8 : Shooting in incandescent light
✽ When the flash fires, the white balance setting (excluding custom white balance) for the flash is used. Consequently,
to achieve a particular effect, the flash mode should be set to Suppressed flash (➡P.45).
●
!
The color tones may vary somewhat depending on the shooting conditions (light source, etc.).
Custom white balance
2
Under the light source you want to set the white
balance for, hold a piece of white paper so that it
fills the screen and press the Shutter button to set
the white balance.
●
!
The white balance setting does not affect the image shown
on the screen.
01
02
◆
Example
◆
You can deliberately change the white balance for a photographed image by using colored paper
instead of white paper.
To use the white balance set previously, press the
“MENU/OK” button without pressing the Shutter
button.
´ MULTI
Pressing the Shutter button down halfway, the
camera automatically recognizes any strongly
contrasting subject near the center of the screen
and displays the AF frame over subject in focus.
●
!
If the camera has difficulty in focusing on the main subject,
select the “
;” CENTER focusing mode and use AF/AE lock
(➡P.27).
Continued


