84 85
Settings
The image information can be checked when the
“PREVIEW” setting is selected.
The image information can only be checked while
the “INFO” button is pressed.
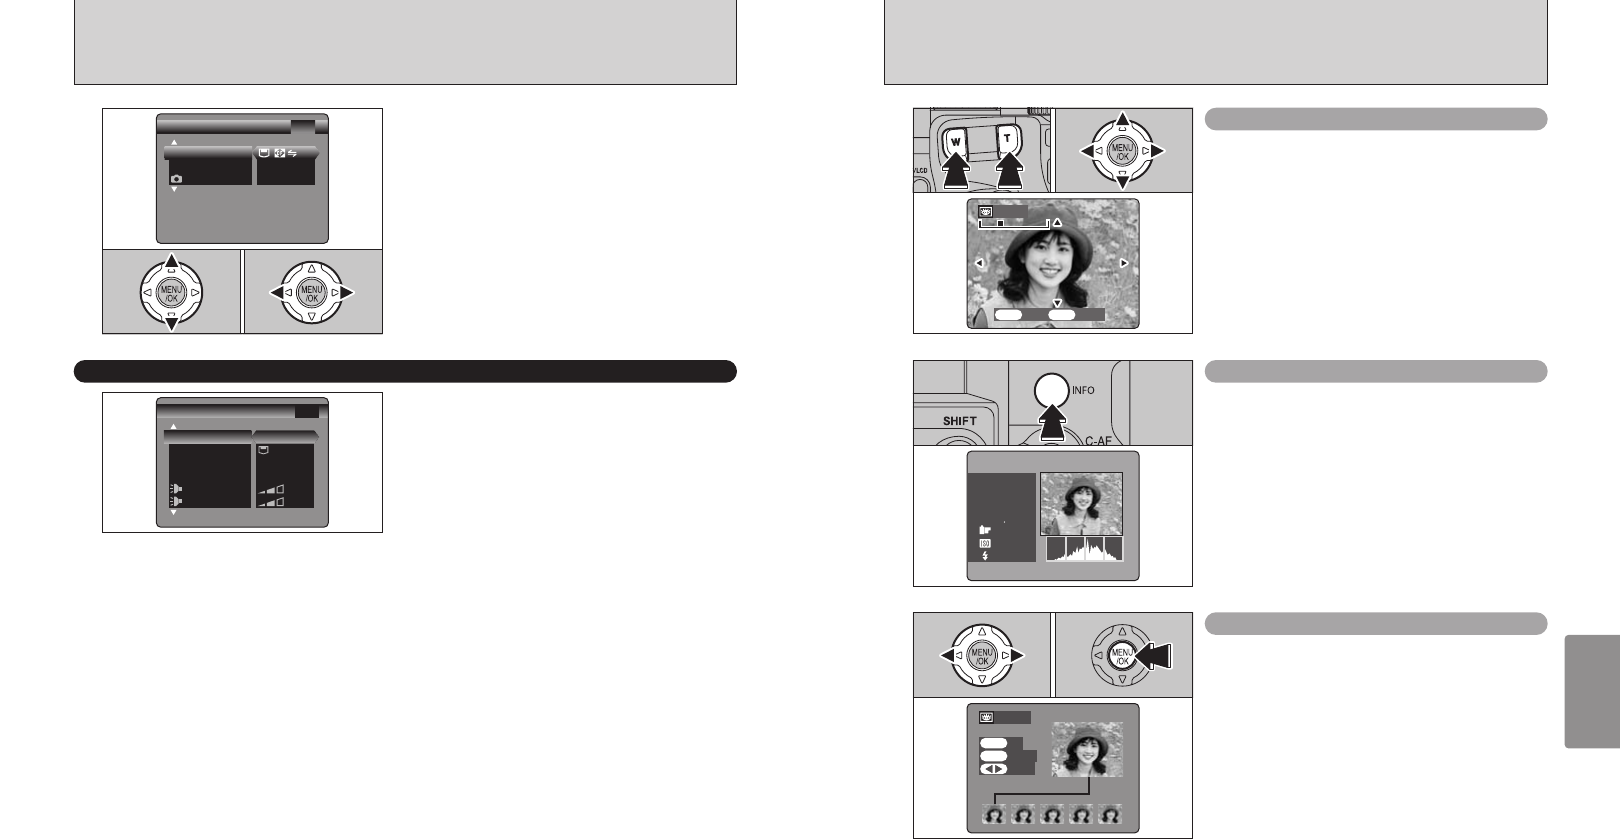
Displaying information for photographed images
Preview zoom
When the “PREVIEW” setting is selected, this
function lets you enlarge images for detailed
checking.
1Slide the Zoom button to zoom in or out.
2Press “a”, “b”, “d” or “c” to display another
part of the image.
●
!
A cropped image can not be saved from the preview function.
●
!
Preview zoom works in the same way as the playback zoom
(➡P.30).
01 02
●
!
See P.70 for detailed information on each item.
SET-UP
Press “a” or “b” to select a menu option and then
press “d” or “c” to change the setting.
●
!
Press “c” for “FORMAT”, “DATE/TIME”, “DISCHARGE” or
“
qRESET”.
2
Use this setting to specify whether photographed
images are displayed after shooting.
ON : Photographed images are displayed for approx. 2 seconds and then automatically
recorded.
OFF : Photographed images are automatically recorded without being displayed.
PREVIEW: The results of your shot are shown as a preview (for image checking) and you can
then choose whether or not to record the image.
h To record the image: Press the “MENU/OK” button.
h To discard the image: Press the “BACK” button.
The preview zoom can be also used.
●
!
The color tones in images displayed when “ON” is selected may differ slightly from those in the images actually
recorded. To check the exact color tones, use “PREVIEW”.
●
!
In Long-period continuous shooting, the photographed
images are not displayed.
●
!
In top5-frame continuous shooting, and final5-frame
continuous shooting, the images are displayed for a set time
before being automatically recorded even when “OFF” is
selected here.
IMAGE DISPLAY
Continuous shooting preview
(
image checking
)
When the “PREVIEW” setting is selected, images
shot can be checked in the top 5-frame continuous
shooting, final 5-frame continuous shooting or auto
bracketing modes.
However, you cannot use the preview zoom.
1Press “d” or “c” to check the images.
2Press the “MENU/OK” button to record all the
images.
●
!
If the “BACK” button is pressed, recording of images stops.
01 02
