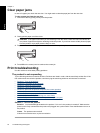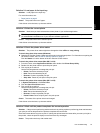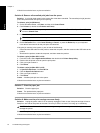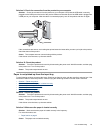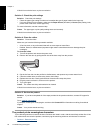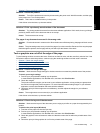
If this did not solve the issue, try the next solution.
Solution 3: Check the print settings
Solution: Check the print settings.
• Check the paper type setting to make sure it matches the type of paper loaded in the input tray.
• If you are printing from a computer, make sure the Paper Source (Windows) or Source (Mac) setting in the
printer driver is set to the correct paper tray.
For more information, see the onscreen Help.
Cause: The paper type or print quality settings were set incorrectly.
If this did not solve the issue, try the next solution.
Solution 4: Clean the rollers
Solution: Clean the rollers.
Make sure you have the following materials available:
• A lint-free cloth, or any soft material that will not come apart or leave fibers.
• Distilled, filtered, or bottled water (tap water might contain contaminants that can damage the print
cartridges).
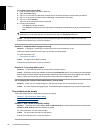
To clean the rollers
1. Turn off the product and remove the power cord.
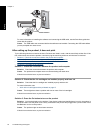
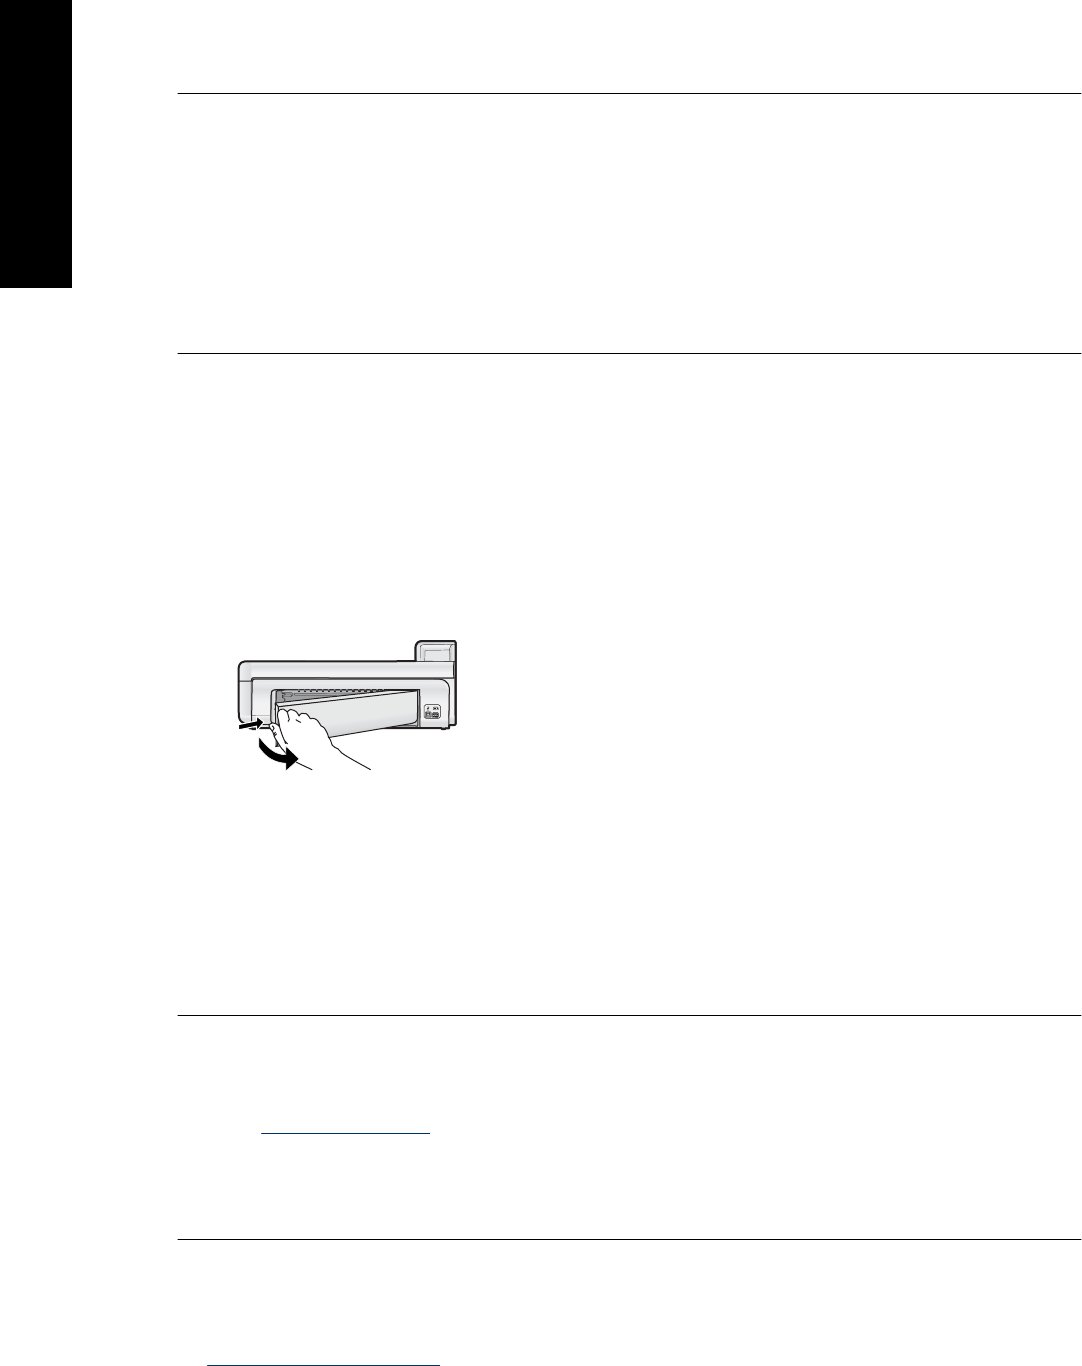
2. Remove the rear door by pulling the left side of the door away from the product.
3. Dip the lint-free cloth into the purified or distilled water, and squeeze any excess water from it.
4. Clean the rubber rollers to remove any dust or dirt buildup.
5. Replace the rear door. Gently push the door forward until it snaps into place.
6. Plug the power cord back in, and turn on the product.
7. Try to print again.
Cause: The rollers were dirty and needed to be cleaned.
If this did not solve the issue, try the next solution.
Solution 5: Service the product
Solution: If you have completed all of the steps provided in the previous solutions, contact HP support for
service.
Go to:
www.hp.com/support.
If prompted, choose your country/region, and then click Contact HP for information on calling for technical
support.
Cause: Your product needs servicing.
The product prints meaningless characters
Try the following solutions to resolve the issue. Solutions are listed in order, with the most likely solution first. If the
first solution does not solve the problem, continue trying the remaining solutions until the issue is resolved.
•
Solution 1: Reset the product
Chapter 3
26 Troubleshooting and support
English


