


84
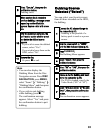
Dubbing on BD/DVD (DZ-BD7HA)
You can dub all scenes recorded on
the HDD from the beginning in
sequence.
11
After the dubbing is complete, the
confirmation screen whether or not
you delete the dubbed scenes
ap
pears.
• If you wish to erase the dubbed
scenes, select “Yes”.
• If you wish to leave them on
the HDD, select “No”.
12
Remove the disc.
• Or press to end.
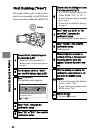
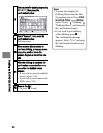
Hints
• You can also display the
Dubbing Menu from the Disc
Navigation screen. Press DISC
NAVIGATION, press MENU,
select “Scene” “Dubbing”
“Dubbing Menu”, and then press
the confirmation button.
• If you wish to quit dubbing
while dubbing, press
.
The confirmation message
appears. Select “Yes” and press
the confirmation button to quit
dubbing.
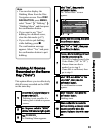
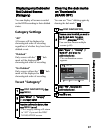
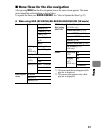
Dubbing All Scenes
Recorded on the HDD
(“All”)
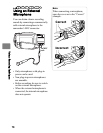
1
Connect the AC adapter/charger to
the camcorder (p.37).
• Dubbing is not possible if a
battery pack is used as a power
source.
2
Turn the power switch to “MODE”
until the HDD indicator lights (p.25).
3
Press
DUBBING
.
The Dubbing Menu appears.
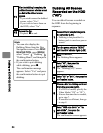
4
Select “All”, then press the
confirmation button.
The “Dubbing(All)” screen
appears.
5
Select “BD” or “DVD”, then press the
confirmation button.
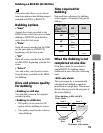
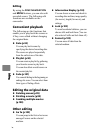
6
Choose a disc for dubbing and insert
it into the camcorder (p.33).
• If a DVD is loaded, specify the
Video Mode (“SX” or “SF”).
• If more than one disc is needed,
go to step 7.
• If one disc is sufficient, then go
to step 8.
7
Select “With auto divide” or “No
auto divide”, then press the
confirmation button.
The confirmation screen appears.