


English
80
1<
DIRECTING SCENES EFFECTIVELY (EFFECT – FADE)
You can add fading to the beginning and/or end of scene.
There are three types of special effects:
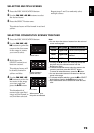
1 Press the DISC NAVIGATION button.
2 Select the scene for adding special effects.
3 Press the MENU button.
4 Choose, “Scene”, “Effect”, “Fade” and then
press the A button.
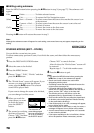
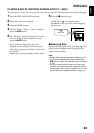
5 The “Fade” screen will appear: If you are sure
you want to add the fade effect to the scene,
press the A button.
If you want to change the scene to which fade
is added, you can change it on this screen.
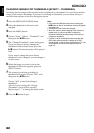
6 Select the special effects for “IN” and/or
“OUT”, choose “Enter”, and then press the
A button.
You can use f/e to move the cursor to
“IN”, “OUT”, “Enter” or “Cancel”.
Use d/c to choose the effect to be added,
and then press A to set the effect.
To cancel setting, choose “Cancel”.
If you choose “Enter” and press A, the
“Fade” screen will be restored after a message
appears.
Repeat steps 5 and 6 to add fade to other
scenes.
7 Press the C button to quit.
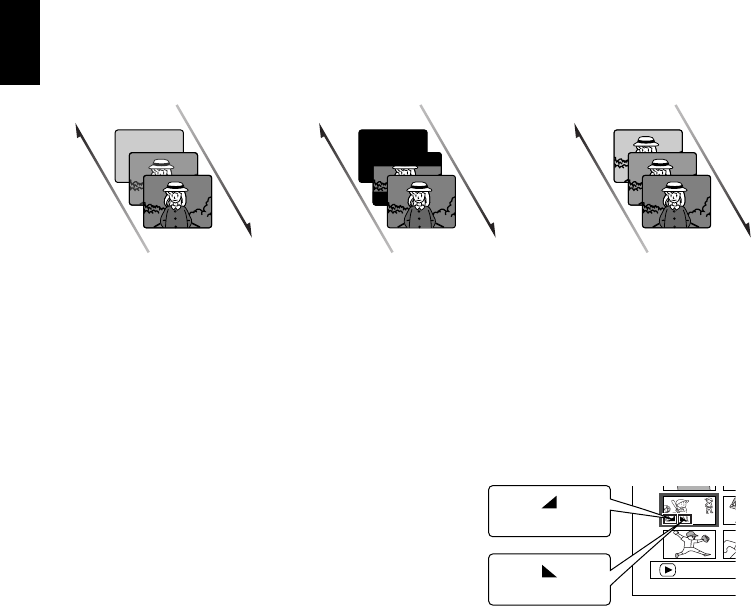
The “[” and/or “]” icon(s) will appear in
the scenes for which fade in and/or fade out
have been set.
Note:
If a disc on which fade has been set on scene with this
DVD video camera/recorder is played on a DVD
reorder/player, or the scene is captured into a PC, the
set fade will not be reflected (see Note on page 74).
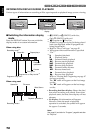
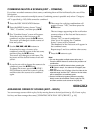
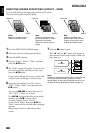
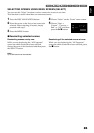
Fade Out Fade Out Fade Out
White:
Fades in from white screen
Fades out to white screen
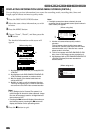
Wipe:
Fades in from black screen
to vertical direction of screen
Fades out from vertical
direction of screen to black
screen
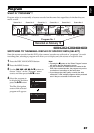
B/W:
Fades in from Black and
White screen to color screen
Fades out from color screen
to Black and White screen
Fade InFade InFade In
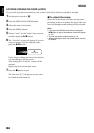
PLAY
“In” effect
“Out” effect