Getting Started - 22 -
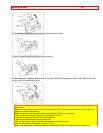
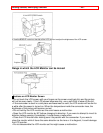
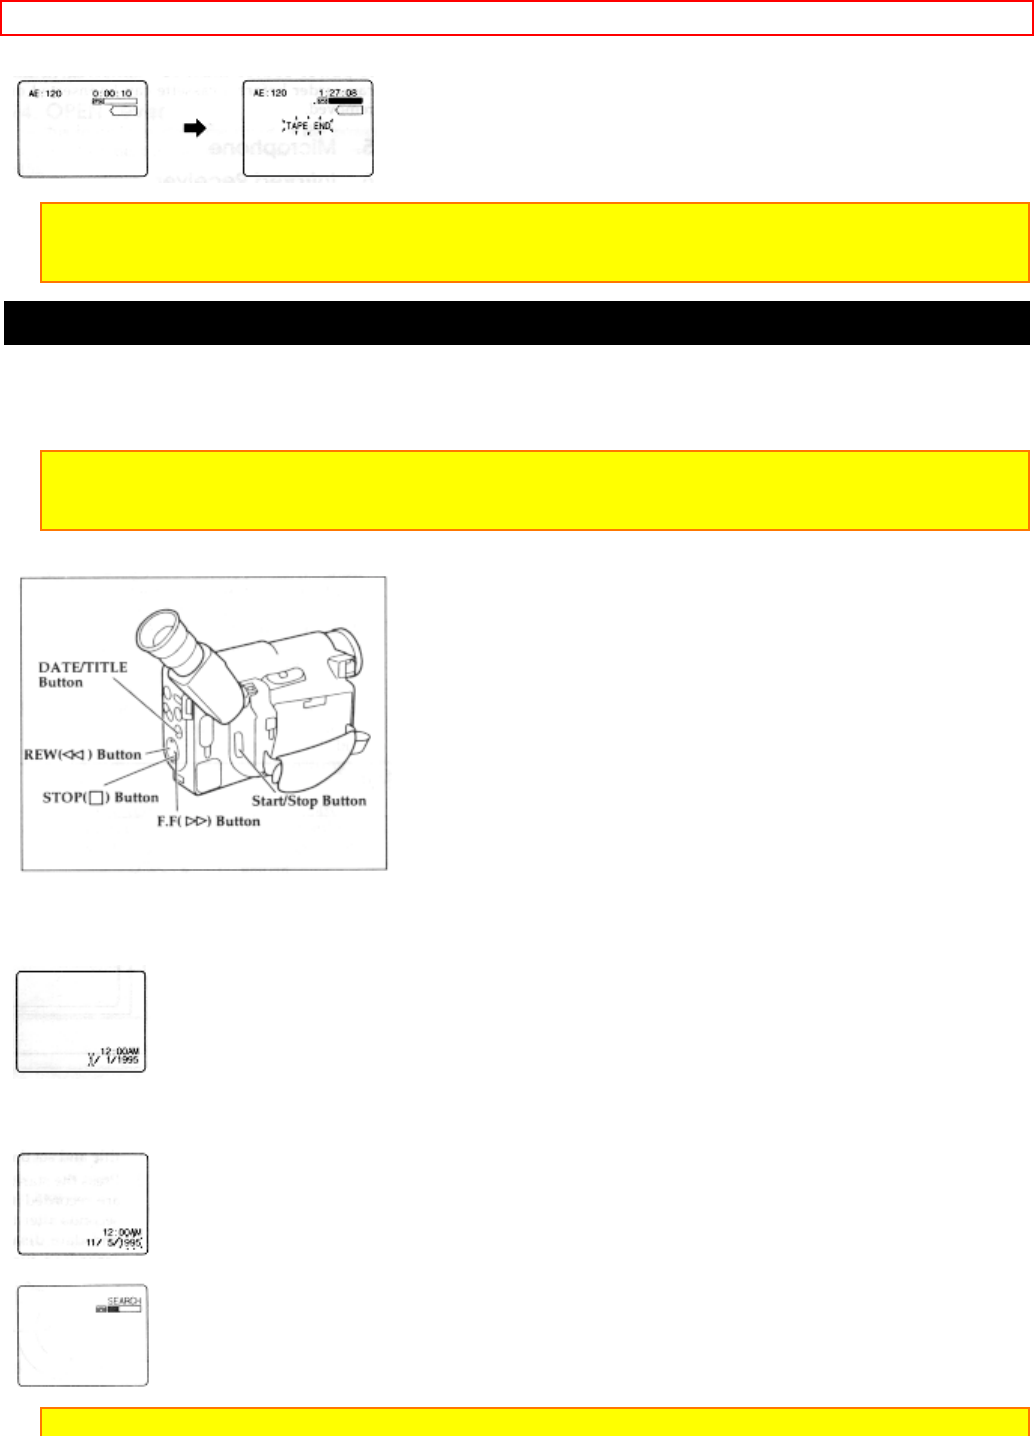
Note: The tape remaining display appears 10 seconds after the tape starts to run.
Note: When the remaining tape time becomes less than about three minutes, TAPE END flashes in the
viewfinder or LCD monitor.
Setting the Date and Time
Take the time to set the date and time now. The date and time can be recorded on your tapes to act as a handy
reference when viewing them later. Use the following procedure to set up the display for the current date and
time.
Note: Be sure to insert the clock battery before setting the date and time. Although the date and time can be
set without the clock battery inserted, they will disappear when the battery providing power to the camcorder
is removed.
Make sure that the current time is displayed correctly before you start filming.
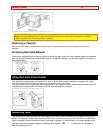
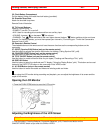
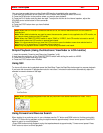
1. Load the battery ("Loading the Batteries: Camcorder batteries" p.15). Press the red button on the
CAM/OFF/VIDEO switch as you slide it to CAM.
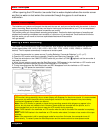
2. Press the DATE/TITLE button and look into the viewfinder. The date and time should appear in the lower right
with the "1" flashing.
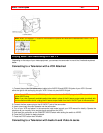
3. Pressing the F.F button gives you higher numbers while the REW button gives you lower numbers. Select the
right month and press STOP button. Use the F.F, REW and STOP buttons to select the proper day, year, hour,
minute, and AM or PM.
4. After setting the AM/PM, press the DATE/TITLE button. The display changes and the internal clock starts.
Note: After the date and time are set, " AUTO" appears and the camcorder enters the automatic date


