Getting Started, Identifying Controls - 25 -
33. Clock Battery Compartment
Pull the battery holder and install the clock battery (provided).
34. Shoulder Strap Slots
Attach the shoulder strap here.
Remote Control Illustration
35. TV Control Buttons
Used for controlling the TV.
• POWER: Turns the TV on and off.
• AVX: Used for recording picture and sound from an auxiliary input.
• VOLUME: Increase (
) or decrease ( ) the volume.
• CHANNEL: Top (
) button switches to the next higher channel, bottom ( ) button switches to the next lower
channel. For these to operate, you must have preset your channels. ("Controlling your TV with the Camcorder's
Remote Control" p54).
36. Recorder's Remote Control
The shaded buttons on the remote control have the same functions as the corresponding buttons on the
camcorder.
37. S.EDIT (Synchro Edit) Button (only on the remote control)
Use this button to activate the synchro edit function for dubbing ("Using Synchro Edit", p49).
38. COUNTER RESET Button (only on the remote control)
Use this button to reset the linear time counter to 0:00:00.
39. TITLE ON/OFF Button (only on the remote control)
Use this button to create and record titles for your tapes ("Creating and Recording a Title," p 46).
40. DISPLAY Button
Use this button to select the viewfinder and TV display ("Using the Display Button," p44). This button can be used
instead of the DATE/TITLE button on the camcorder in the VIDEO mode.
41. A/V DUB Button (only on the remote control)
Use this button to record new audio and video over existing audio and video.
iv
LCD Monitor
When using the LCD monitor during recording and playback, you can adjust the brightness of its screen and the
angle of the monitor.
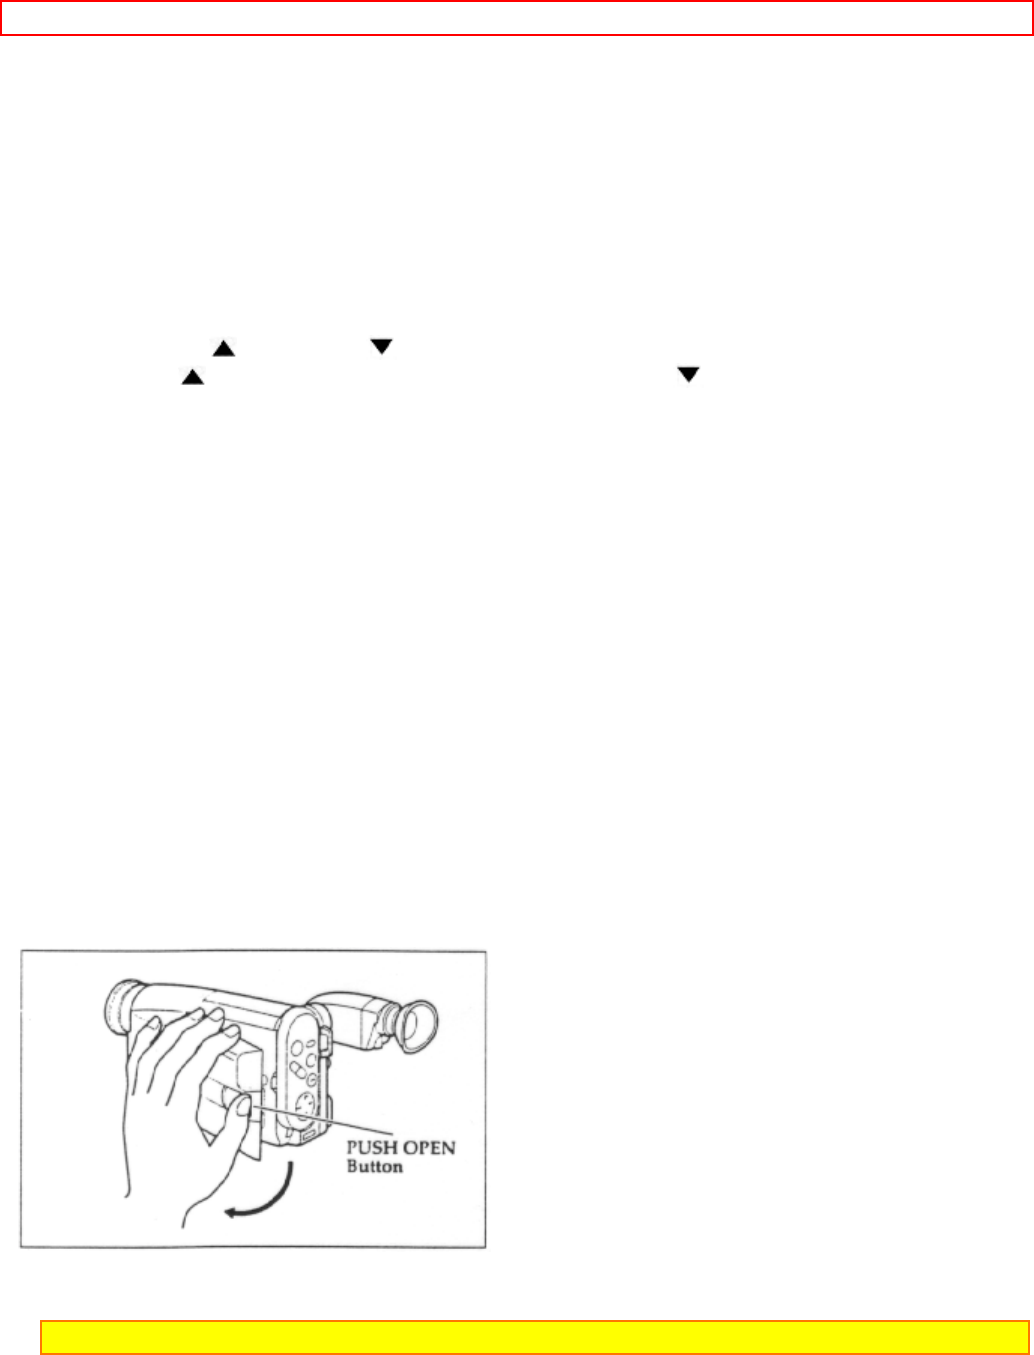
Opening the LCD Monitor
1. Press the PUSH OPEN button to open the LCD monitor.
Adjusting the Brightness of the LCD Screen
Note: Even when the picture on the LCD monitor is adjusted, the recorded video will not change.
1. Load the battery ("Loading Batteries: Camcorder Batteries", p15). Press the red button on the
CAM/OFF/VIDEO switch as you slide it to CAM or VIDEO.


