58 Netfinity 3500-M20 – Type 8657 Models 21Y, 22Y, 31Y, 32Y,
face on the server; then, remove the microproces-
sor from the package.
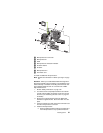
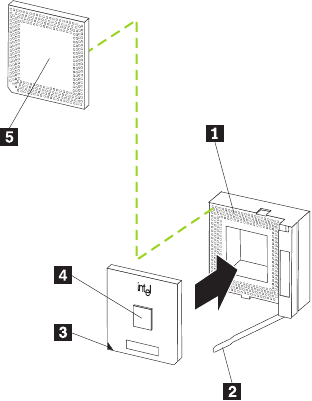
b. Orient the microprocessor over the microproces-
sor connector as shown in the following illustra-
tion. Carefully press the microprocessor into the
connector.
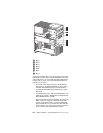
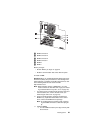
1 Microprocessor 2 connector
2 Lever
3 Microprocessor orientation indicator
4 Microprocessor 2
5 Terminator card
Note: Do not use excessive force when pressing the
microprocessor into the connector.
6. Push the release lever down to lock the microprocessor
into place.
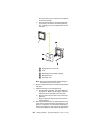
7. Install the heat sink on the microprocessor:
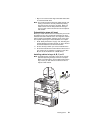
a. Peel the plastic protective strip off the bottom of
the heat sink. Make sure the square of thermal
material is still on the bottom of the heat sink.
b. Align and place the heat sink on top of the micro-
processor.
c. Align and place the clip over the heat sink, then
snap it into place.
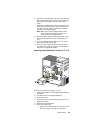
8. Place the terminator card in the static-protective pack-
age that the new microprocessor was shipped in, and
store it in a safe place. You will need to install the ter-
minator card again if you ever remove the microproces-
sor and do not replace it with another microprocessor.


